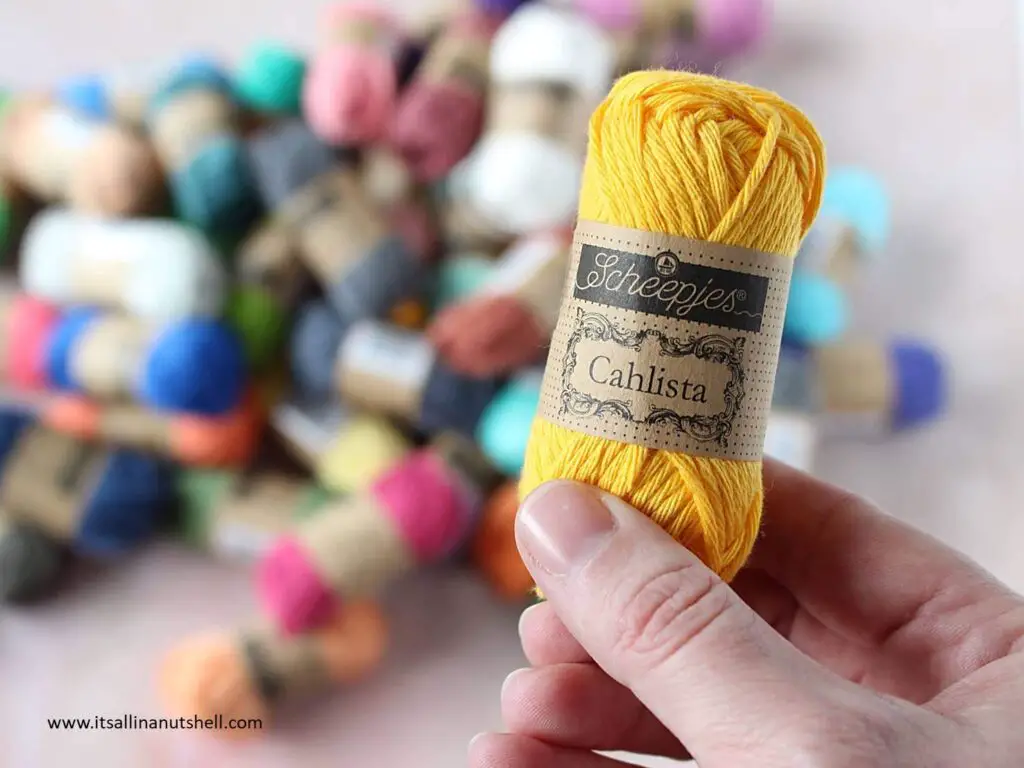
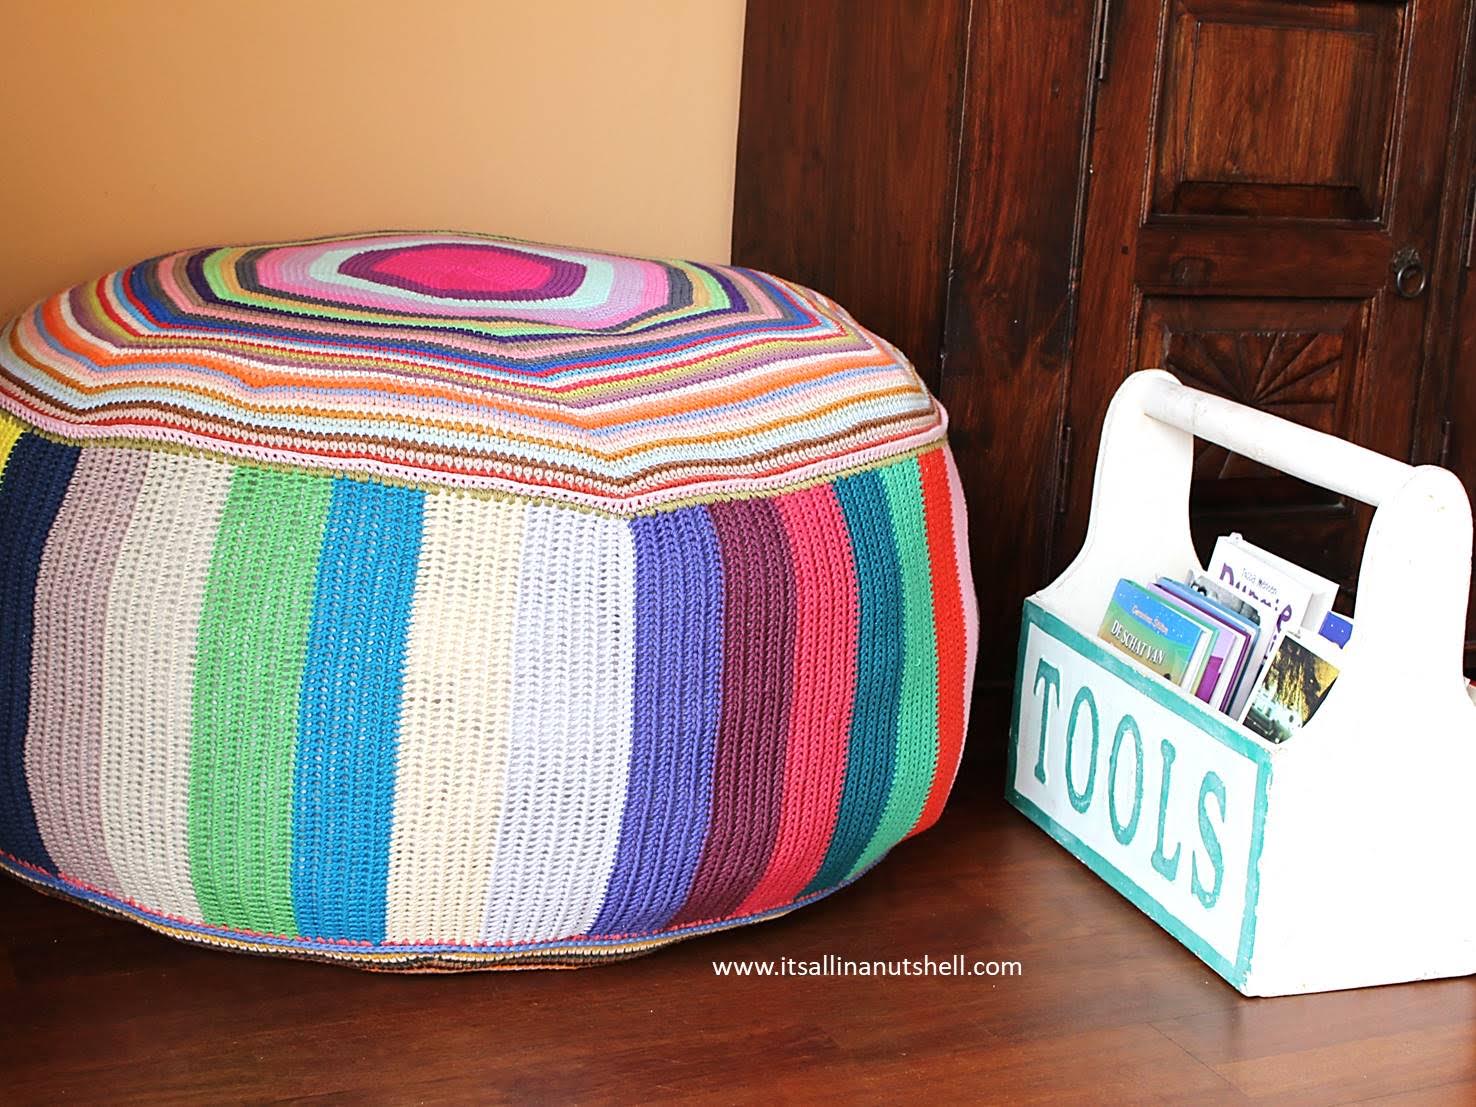
In this post you find the free crochet pattern to make a Pouf of Many Colors, a large pouf suitable to use as a beanbag or floor cushion. The pouf has a diameter of about 75cm (30”) and is about 40cm (16”) high and is made from a single Scheepjes Cahlista Colour Pack.
Resources
Translations
De Nederlandse versie is HIER te vinden.
Materials
- 1 x Scheepjes Cahlista Colour Pack
- 4mm (US G/6) & 4.5mm (US 7) hook
- Filling such as old cushions, duvets, and other synthetic filling.
Scheepjes Cahlista Colour Packs are available from Wool Warehouse (UK), Caro’s Atelier (NL/EU), Bol.com (NL) and many other Scheepjes retailers.

Size
The pouf is approximately 75cm (30”) in diameter and 40cm (16”) high.
Abbreviations
This pattern uses US crochet terms. If you are more familiar with UK crochet terms, please see this conversion table for the most common terms.
sc – single crochet
ss – slip stitch
ch – chain
st(s) – stitch(es)
RS – right side
WS – wrong side
PM – place stitch marker
(…) – repeat 1x/2x – Work the instructions between brackets the total number of times stated.
Pouf of Many Colors – Free Crochet Pattern
Side of the Pouf
Stripe #1
With any color and 4.5mm hook, ch61.
Row 1 (RS) With 4mm hook, 1sc in second ch from hook, sc in each st to end. Turn. [60 sc]
Row 2 (WS) Ch1 (does not count as st here and further), sc in each st to end. Turn. [60 sc]
Rows 3-8 As Row 2. Fasten off at the end of Row 8.
Stripe #2
Row 9 (RS) With any color, standing sc in first st, sc in each st to end. Turn. [60 sc]
Row 10 (WS) Ch1, sc in each st to end. Turn. [60 sc]
Rows 11-16 As Row 10. Fasten off at the end of Row 16.
Stripe #3 to #40
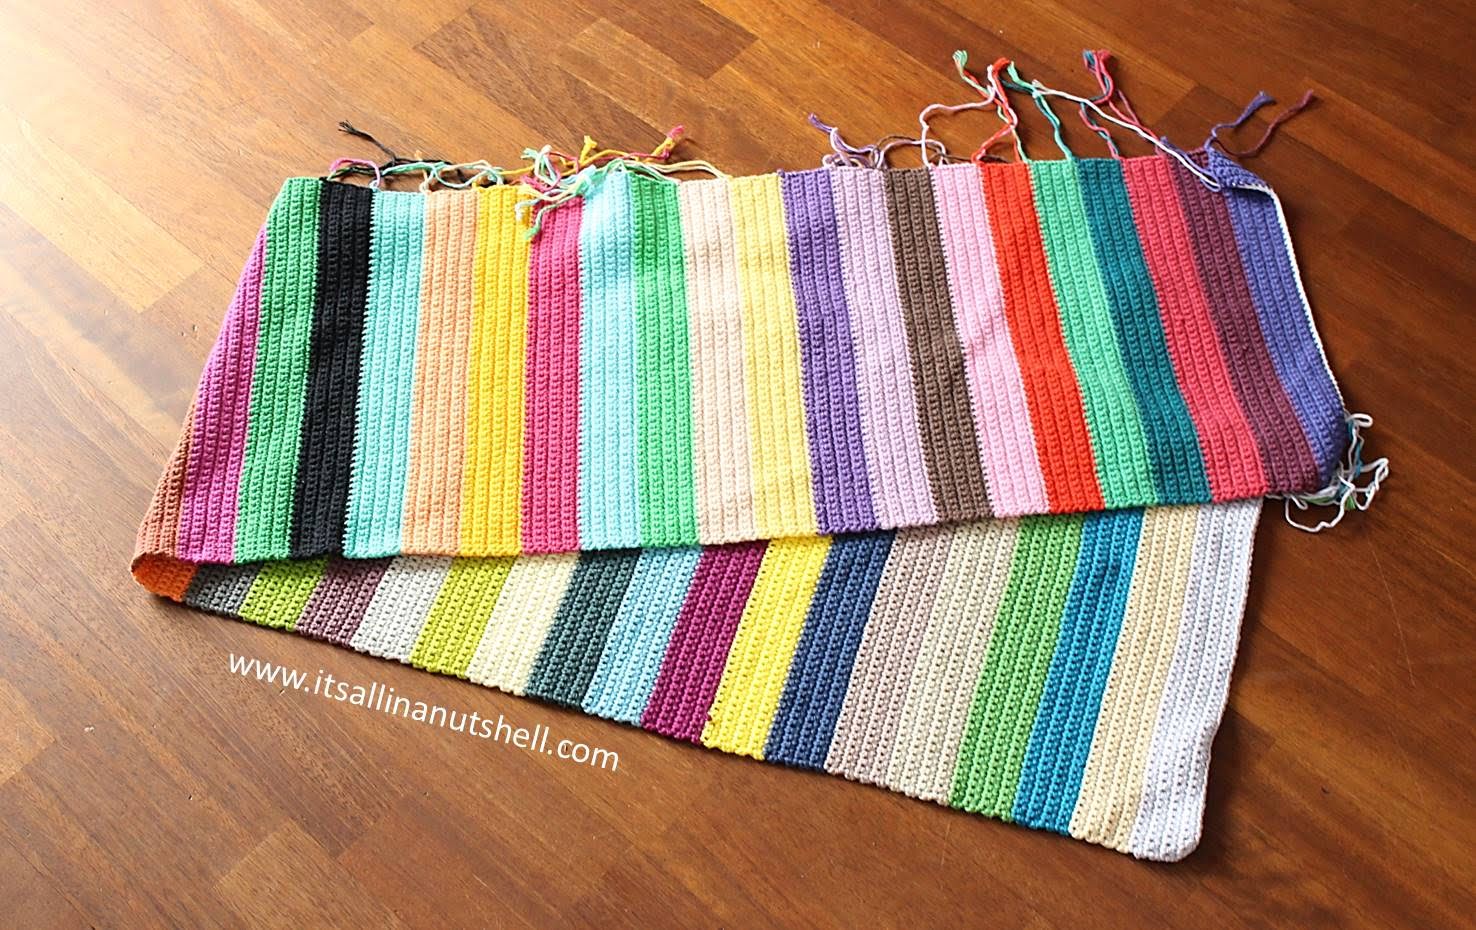
Repeat Rows 9 to 16, each with a new color, till there are 40 stripes on the fabric. Each stripe is 8 rows wide. The fabric will be about 40cm high and 150cm long.
After working 40 stripes, the side of the pouf will look something like this.
Join the fabric to make a cylinder
With a new color, make a slip knot on your hook and align the beginning and end edges to form a tube. Be sure not to twist the fabric. On the starting edge you will work through the chain stitches which were used to work the first row in.
Work a standing sc through the first stitches on either side, followed by a sc through the next stitches till you have joined all 60 stitches. Flip the fabric inside out so that the join is on the inside of the fabric. You now have a tube that will form the edge of the pouf. Turn the fabric inside-out so that the join is on the inside of the fabric.
Top of the Pouf
Round 1 (RS) With any color and 4mm hook, ch4, close with ss in first st to form a ring, ch1 (does not count as st), 6sc in ring, close with ss. [6 sc]
Round 2 Ch1, 1sc in same st, 2sc in next 5 sts, 1sc in next st (this st already contains a st), close with ss. [12 sc]
Round 3 Ch1, 1sc in same st, PM, (1sc in next st, 2sc in next st, PM in last st made) 5x, 1sc in next 2 sts, close with ss in marked st. [18 sc]
Round 4 Ch1, 1sc in same st, PM, (1sc in next 2 sts, 2sc in marked st, PM in last st made) 5x, 1sc in next 3 sts, close with ss in marked st. [24 sc]
Round 5 Ch1, 1sc in same st, PM, (1sc in next st till st before marked st, 2sc in marked st, PM in last st made) 5x, 1sc in next st to end including the first st which already contains a st, close with ss in marked st. [30 sc]
Round 6 As Round 5. [36 sc]
Round 7 As Round 5. [42 sc]
Round 8 As Round 5. [48 sc]
Round 9 As Round 5. [54 sc]
Round 10 As Round 5. [60 sc]
Round 11 As Round 5. [66 sc]
Round 12 As Round 5. Fasten off. [72 sc]
Round 13 With any color, standing sc in same marked st, PM, (1sc in next st till st before marked st, 2sc in marked st, PM in last st made) 5x, 1sc in next st to end including the first st which already contains a st, close with ss in marked st. [78 sc]
Round 14 As Round 5. [84 sc]
Round 15 As Round 5. [90 sc]
Round 16 As Round 5. [96 sc]
Round 17 As Round 5. Fasten off. [102 sc]
Round 18 With any color, as Round 13. [108 sc]
Round 19 As Round 5. [114 sc]
Round 20 As Round 5. [120 sc]
Round 21 As Round 5. Fasten off. [126 sc]
Round 22 With any color, as Round 13. [132 sc]
Round 23 As Round 5. [138 sc]
Round 24 As Round 5. [144 sc]
Round 25 Work this round tight to ensure you have enough yarn. As Round 5. Fasten off. [150 sc]
Round 26 With any color, as Round 13. [156 sc]
Round 27 As Round 5. [162 sc]
Round 28 As Round 5. Fasten off. [168 sc]
Work Rounds 29 to 31 tightly to ensure you have enough yarn.
Round 29 With any color, as Round 13. [174 sc]
Round 30 As Round 5. [180 sc]
Round 31 As Round 5. Fasten off. [186 sc]
Round 32 With any color, as Round 13. [192 sc]
Round 33 As Round 5. Fasten off. [198 sc]
Round 34 With any color, as Round 13. [204 sc]
Round 35 As Round 5. Fasten off. [210 sc]
Round 36 With any color, as Round 13. [216 sc]
Round 37 As Round 5. Fasten off. [222 sc]
Round 38 With any color, as Round 13. [228 sc]
Round 39 As Round 5. Fasten off. [234 sc]
Round 40 With any color, as Round 13. [240 sc]
Round 41 As Round 5. Fasten off. [246 sc]
Work Rounds 42 to 45 tightly to ensure you have enough yarn.
Round 42 With any color, as Round 13. [252 sc]
Round 43 As Round 5. Fasten off. [258 sc]
Round 44 With any color, as Round 13. [264 sc]
Round 45 As Round 5. Fasten off. [270 sc]
Round 46 With any color, as Round 13. Fasten off. [276 sc]
Round 47 With any color, as Round 13. Fasten off. [282 sc]
Round 48 With any color, as Round 13. Fasten off. [288 sc]
Round 49 With any color, as Round 13. Fasten off. [294 sc]
Round 50 With any color, as Round 13. Fasten off. [300 sc]
Round 51 With any color, as Round 13. Fasten off. [306 sc]
Round 52 With any color, as Round 13. Fasten off. [312 sc]
Round 53 With any color, as Round 13. Fasten off. [318 sc]
Round 54 With any color, as Round 13. Fasten off. [324 sc]
Round 55 With any color, as Round 13. Fasten off. [330 sc]
Round 56 With any color, as Round 13. Fasten off. [336 sc]
Round 57 With any color, as Round 13. Fasten off. [342 sc]
Round 58 With any color, as Round 13. Fasten off. [348 sc]
Round 59 With any color, as Round 13. Fasten off. [354 sc]
Round 60 With any color, as Round 13. Fasten off. [360 sc]
Round 61 With any color, as Round 13. Fasten off. [366 sc]
Round 62 With any color, as Round 13. Fasten off. [372 sc]
Round 63 With any color, as Round 13. Fasten off. [378 sc]
Round 64 With any color, as Round 13. Fasten off. [384 sc]
Bottom of the Pouf
Work the bottom of the pouf the same way as the top. The top and bottom of the pouf will look something like this.
Preparing to join the parts of the Pouf
Count the number of stitches you have on Round 64 of the top circle. Good chance you do not have 384 sc, I had 383 for some mysterious reason.
With a new color, standing sc in any position along one edge of the side fabric, work the number of stitches needed evenly distributed along the fabric. Close on the first st with a ss and fasten off.
Count the number of stitches you have on Round 64 of the bottom circle, I had 382 stitches, again not what I was supposed to have and not the same as the top half either.
With a new color, standing sc in any position along the other edge of the side fabric, work the number of stitches needed evenly distributed along the fabric. Close on the first st with a ss and fasten off.
Mark stitches
To help you count and avoid mistakes, place a stitch marker every 20 stitches in the top and bottom circles, as well as in the sc edge along the sides of the fabric.
Join bottom
Align the stitch markers on the bottom circle and the side of the fabric intended to connect to the bottom of the pouf. With a new color and 4mm hook, work a standing sc through the two aligned, marked stitches, remove the markers. Work a sc in the next two adjacent stitches until the bottom circle is joined to the side fabric. Close on the first st with an invisible join and work away the yarn tails.
Stuff
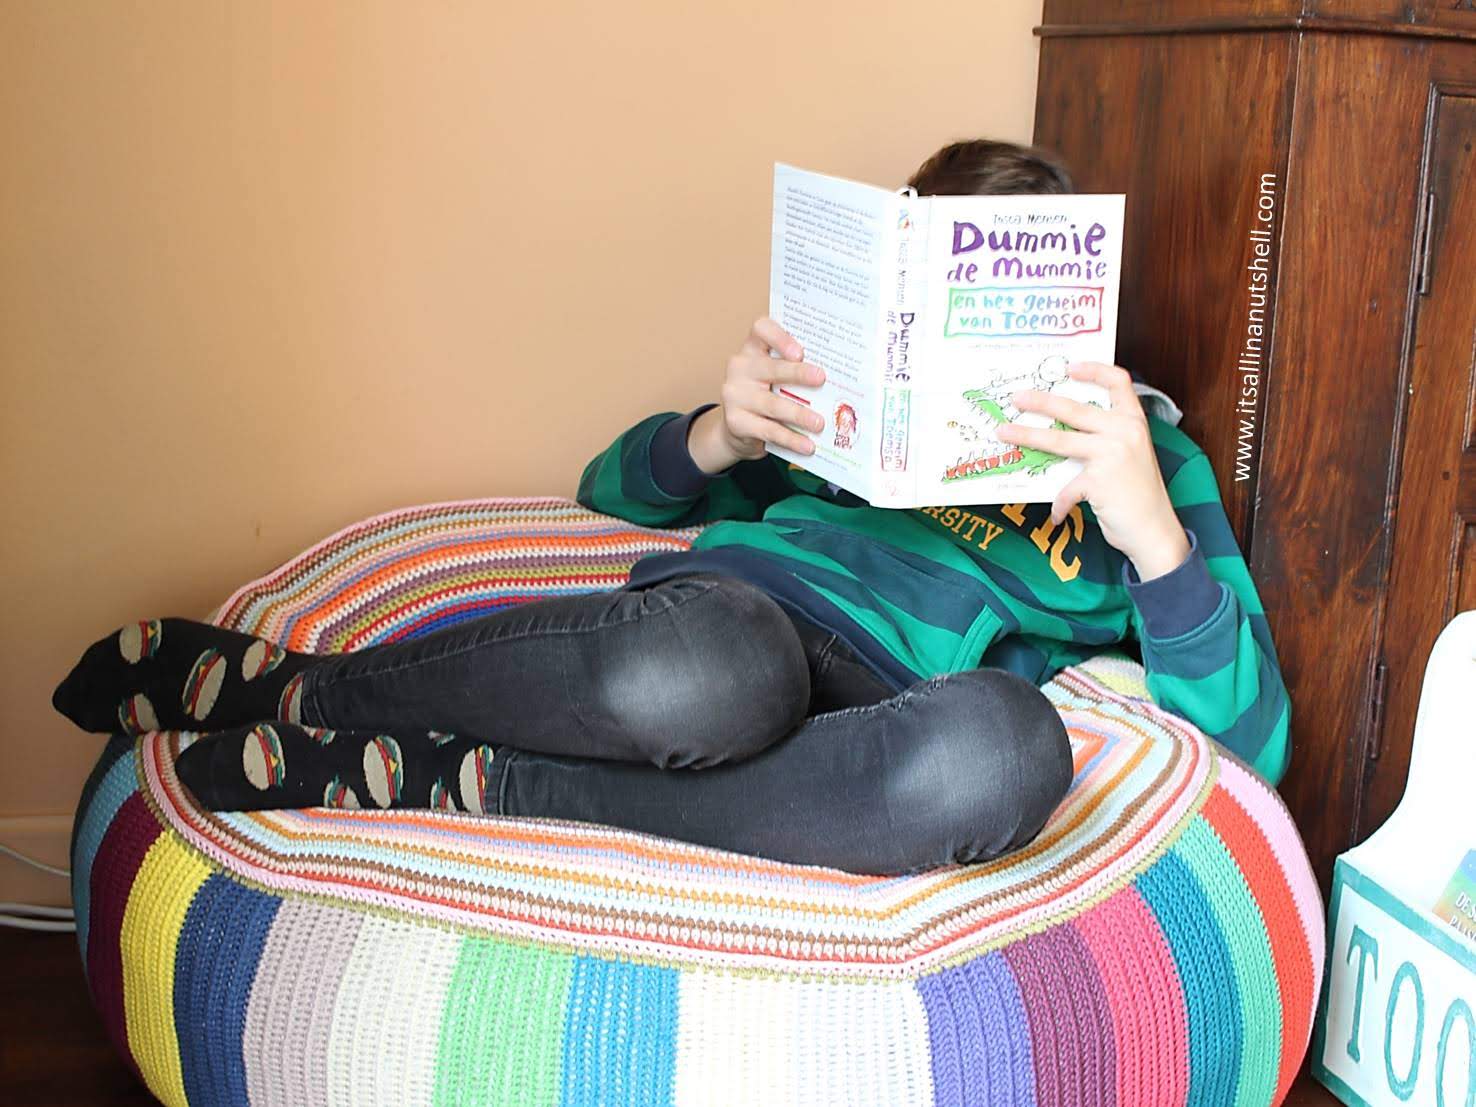
Stuff the pouf with as much stuffing as you have or want to. You will most likely need more than you realize. The pouf will flatten with use, so over stuffing the pouf is a good idea.
Join top
Align the stitch markers on the top circle and the side of the fabric intended to connect to the top of the pouf. With a new color, work a standing sc through the two aligned, marked stitches, remove the markers. Work a sc in the next two adjacent stitches until the bottom circle is joined to the side fabric. Close on the first st with an invisible join and work away the yarn tails.
And after all that work, it looks rather nice I think, and the cats seem to think so too!

Social media
Feel free to share your work on my Facebook page, tag me on Instagram with #itsallinanutshell, or share your work in my It’s all in a Nutshell Crochet Nuts group on Facebook. I would love to see your beautiful creations.
With love,
Esther
Follow me on
Facebook, YouTube, Ravelry, Instagram
This post contains affiliate links. Please read my disclosure and copyright policy. All opinions are my own and I only link to products I use or would use. Thank you for using the links on my blog and supporting my work.
Copyright (c) 2014-2025 It’s all in a Nutshell Creations. All rights reserved.
Discover more from It's all in a Nutshell Crochet
Subscribe to get the latest posts sent to your email.




This is a wonderful project to use up all those balls of wool left from other projects – absolutely great idea and useful too. Thanks so much for sharing this with us all.
Fond wishes
El
x
You are very welcome. If you make it, please share your work, would love to see 🙂
Your pouf look lovely