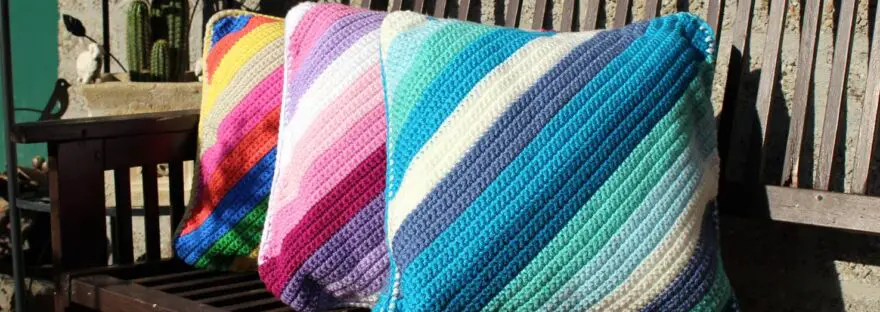
Now that your TLC Blanket is finished, I am sure you have some yarn left over. In this free cushion pattern, you can find everything you need to make a cushion to match your blanket. TLC Cushion is perfect for any project to use up left over yarn. Which cushion is your favorite colorway?

Resources
- Add TLC Cushion to your Ravelry library
- TLC Blanket pattern parts and tips & tricks
- Scheepjes Chunky Monkey yarn (100g/107m)
- Nederlandse vertaling HIER
- Social Media #itsallinanutshell
Materials
TLC Cushion uses left over yarn from TLC Blanket. I had about half a ball of each color of Scheepjes Chunky Monkey left from my kit. If you would like to make a new cushion, you will need 6 colors and a 5.0mm hook. You will also need a 40cm x 40cm cushion inner.
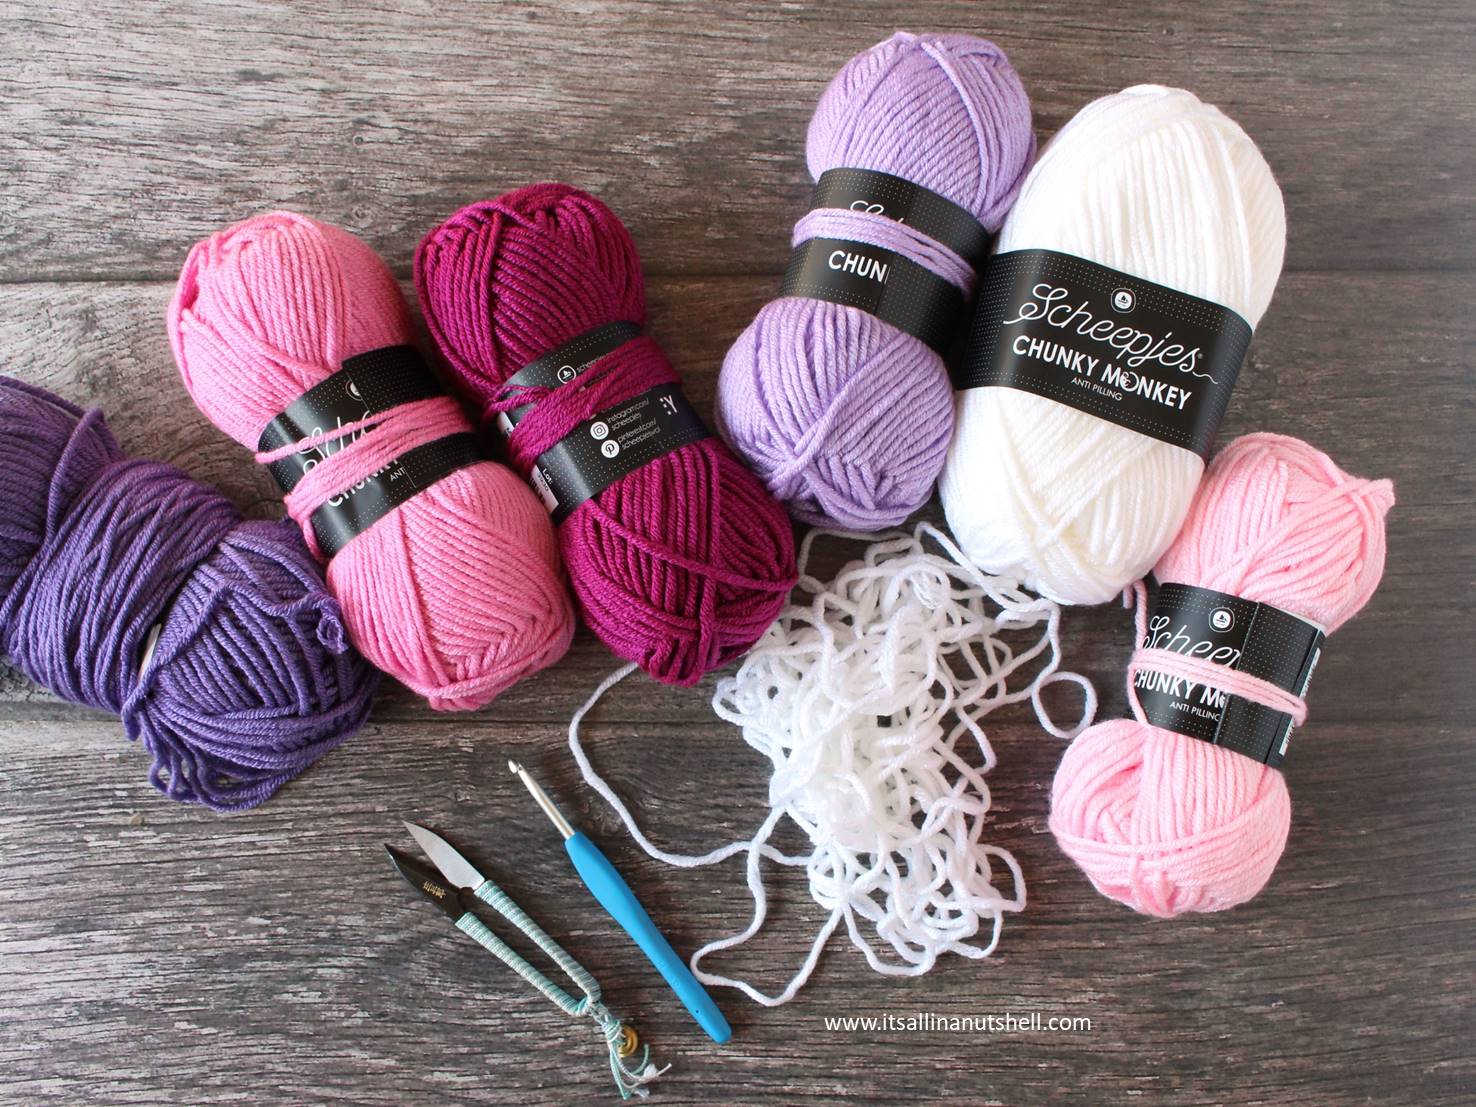
Scheepjes Chunky Monkey is available from many Scheepjes retailers, including Wool Warehouse (UK/Int), Jimmy Beans Wool (USA), The Knitting Network (UK/Int), and Caro’s Atelier (NL/EU).
Size
The final cushion measures 40cm x 40cm.
Gauge
Gauge is not essential for this project. If your gauge is different to mine, simply start the decrease in the pattern sooner/later so that your cushion will fit the inner.
Note about yarn amounts and colors
This pattern uses left over yarn from TLC Blanket. If you have too little yarn of any one color to make the number of rows indicated, you can replace that row with a different color. The color number A to F refer to the colors from TLC Blanket. You can find the original colors HERE.
Abbreviations
This pattern uses US terms.
ch chain
sc single crochet
ss slip stitch
st(s) stitch(es)
sc2tog two single crochet stitches worked together
sc3tog three single crochet stitches worked together
RS Right side of work
WS Wrong side of work
Video tutorial
To help you as much as possible, I have made full video tutorials showing every step involved in making your TLC Cushion. The videos are available in a LEFT HANDED version and a RIGHT HANDED version.
TLC Cushion – Free Crochet Pattern
Front panel
Row 1 (WS) With Color A and 5mm hook, ch2, 3sc in first ch. Turn. [3 sc]
Row 2 (RS) Ch1 (does not count as st here and throughout), 2sc in first st, 1sc in next st, 2sc in last st. Turn. [5 sc]
Row 3 Ch1, 2sc in first st, 1sc in next 3 sts, 2sc in last st. Turn. [7 sc]
Row 4 Ch1, 2sc in first st, 1sc in next 5 sts, 2sc in last st. Turn. [9 sc]
Row 5 Ch1, 2sc in first st, 1sc in next 7 sts, 2sc in last st. Turn. [11 sc]
Row 6 Ch1, 2sc in first st, 1sc in next 3 sts, 2sc in last st. Fasten off. Turn. [13 sc]
Row 7 Attach Color B in first st with ss, ch1, 2sc in first st, 1sc in next st till 1 st left, 2sc in last st. Turn. [15 sc]
Row 8 Ch1, 2sc in first st, 1sc in next st till 1 st left, 2sc in last st. Turn. [17 sc]
Row 9 Repeat Row 8. [19 sc]
Row 10 Repeat Row 8. [21 sc]
Row 11 Repeat Row 8. [23 sc]
Row 12 Repeat Row 8. Fasten off. [25 sc]
Rows 13-18 Repeat Rows 7-12 with Color C.
Rows 19-24 Repeat Rows 7-12 with Color E.
Rows 25-30 Repeat Rows 7-12 with Color A.
Rows 31-36 Repeat Rows 7-12 with Color D.
Rows 37-42 Repeat Rows 7-12 with Color E.
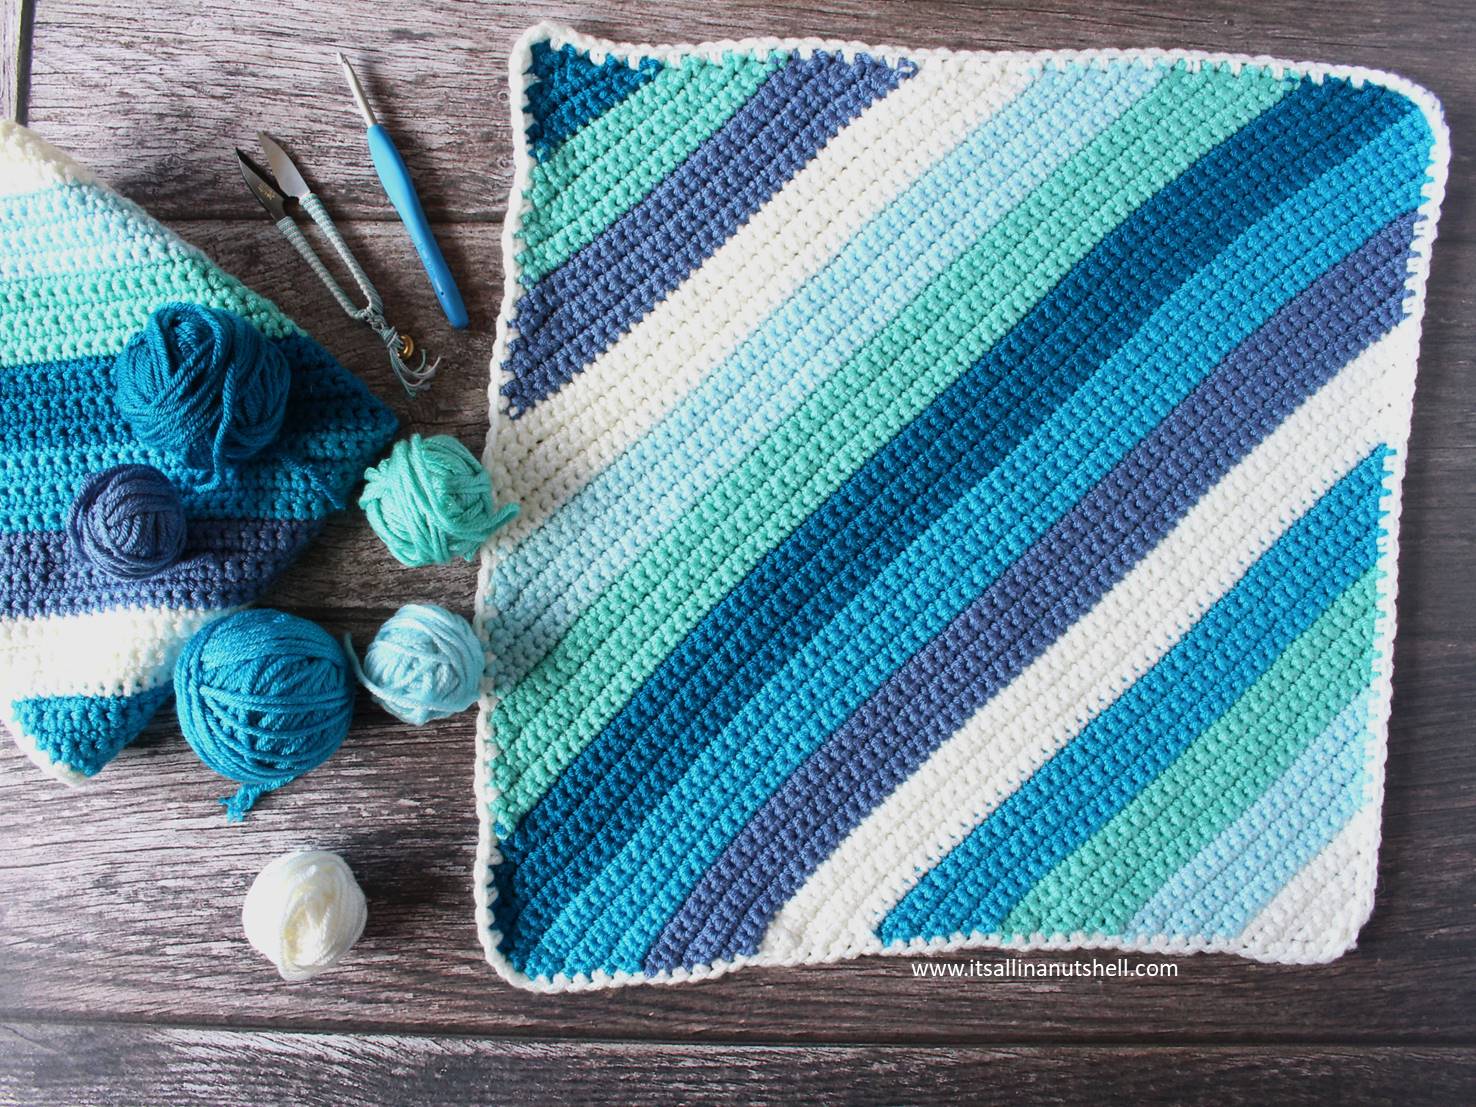
At this point your fabric is a triangle with the edges about 39cm. The stitch count at the end of row 42 is 85 sc. The following rows will decrease the diagonal of the fabric to end up with a square.
Row 43 Attach Color F in first st with ss, ch1, sc2tog over first 2 sts, 1sc in next st till 2 sts left, sc2tog over last 2 sts. Turn. [83 sc]
Row 44 ch1, sc2tog over first 2 sts, 1sc in next st till 2 sts left, sc2tog over last 2 sts. Turn. [81 sc]
Row 45 Repeat Row 44. [79 sc]
Row 46 Repeat Row 44. [77 sc]
Row 47 Repeat Row 44. [75 sc]
Row 48 Repeat Row 44. Fasten off. [73 sc]
Rows 49-54 Repeat Rows 43-48 with Color C.
Rows 55-60 Repeat Rows 43-48 with Color B.
Rows 61-66 Repeat Rows 43-48 with Color A.
Rows 67-72 Repeat Rows 43-48 with Color D.
Rows 73-78 Repeat Rows 43-48 with Color C.
Rows 79-83 Repeat Rows 43-47 with Color F.
Row 84 Ch1, sc3tog over all 3 sts. Fasten off.
Border on Panel
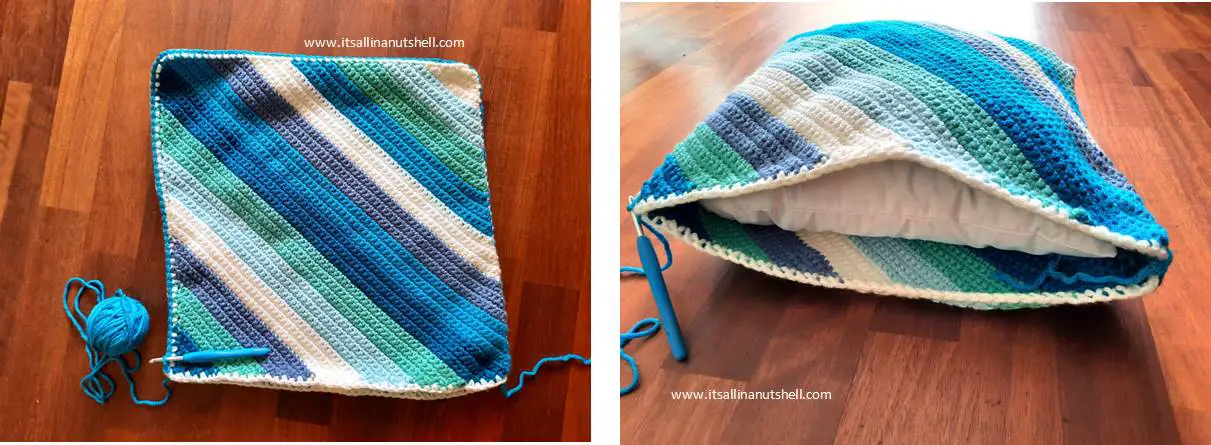
Attach color A in the first row on any edge with ss, ch1 (does not count as a st), 1sc in each row to end, close with ss in first st. Fasten off. Your panel will now look something like this. Note that your panel will pull to one corner, when you fill out the cushion with the inner, this will not be noticeable anymore. If it really bothers you, block your panel.
Back panel
Work the back panel identical to the front panel. If you run out of one color of yarn, substitute it for another color.
Assembling cushion
Work away all yarn tails on both panels. Place the two panels with the back sides facing. Attach any color through adjacent border stitches on both panels with a ss. Work ss in the next st for 3 on any edge, inserting your hook though all loops of the stitches on both panels. Insert the cushion inner in the pocket made. Continue with the slip stitches, closing the last edge of the cushion. Work away your last yarn tails.

I hope you enjoyed my TLC project. Above all, take good care of yourself and remember to give yourself some extra tender loving care from time to time.
Support me and my work
There are many ways that you can support me and my work and most of them are free. By visiting my website you are already supporting me! Also by viewing any of the free videos on my YouTube channel you support me.
Other ways to support me are to make a purchase from one of my affiliates. I get a small commission based on your purchase after you click one of the links on my website. It costs you absolutely nothing but helps me a lot. My affiliates are Amazon.co.uk, KnitPicks, Wool Warehouse, Jimmy Beans Wool, Minerva Craft, The Knitting Network, Love Crafts, and Caro’s Atelier.
If you would like to support me in ways that are out of pocket for you, you could buy any of my patterns on Ravelry. You can also make a DONATION, which I really appreciate. Even a small amount helps me to keep my small business running.
With love,
Esther
This post contains affiliate links. Please read my disclosure and copyright policy. All opinions are my own and I only link to products I use or would use. Thank you for using the links on my blog and supporting my work.
Copyright (c) 2014-2026 It’s all in a Nutshell Creations. All rights reserved.
Discover more from It's all in a Nutshell Crochet
Subscribe to get the latest posts sent to your email.