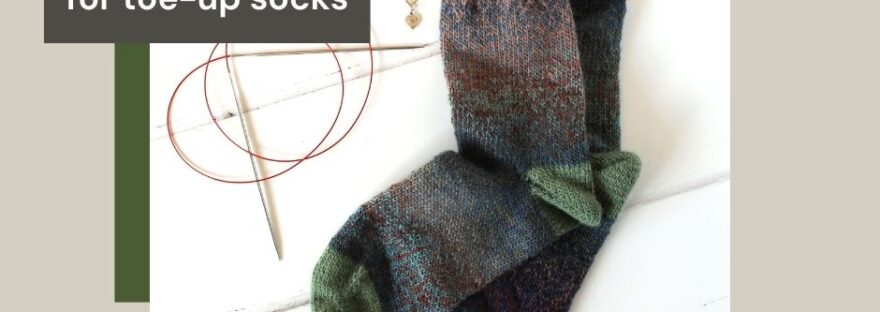
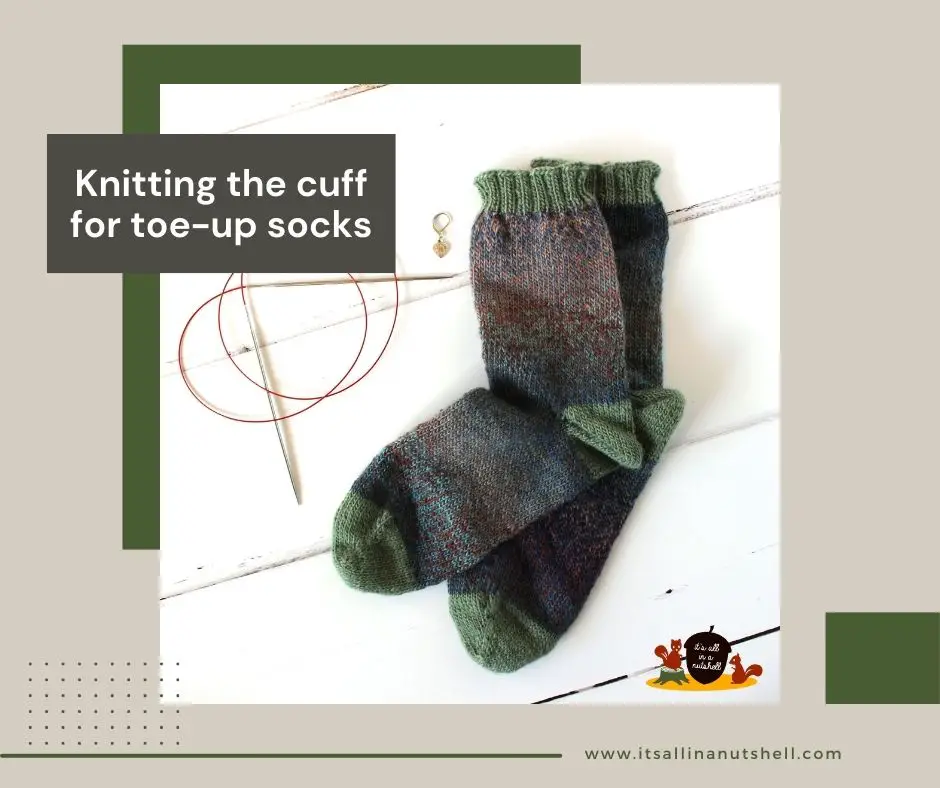
The cuff is the last part of the sock that needs making. The cuff is what makes the sock stay up, nothing so annoying as socks that sag all the time. The cuff is made in the same color as the toe and heel, giving a matching look to the sock.
Resources
- “Happy Toe-up Socks” overview on It’s All in a Nutshell website
- “Happy Toe-up Socks” full written pattern PDF
- Sock yarn
Overview of materials needed for knitting socks
I use the following materials in the video tutorials
- Scheepjes Our Tribe Olive Wreath (879)
- Scheepjes Our Tribe Marie (962)
- 2.5mm circular needles with 70cm cable
- 2.5mm Double Pointed Needles (DPNs)
- stitch markers & darning needle
Scheepjes Our Tribe is available from Wool Warehouse (UK/Int), Love Crafts (USA), Caro’s Atelier (NL/EU) or your favorite Scheepjes Stockist.
Video Tutorial
In the cuff video tutorial I show you how to work the final component of the sock. The knit and purl stitches help to make the cuff narrower than the rest of the sock, which is essential for the sock to wear comfortably.
Pattern
Abbreviations
k knit
kte knit all stitches to end of needle.
p purl
Instructions
Note that there are 3 instructions given in round brackets, these are for socks size (small, medium, large). Refer to the table HERE for details on which size you are making.
At this point the body of the sock is completed and you have fastened off the colour changing yarn. Work the cuff with the solid color yarn used for the toe and heel.
Preparation Check if the number of stitches in total is dividable by 4. If this is not the case, knit one round and decrease as needed.
Optional Round 0 kte on both needles.
Round 1 (k2, p2) till end of needle 2.
[56, 64, 72]
Repeat Round 1, 9 more times.
[56, 64, 72]
Gauge
The gauge for the socks given in this pattern is 5cm x 5cm equals 15 stitches x 19 rows in stockinet stitch.
A few notes when knitting the cuff
Also here, pay attention to your yarn tension at the edge of the sock so that you don’t get any laders just like you did for the foot of the sock.
If your total number of stitches is dividable by 4, but the stitches on needle 1 and 2 are not, slip 2 stitches from needle 1 to needle 2 when you are halfway through Round 1. That way you will always start a needle with k2, and that is just easier.
If you want a smooth transition for the color change on the cuff, first knit all stitches on both needles in the new color, and only start the cuff stitch pattern on the second round. When starting the second round, also pick up the bar below the stitch just like we did when we started the foot to prevent the jump in the color.
In this pattern, I am making the cuff 10 rounds long, but you can easily make 12 or even 15 rounds if you want a really bold cuff.
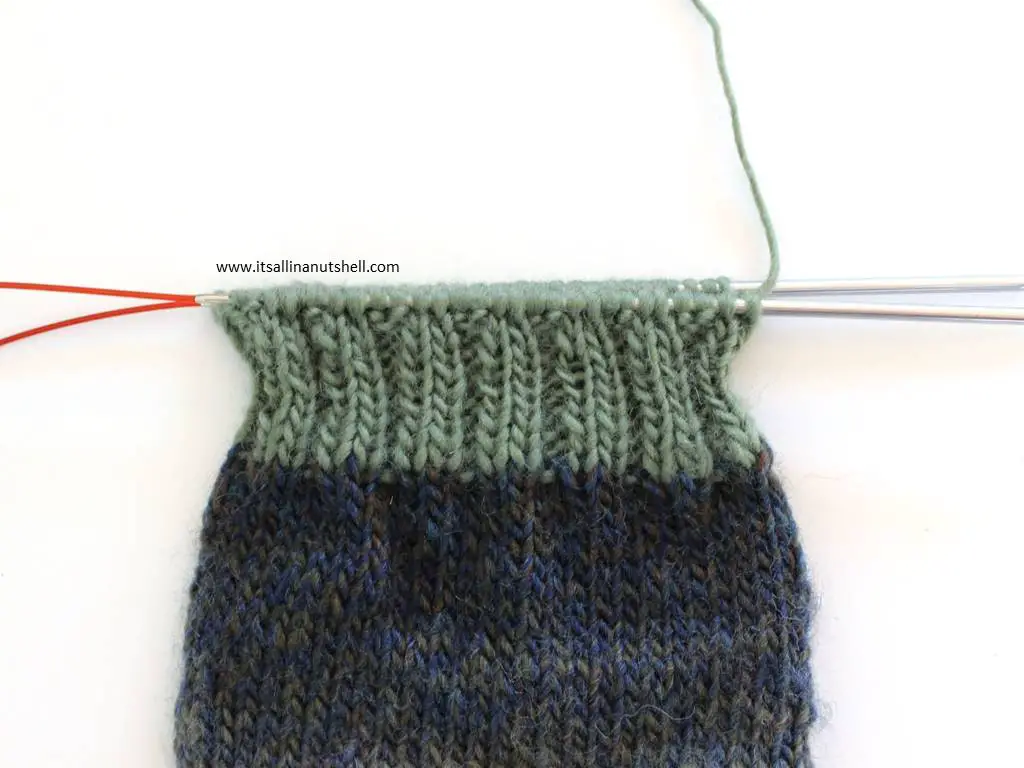
Your sock at this point
After completing the cuff, your sock is almost done. Just need to bind everything off.
Support me and my work
There are many ways that you can support me and my work and most of them are free. By visiting my website you are already supporting me! Also by viewing any of the free videos on my YouTube channel you support me.
Other ways to support me are to make a purchase from one of my affiliates. I get a small commission based on your purchase after you click one of the links on my website. It costs you absolutely nothing but helps me a lot. My affiliates are Amazon.co.uk, KnitPicks, Wool Warehouse, Jimmy Beans Wool, Minerva Craft, The Knitting Network, Love Crafts, and Caro’s Atelier.
If you would like to support me in ways that are out of pocket for you, you could buy any of my patterns on Ravelry or my SHOP. You can also make a DONATION, which I really appreciate. Even a small amount helps me to keep my small business running.
#itsallinanutshell
If you are making something with one of my patterns or one of my videos, I would love to see your work. Use the hashtag #itsallinanutshell on Instagram to help me find it, share your work in my It’s all in a Nutshell Crochet Nuts group on Facebook or tag me in one of your posts.
With love,
Esther
Follow me on
Facebook, YouTube, Ravelry, Instagram
This post contains affiliate links. Please read my disclosure and copyright policy. All opinions are my own and I only link to products I use or would use. Thank you for using the links on my blog and supporting my work.
Copyright (c) 2014-2025 It’s all in a Nutshell Creations. All rights reserved.
Discover more from It's all in a Nutshell Crochet
Subscribe to get the latest posts sent to your email.