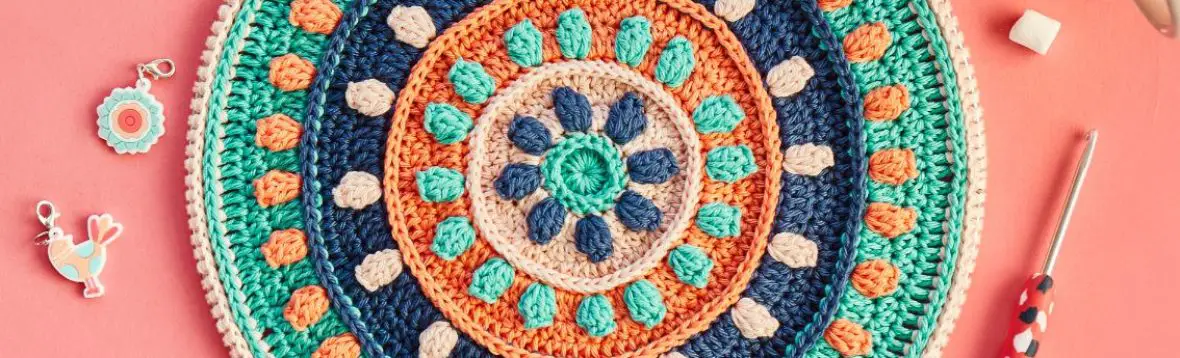

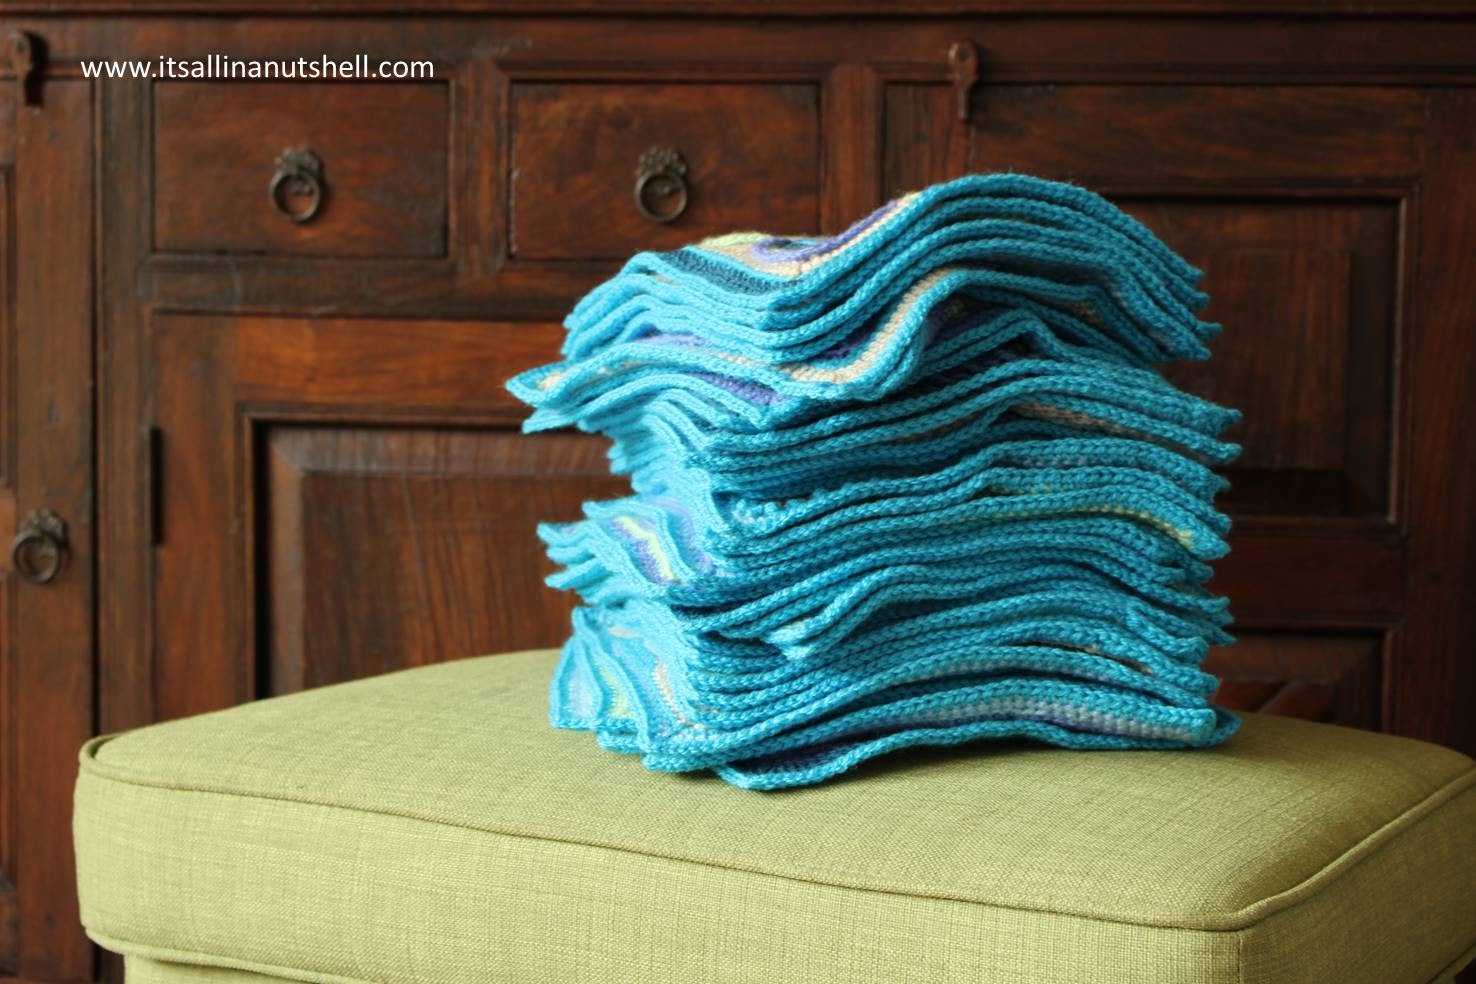
The time has come to assemble all 35 of those fabulous squares making up Nuts about Squares CAL into one amazing blanket. I have purposefully taken two weeks for assembling our blanket because to my experience assembling a blanket is a LOT of work and needs to be done with care to ensure a fabulous end result.
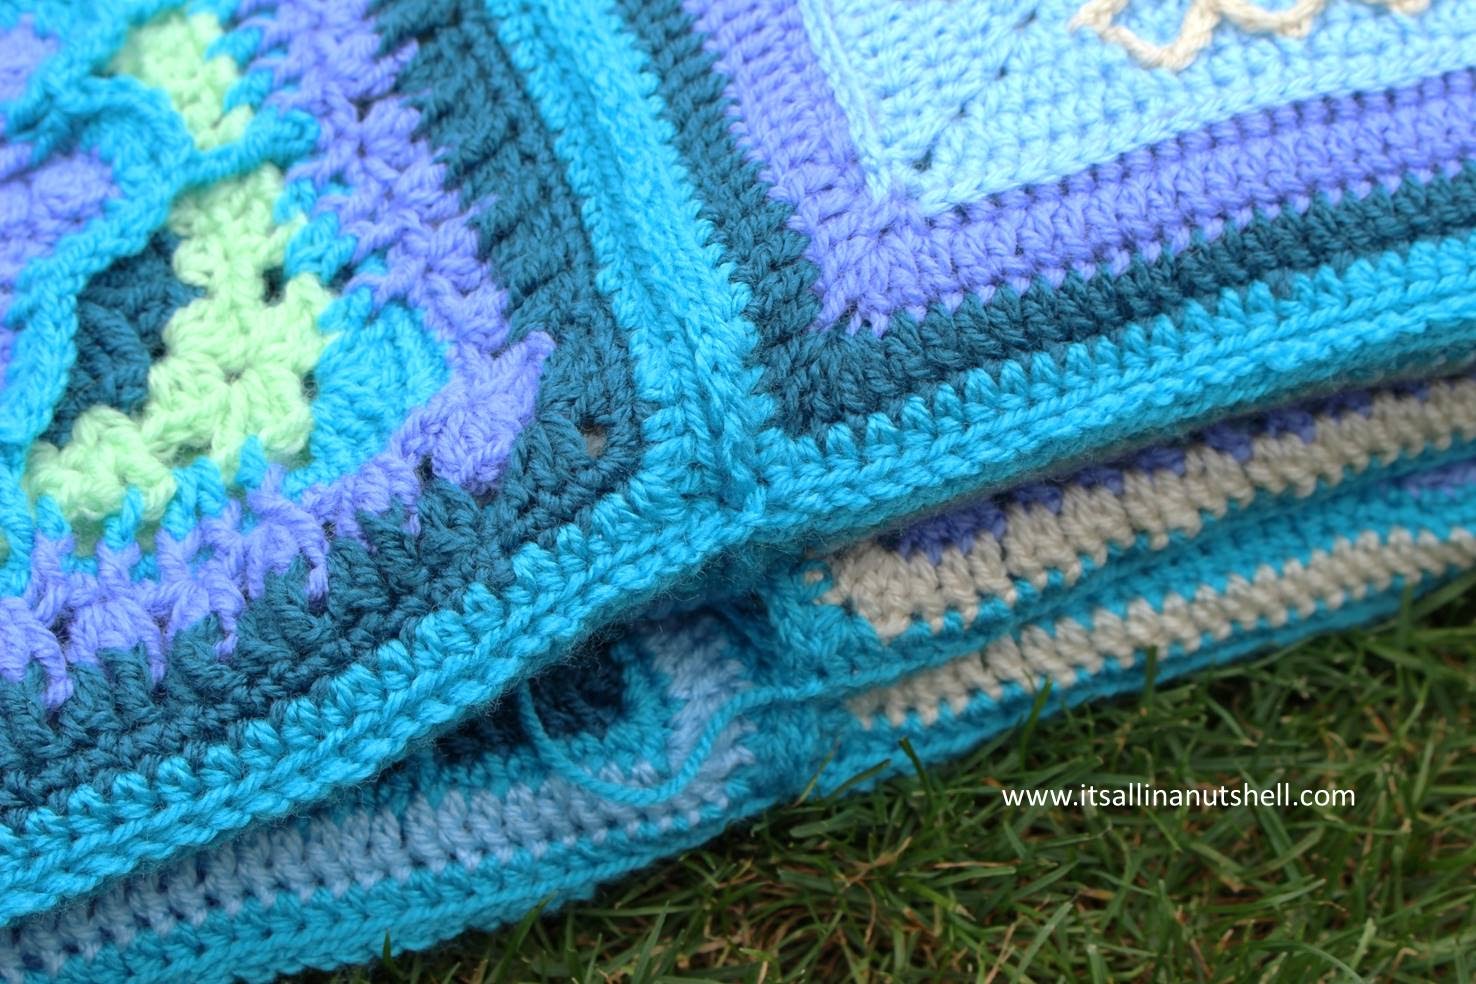
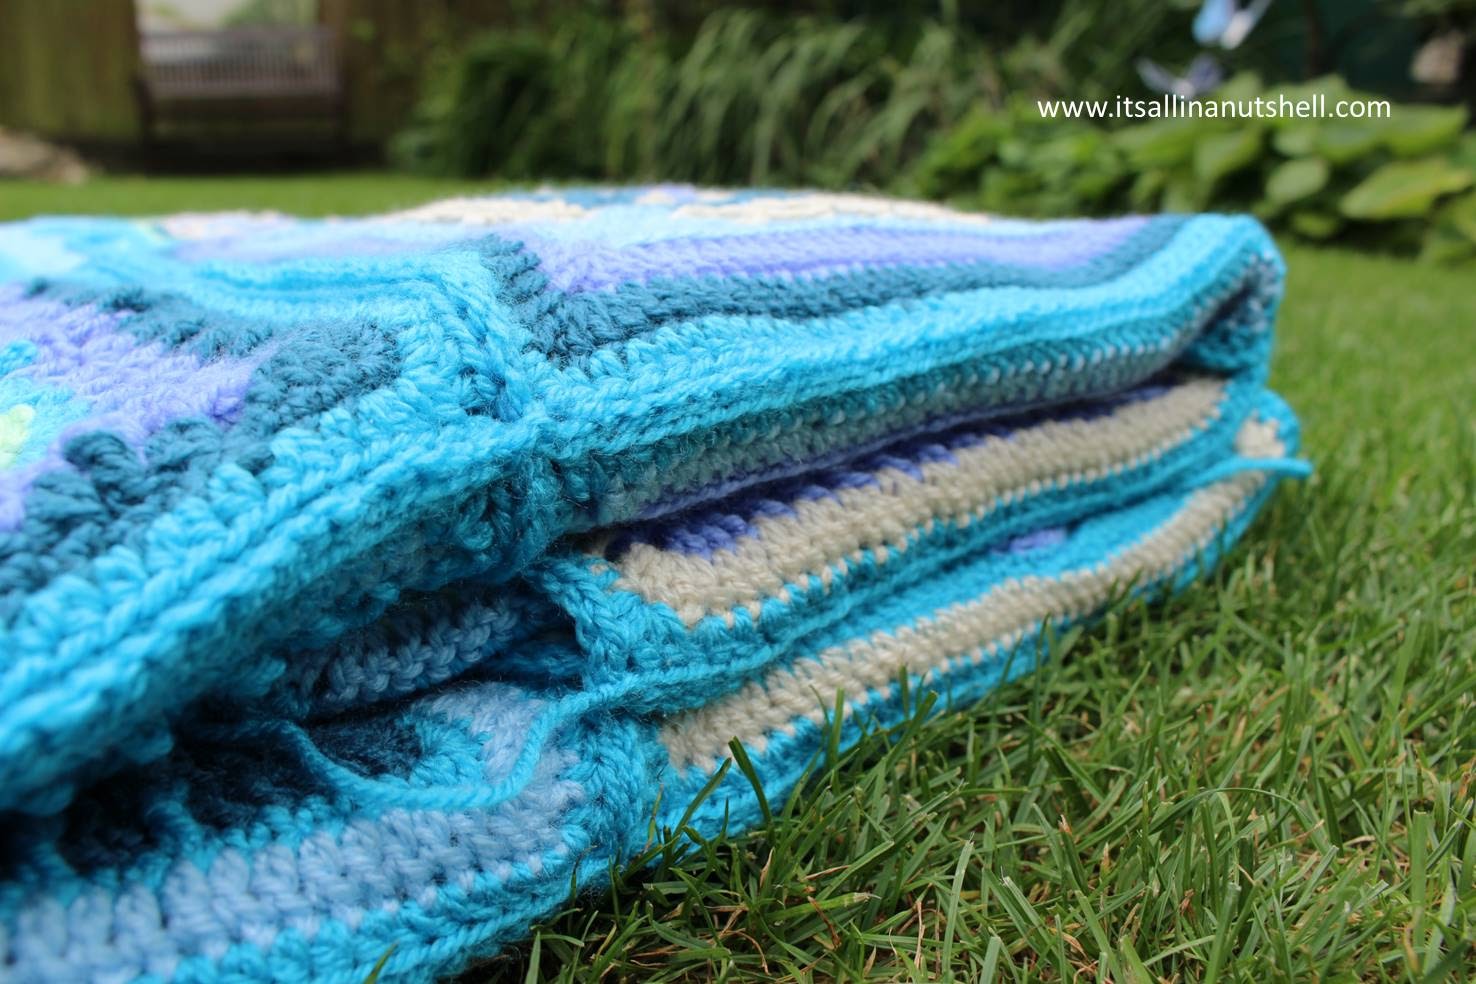
We are going to use flat surface slip stitches to join our squares because this gives a professional and very aesthetic finish. It is slow going, I realize that (another reason why we are taking two weeks to join the blanket), but the end result is so worth it!
Resources and useful links
- Add Nuts About Squares CAL on Ravelry
- Nuts about Squares CAL Information
- Written instructions for joining Nuts about Squares in this post
- *** Video Tutorial *** for joining Nuts about Squares
- All Nuts about Squares video tutorials in one YouTube playlist
NEDERLANDS / Dutch
- Nederlandse geschreven instructies voor het hechten van Nuts about Squares in deze post
Yarn kits
The 3 colorways Nuts about the Earth, Nuts about the Sea, and Nuts about the Sky are available as kits. You can use one of the suggested kits/colorways, or you can use your own colors and yarn.
I have kits available for all three Nuts About Squares Colorways in my SHOP HERE. Choose between Nuts About Squares – EARTH in Scheepjes Stone Washed, Nuts About Squares – SEA in Scheepjes Colour Crafter, and Nuts About Squares – SKY in Scheepjes Sunkissed.
I have a detailed post with all the yarn information, amounts, weights and color combinations for the 3 colorways, you can find the yarn/color information HERE.
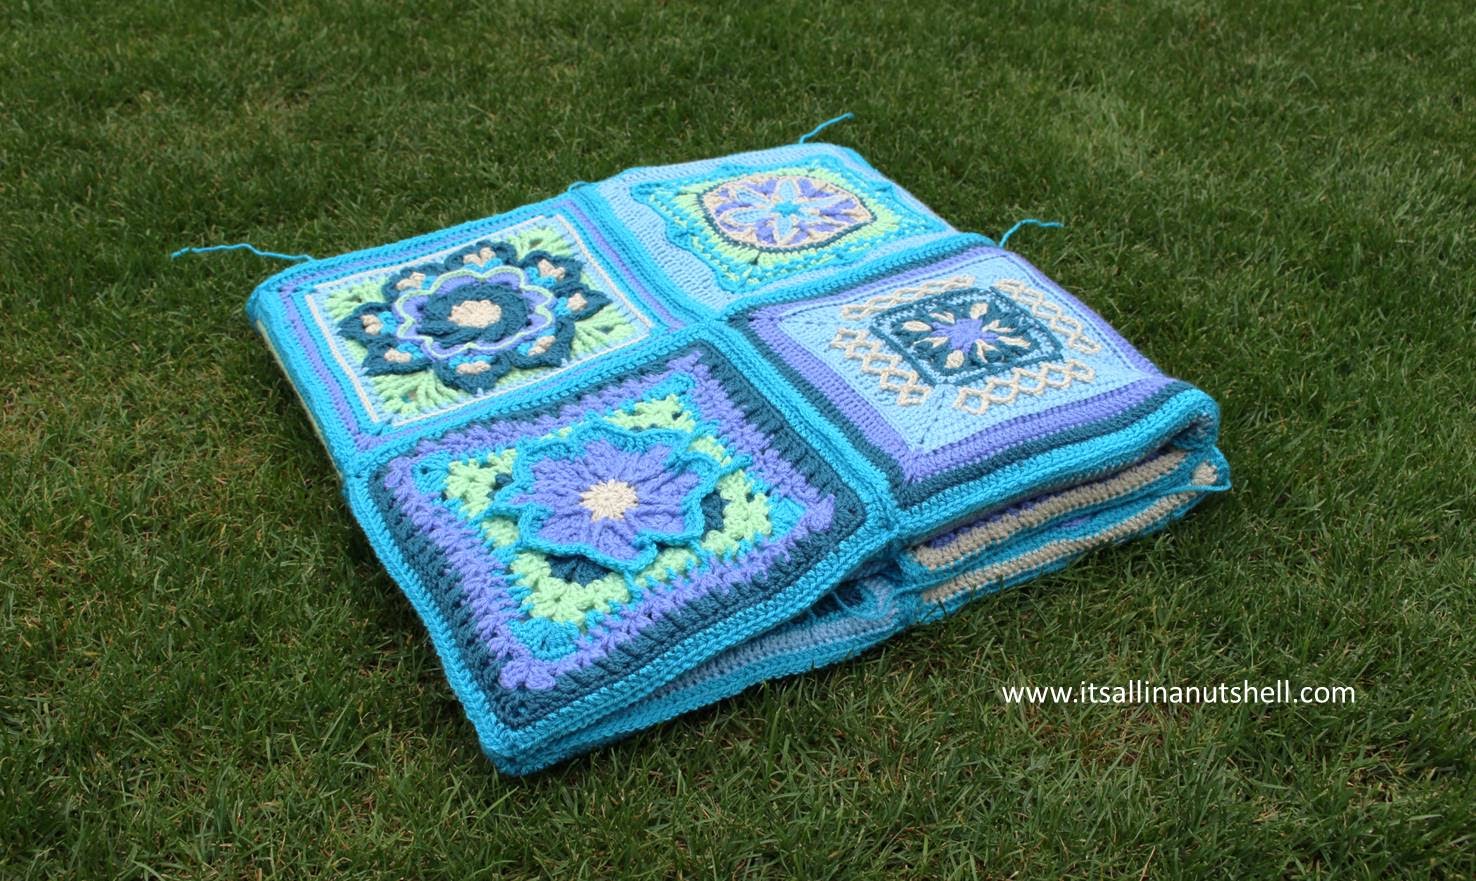
Layout & colorway
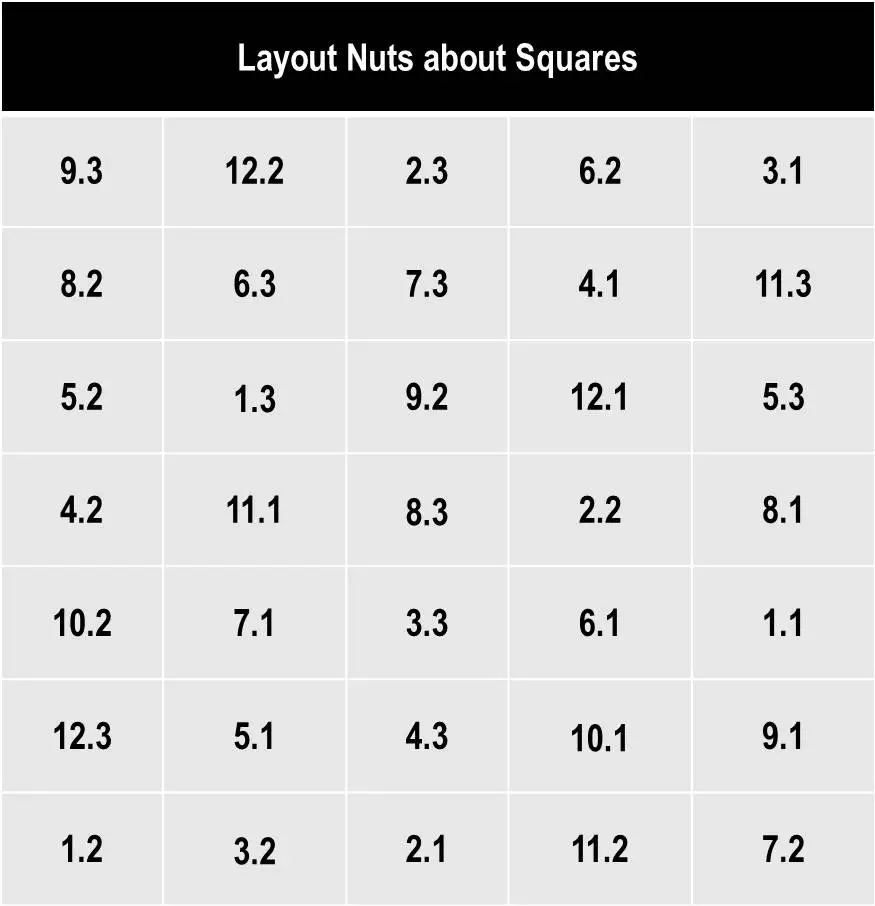
The colorway for joining Nuts about Squares is simple, join your blanket using Color A. The table below gives a suggestion for how you could arrange your squares. However, if you want it totally different, please do so. It is your blanket!
Instructions Nuts about Squares week 13 & 14
Use the following hook size to join your squares, or go up 0.5mm from the hook size that you have been using the most during the CAL:
- Color Crafter – 4.5mm
- Stone Washed – 4.0mm
- Sunkissed – 3.5mm
I advise to go up a hook size because it will help prevent the slip stitch join from being too tight and rippling. You want your join to be smooth and have a bit of elasticity to easy use and comfort of the blanket.
Arrange the squares according to the layout given above or use your own layout. The joining of the squares is done in continuous rows, square by square until an entire row is finished. Very important: do not cut your yarn after 2 squares are joined but only cut your yarn when you reach the end of a row. First join all the horizontal rows of the blanket and only then join the vertical rows.
Joining is done from right to left for right handed people or left to right for left handed people. One thing that is VERY important, make sure that your squares don’t twist on themselves, particularly when you have only one or two rows joined. You will be so mad at yourself if that happens.
Maybe when you read the description of the join you feel a bit lost. I show you how to join the blanket in THIS VIDEO, maybe that helps you visualize the joining process.
Horizontal join
With Color A make a slip knot on your hook and align the first two squares that need to be joined with their right sides facing upwards, in other words, with their back sides facing each other. Make a slip stitch through the ch2-corner space of both squares, making sure that your yarn is BELOW your work between the squares. You will be joining the squares by catching one loop at a time on each of the two squares directly opposite each other. These are the two most inner loops of the squares as they lay next to one another.
Insert your hook from front to back in the inner loop of the first stitch. Then insert the hook in the inner loop (also from front to back) of the first stitch of the opposite square and pull your yarn through all loops on your hook to complete the slip stitch. Continue to the next stitch and join in the same way till you have joined all 44 stitches.
When you reach the end of the first two squares, make a slip stitch through the ch2-corners of both squares. DO NOT CUT your yarn, but continue on to the next two squares.
Align the next two squares that are to be joined adjacent to the first two. Pay extra attention that you have the squares in the correct order. You will be amazed at how easy it is to get your squares connected in mirror image.
Continue by making a slip stitch through the ch2-corners of the next two squares and then join each each of the 44 stitches with a slip stitch in exactly the same way as the previous square. Continue till all the squares in one row are joined. Now you can cut your yarn.
Continue like this for all the horizontal lines in the blanket. Be careful to ensure your previously joined squares are NOT TWISTED when you move from one row to the next.
Vertical join
Use the same method when joining the vertical joins in the blanket.
A tip: although this is not strictly necessary, I find that my joins are more flexible when I do the following when I reach a crossing. Work a sc through the ch2-corner spaces of the two squares currently at, ch1 to cover the slip stitches from the horizontal join, sc through the ch2-corner of the next two squares. I find that by doing a sc instead of a ss as well as the extra ch1 that the join is more natural looking and does not pull in on itself.
Yarn tails & finishing
I left my yarn tails from the joins till I had the border completed because it gives more options for working them away. You can leave blocking your blanket till you have finished the entire blanket.
Nederlandse Instructies (Dutch) voor Nuts about Squares week 13 & 14
Gebruik de volgende haaknaald om je vierkanten aan elkaar te haken of neem een 0.5mm grotere naald dan die je voor de meeste vierkanten van de CAL hebt gebruikt:
- Color Crafter – 4.5mm
- Stone Washed – 4.0mm
- Sunkissed – 3.5mm
Ik raad aan een maat grotere haaknaald te gebruiken omdat het helpt voorkomen dat je halve vasten te strak worden en zo de deken in elkaar trekken. Je wilt de naad soepel hebben met een beetje elasticiteit zodat de deken straks makkelijk te gebruiken is en comfortabel valt.
Rangschik de vierkanten zoals in bovenstaand diagram of gebruik je eigen layout. De vierkanten worden in ononderbroken rijen aan elkaar gehaakt, vierkant voor vierkant tot de hele rij aan elkaar zit. Erg belangrijk: Knip de draad niet af zodra je 2 vierkanten aan elkaar hebt, maar pas als de hele rij aan elkaar zit. Haak eerst alle horizontale rijen van de deken aan elkaar en dan daarna de verticale rijen.
Rechtshandigen haken de vierkanten aan elkaar van rechts naar links, linkshandigen van links naar rechts. Nog iets dat ERG belangrijk is: wees er zeker van dat je vierkanten niet gedraaid of verkeerd om zitten, vooral als je nog maar 1 of 2 rijen aan elkaar hebt. Je zult zo boos zijn op jezelf als het gebeurt.
Misschien voel je je een beetje verloren als je deze aanwijzingen voor het aan elkaar haken leest. Ik zal je de stappen laten zien in deze Engelstalige video, misschien helpt dat om het proces duidelijk en zichtbaar te maken.
Horizontaal
Kleur A: maak een schuiflus op je haaknaald en leg de eerste twee vierkanten die aan elkaar gehaakt moeten worden naast elkaar met de goede kant naar boven, ofwel met de verkeerde kanten tegen elkaar. Haak een halve vaste door de hoek 2-lossenbogen van beide vierkanten, wees er zeker van dat je werkdraad ONDER je werk ligt en tussen de vierkanten. Je haakt de vierkanten aan elkaar door één voor één de achterste lusjes van de tegenover elkaar liggende steken op te nemen. Dit zijn dus de meest binnenste lusjes van de steken als de vierkanten naast elkaar liggen.
Steek je haaknaald van voor naar achter door het binnenste lusje van de eerste steek. Steek daarna je haaknaald (ook van voor naar achter) door het binnenste lusje van de eerste steek van het tegenoverliggende vierkant, maak een omslag en haal de draad door alle lussen op de naald om de halve vaste te maken. Ga verder met de volgende steek en haak op dezelfde manier alle 44 steken met halve vasten aan elkaar.
Aan het eind gekomen van de eerste twee vierkanten maak je nog een halve vaste door de 2-lossenbogen van de hoeken samen. KNIP de draad NIET AF, maar ga verder met de volgende twee vierkanten.
Leg de volgende twee vierkanten die aan elkaar moeten op de juiste plek naast de eerste twee vierkanten. Let extra goed op dat ze in de juiste volgorde liggen, het is verbazend eenvoudig om ze gespiegeld aan elkaar te zetten.
Vervolg door een halve vaste door de 2-lossenbogen van de nieuwe vierkanten te maken en haak dan ook elk van de 44 steken aan elkaar op precies dezelfde manier als de eerste vierkanten. Ga zo door tot alle vierkanten van deze rij aan elkaar zijn gehaakt. Nu mag de draad worden afgeknipt.
Op dezelfde manier haak je alle horizontale rijen aan elkaar. Kijk zorgvuldig of je eerder aan elkaar gehaakte vierkanten niet gedraaid liggen als je van de ene rij naar de andere gaat.
Verticaal
Werk op dezelfde manier de verticale verbindingen van de deken.
Een tip, hoewel niet strikt noodzakelijk: mijn naden zijn naar mijn idee meer flexibel als ik het volgende doe op een kruispunt: Haak 1 vaste door de 2-lossenbogen van de vierkanten waaraan je werkt, 1 losse (om de halve vasten van de horizontale verbinding te bedekken), 1 vaste door de 2-lossenbogen van de volgende twee vierkanten. Door een vaste te haken in plaats van een halve vaste en ook door de extra losse vind ik dat de verbinding meer natuurlijk lijkt en minder de neiging heeft om in elkaar te trekken.
Draadjes en eindjes wegwerken
Ik heb mijn draadeindjes van de verbindingen laten hangen tot ik de uiteindelijke rand ook klaar had omdat ik daardoor meer mogelijkheden had om ze weg te werken. Je hoeft de deken pas op te spannen als deze helemaal klaar is.
Video tutorial
If the words make no sense to you, and I don’t blame you if they don’t, maybe the video tutorial will help you to master the slip stitch join and get your Nuts about Squares blanket beautifully joined.
Share your blanket
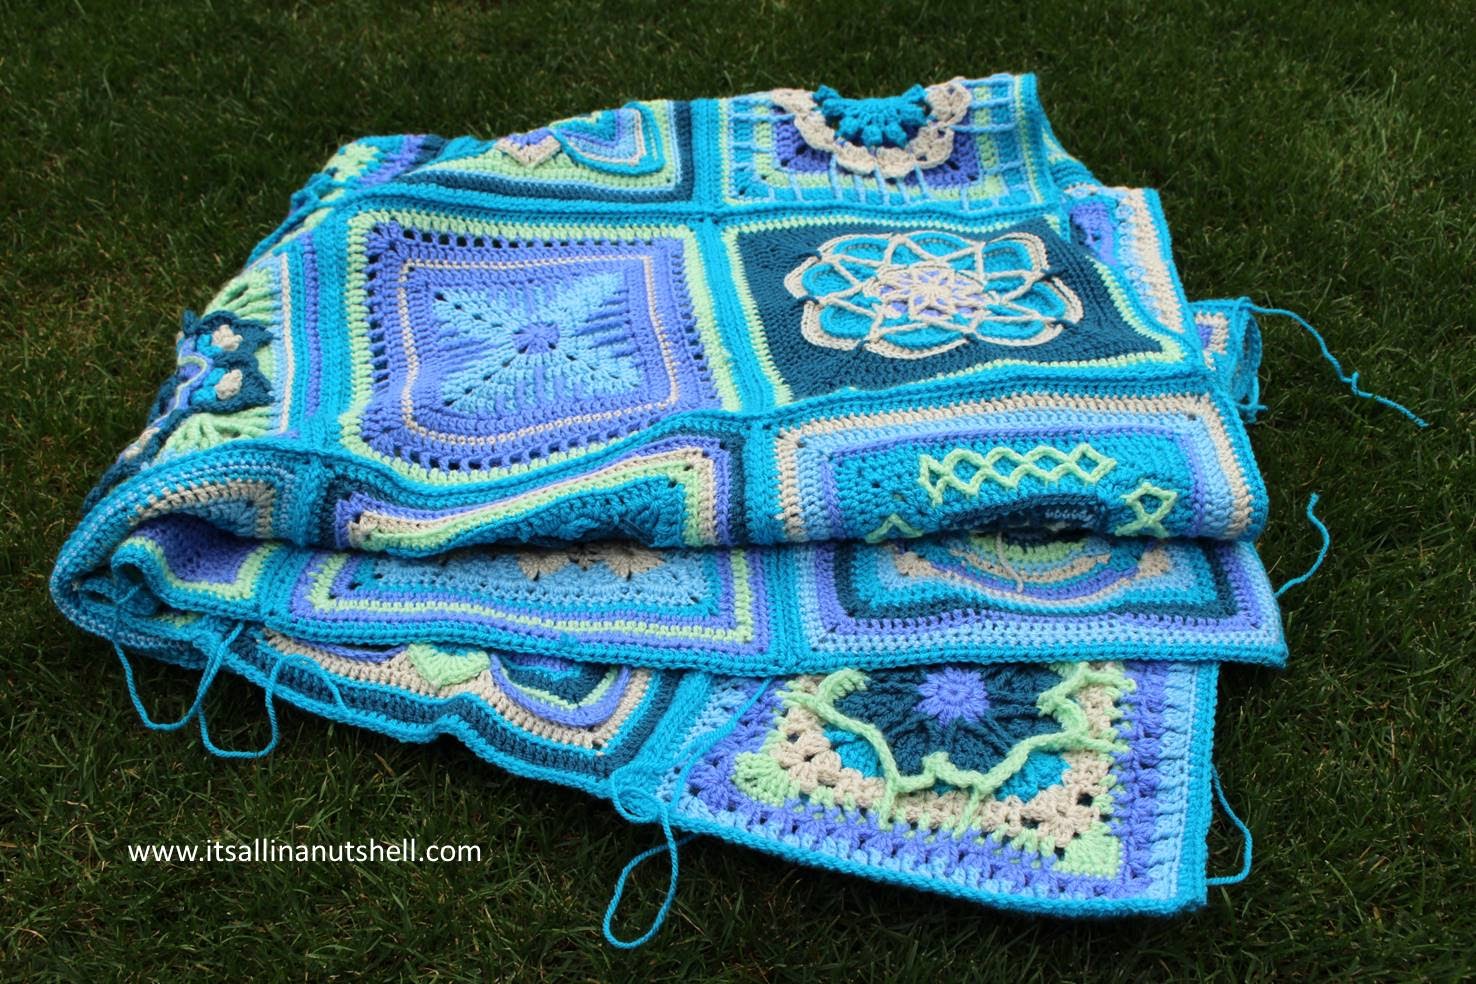
Look at that! Now you have a real blanket just waiting for the finishing touch. If you would like to share your blanket you can do so in the Official CCC Social Group on Facebook, share it on my Facebook page or tag me in your post on Instagram. If you use the hastag #NutsAboutSquares it will help me find it.
I hope to see all of you two weeks from now for the last installment of Nuts about Squares, the border!
With love,
Esther
Follow me on
Facebook, YouTube, Ravelry, Instagram
This post contains affiliate links. Please read my disclosure and copyright policy. All opinions are my own and I only link to products I use or would use. Thank you for using the links on my blog and supporting my work.
Copyright (c) 2014-2025 It’s all in a Nutshell Creations. All rights reserved.
Discover more from It's all in a Nutshell Crochet
Subscribe to get the latest posts sent to your email.
is there a pdf of the joining instructions?
There is a print&pdf button at the bottom of the post that you can use to make a pdf. You can then also delete parts of this post that you dont need.
Dear Esther, first of all thank you for this amazing CAL. I LOVE your choice of squares and your kind video tutorials. I would like to ask how long will be the tutorials and patterns free to use. I’ve just joined your CAL, at the very end. and would like to continue with it. So far I managed only Week 11 and 12.
The videos will be available online and for free indefinetally. The paid patterns in the CAL will be available for free till july 2018.
Thanks a lot
What colours do we need for the fringe? I work with scheepjes colour crafter, and I fear that my wool is not enough 🙁
You need colors A, D, E and F for the border.
I didn’t measure the yarn needed for the join, but for the border you need the following (approximately)
Color A – 120m
Color D – 270m
Color E – 190m
Color F – 150m
Thank you very much … and thank you for the amazing CAL 🙂
Hello, is it possible to have the explanations in french ? Thanks
I don’t speak French 🙂
Nuts about Squares is available in English and Dutch. The videos are available in English and many people that don’t speak English still follow the videos.
thank you for your answer… it is a pity for the french version….
Hi Esther, i’ve enjoyed all your videos. You explain everything so clearly. Thank you so much. I’ve started joining my squares, and now after the first row (double row) i’ve noticed i started the wrong way- 5 pairs insted of 7 (virticly not horizontal) how critical is it? Can i continue in the same direction or recomand undoing it all?
No, no worries, it Works both ways, i just perfect doing the long stretches first
I really need some help with the borders of the tropical delight pattern can you please get back to me as I’ve been working on this for months and nobody seems to understand what to do about the corners
The border pattern of Tropical Delight is not part of Nuts About Squares, only the Tropical Delight square itself is. Hence I cannot help you with the border you are referring to. You can best ask the person who hosts the pattern on her website. I realize that the designer is no longer active in the crochet community.