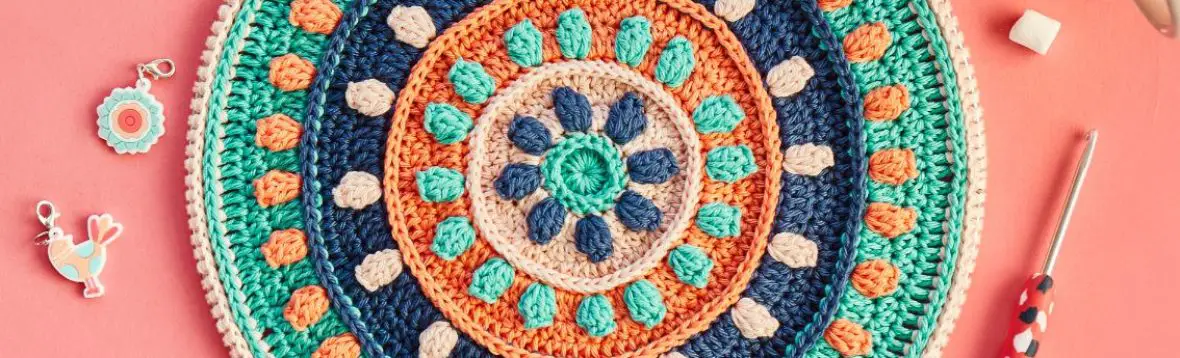
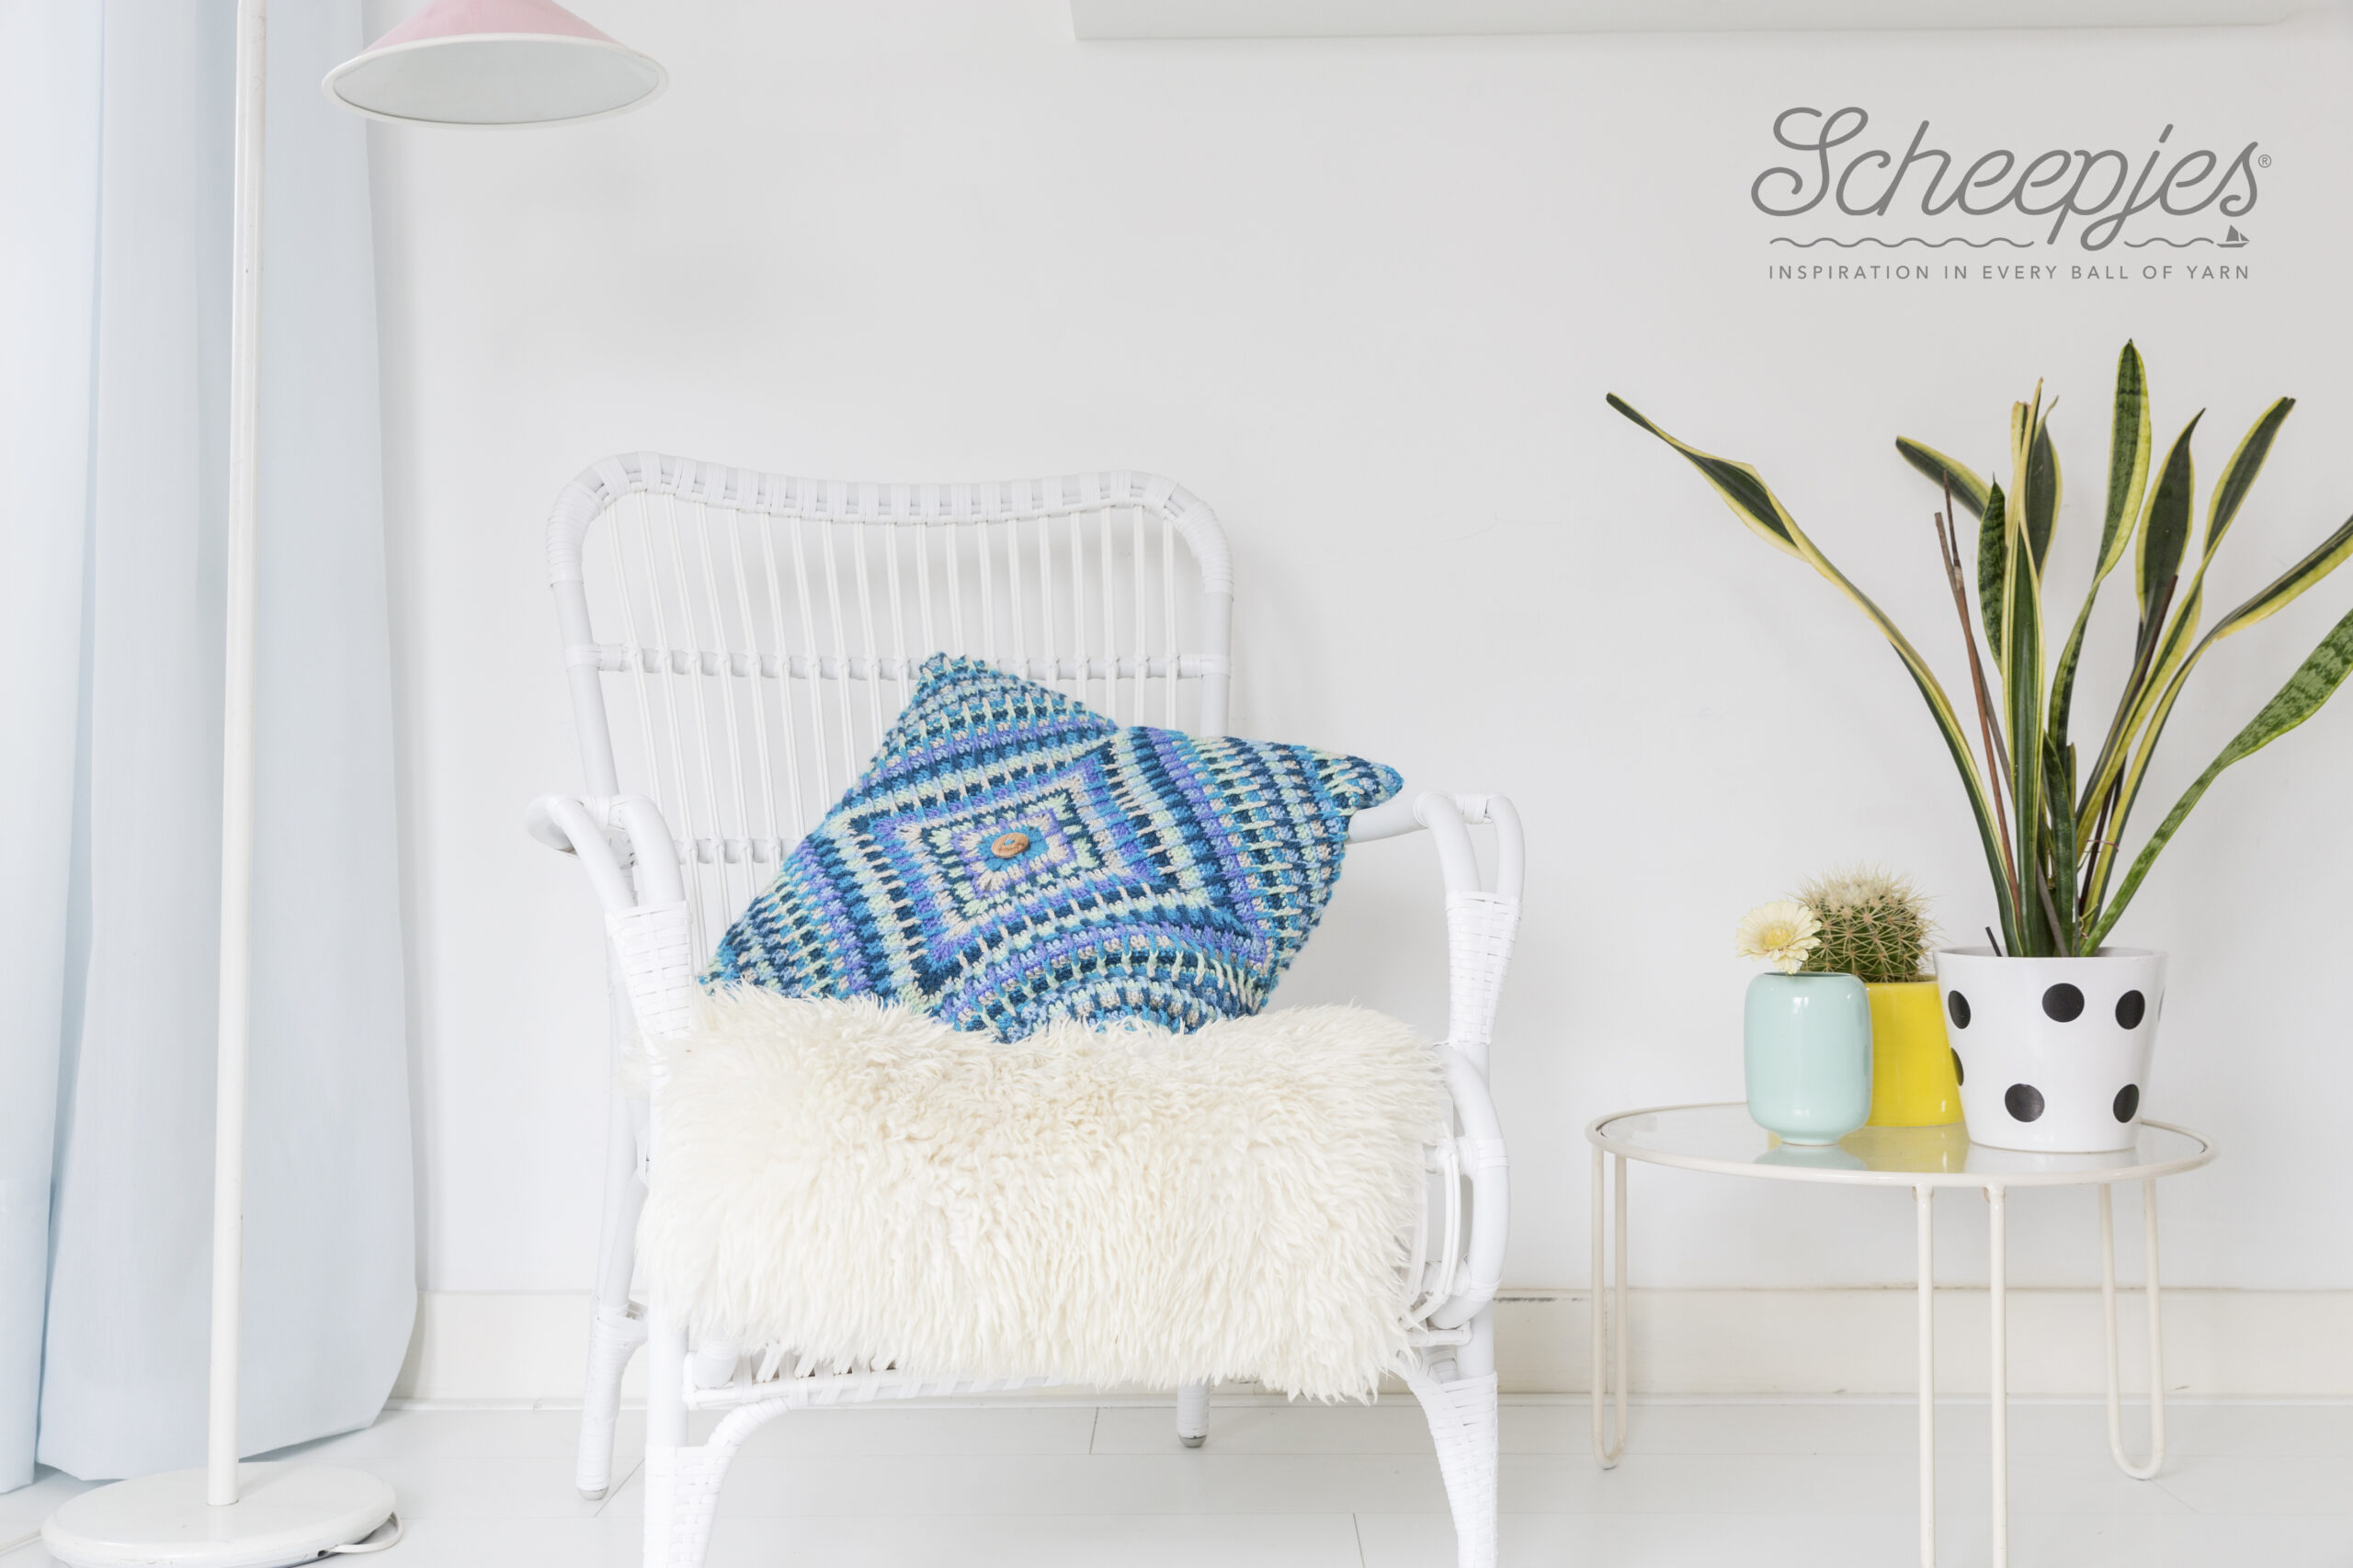
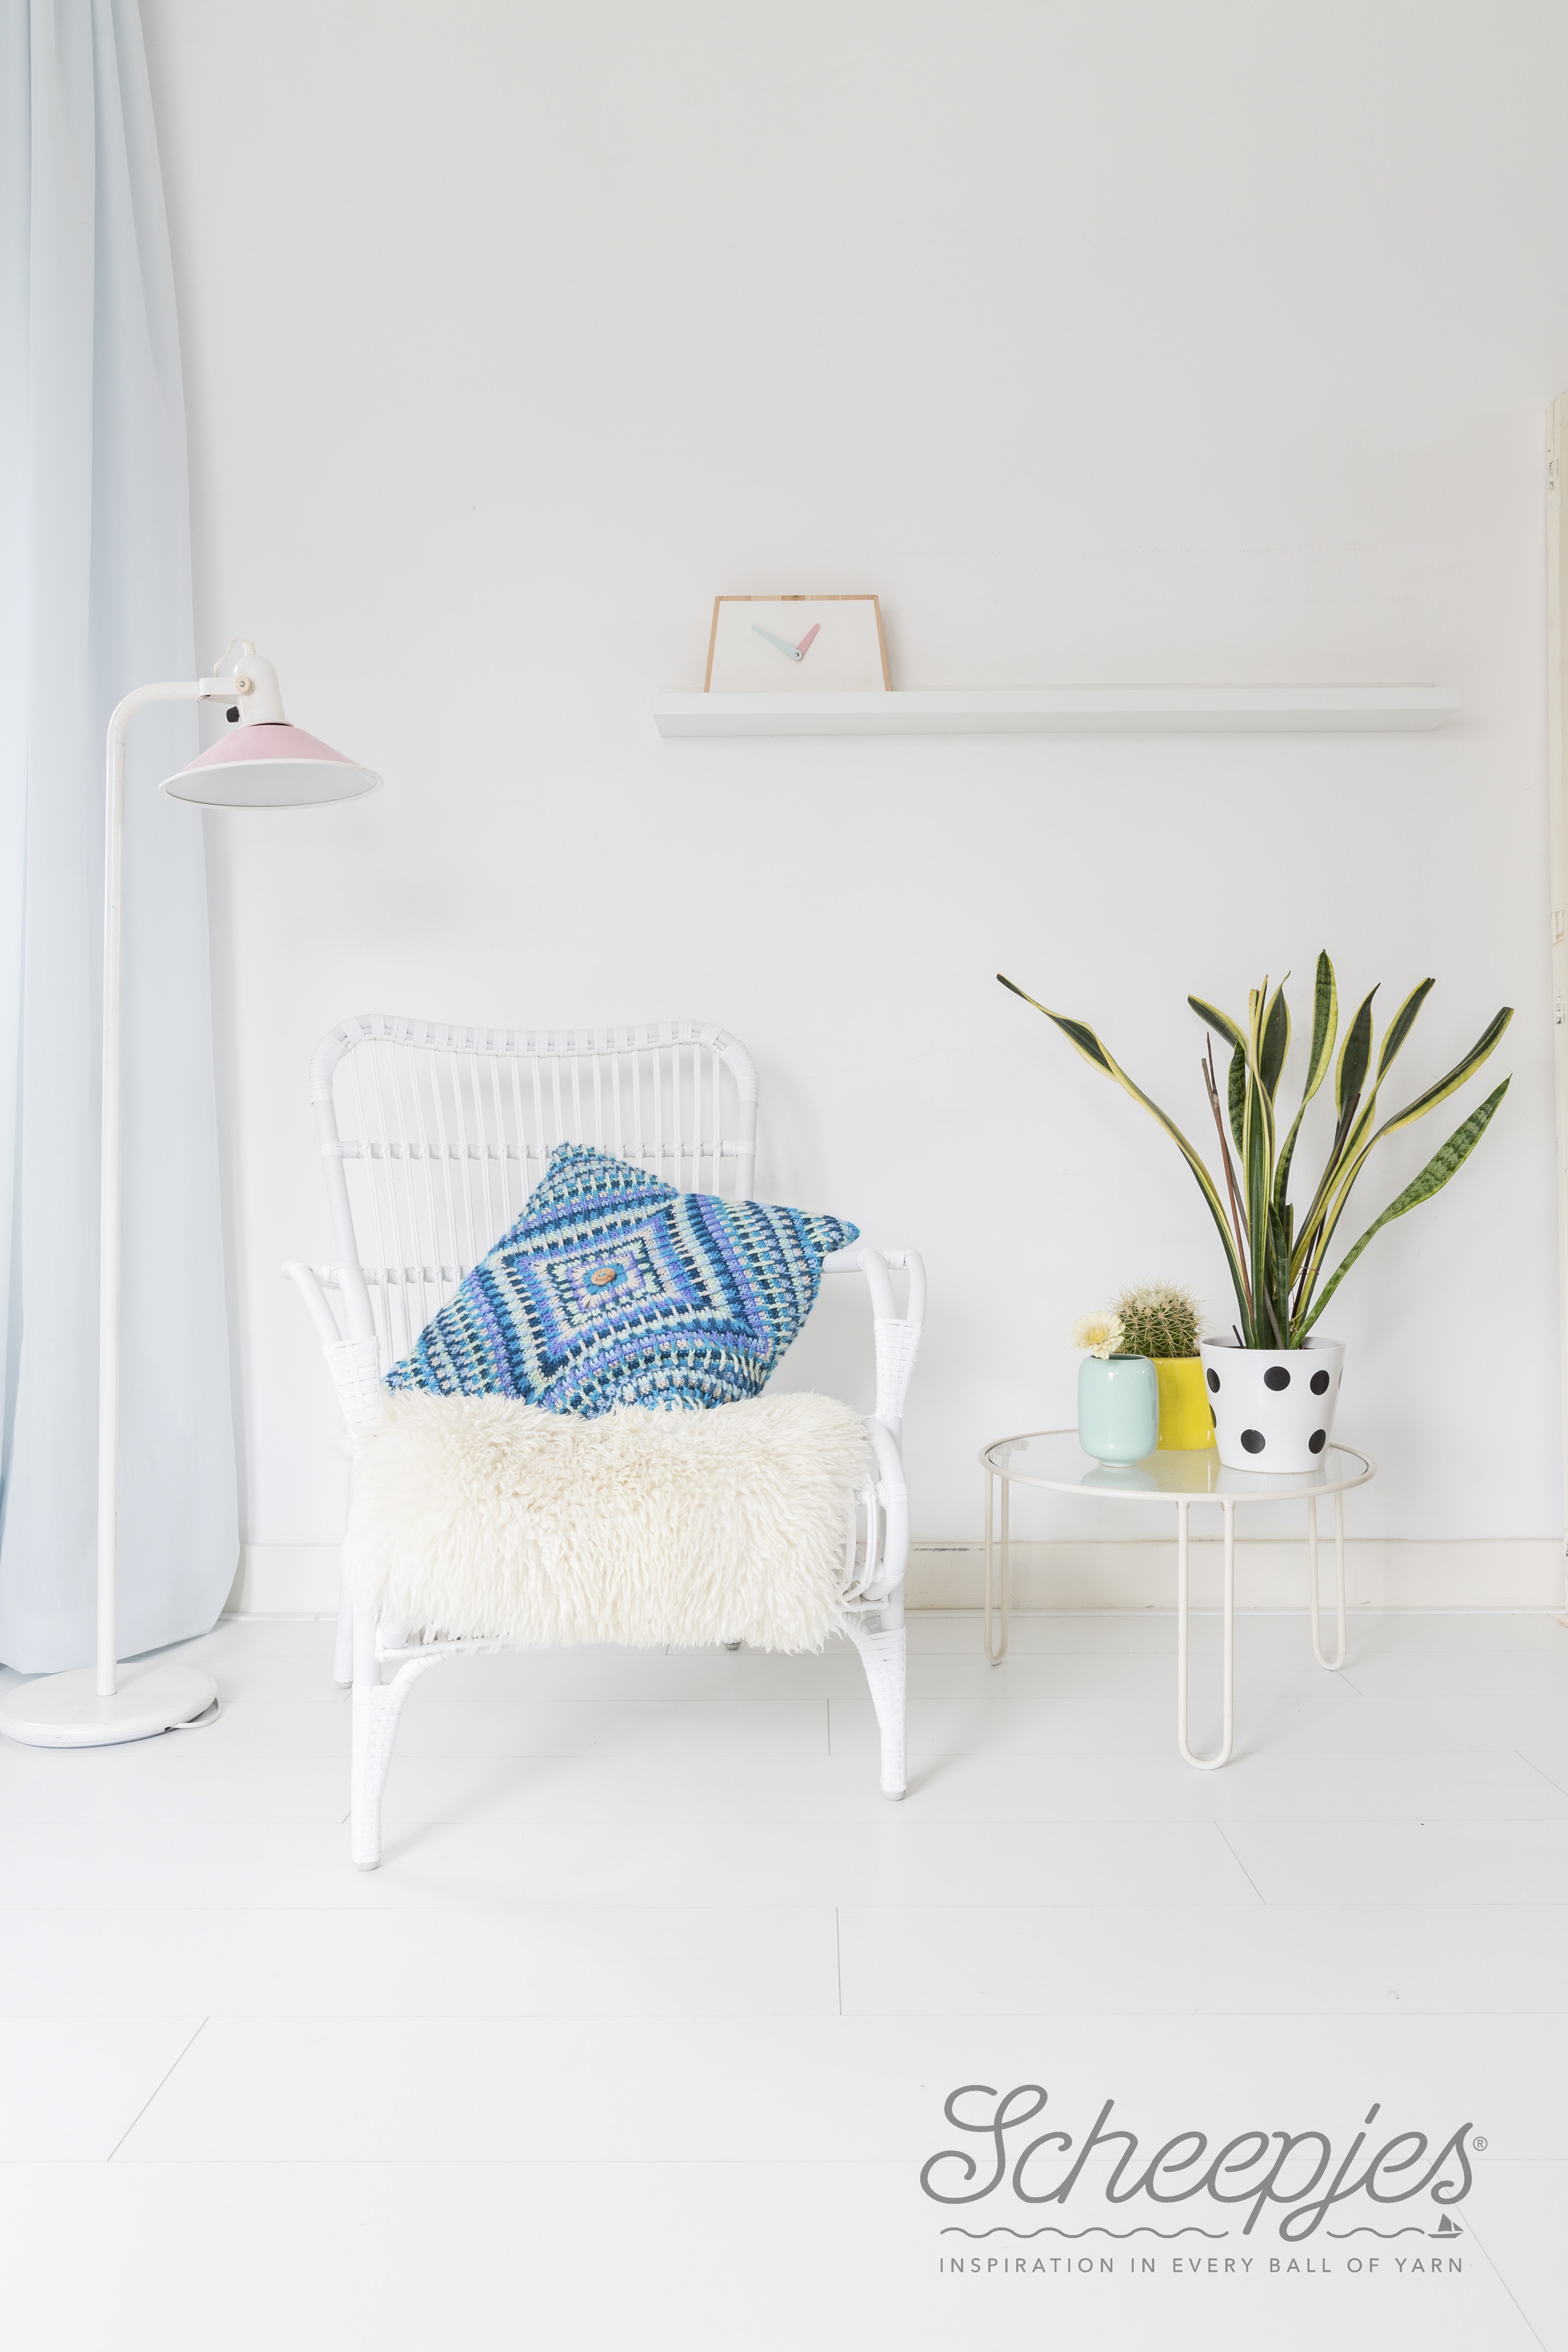
Do you have yarn left from Nuts about Squares, or any other project for that matter? You can use your leftover yarn to make a textured cushion to complement your finished blanket. I have named this design ‘Mosaic Cushion’, the texture resembles old mosaics found in some of the most beautiful places on our planet.

Materials
You will need the following materials to make the Mosaic Cushion
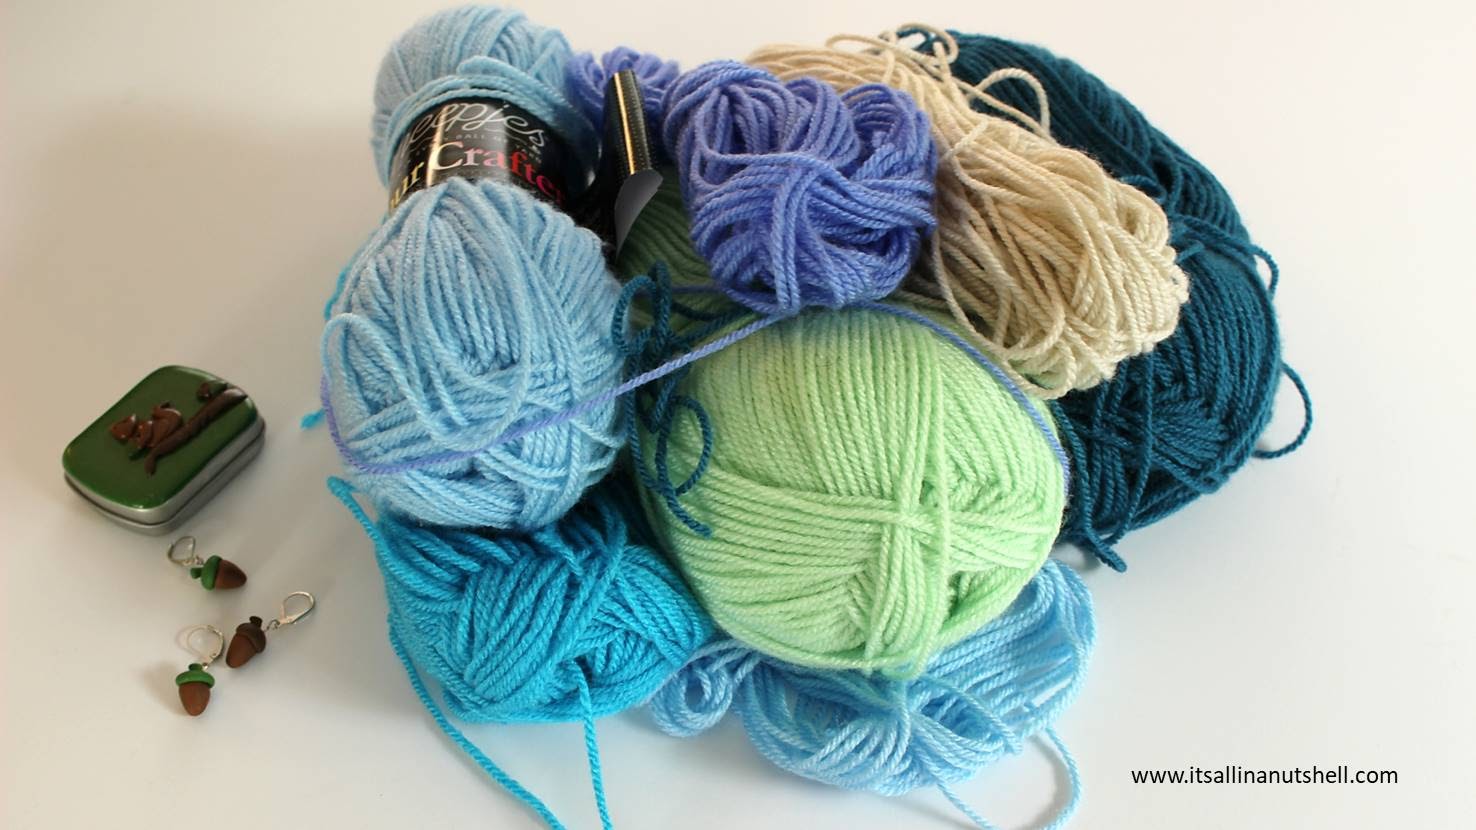
- Yarn in 6 or more colors, for example Scheepjes Colour Crafter
- 4mm crochet hook
- 50cm cushion inner
- 2 x 30mm olive wood buttons (optional)
Scheepjes Colour Crafter is available in over 90 colors from Wool Warehouse (UK/Int), Jimmy Beans Wools (USA), The Knitting Network, Caro’s Atelier (NL/EU) or your local Scheepjes stockist.
Gauge and size
Gauge is not essential for this project and it’s not needed to make a gauge swatch.
Resources
Translations
Abbreviations
This pattern uses US crochet terms. If you are more familiar with UK crochet terms, please see this conversion table for the most common terms.
ch – chain
dc – double crochet
fpdc – front post double crochet
fptr – front post treble crochet
sc – single crochet
ss – slip stitch
st(s) – stitch(es)
Video
To make this pattern accessible to as many people as possible I have made a video tutorial showing the steps involved in making this cushion.
Mosaic Cushion – Free Crochet Pattern
The cushion consists of a square fabric that is rotated diagonally over the cushion cover and then closed. Work each round with a new color, alternating colors in random order. Start each round with a standing stitch and close each round with an invisible join. Is you feel that your work pulls inwards too much, feel free to replace the fptr with fpdtr.
Round 1 With a slip knot on your hook, ch4 and close with a ss in the first ch to form a ring. Ch3 (counts as 1dc), 1dc in the ring, ch2. *3dc, ch2 in the ring; repeat from * two more times, 1dc in the ring. Close on first st and fasten off.
Round 2 Start in any ch2-corner space. *(2dc, ch2, 2dc) in ch2-corner space, 1dc in next st, 1fptr in next st, 1dc in next st; repeat from * 3 more times. Close on first st and fasten off.
Round 3 Start in any ch2-corner space. *(2dc, ch2, 2dc) in ch2-corner space, 1dc in next st to end; repeat from * 3 more times. Close on first st and fasten off.
Round 4 Start in any ch2-corner space. *(1sc, ch2, 1sc) in ch2-corner space, 1sc in next 2 sts, 1fpdc in next st, 1sc in next 2 sts, 1fptr around fptr from Round 2, skip st behind fptr on Round 3, 1sc in next 2 sts, 1fpdc in next st, 1sc in last 2 sts; repeat from * 3 more times. Close on first st and fasten off.
Round 5 Repeat Round 3.
Round 6 Start in any ch2-corner space. *(1sc, ch2, 1sc) in ch2-corner space, 1sc in next 2 sts, 1fpdc in next st, 1sc in next 2 sts, 1fptr around fpdc from Round 4, skip st behind fptr on Round 5, 1sc in next 2 sts, 1fptr around fptr from Round 4, skip st behind fptr on Round 5, 1sc in next 2 sts, 1fptr around fpdc from Round 4, skip st behind fptr on Round 5, 1sc in next 2 sts, 1fpdc in next st, 1sc in last 2 sts; repeat from * 3 more times. Close on first st and fasten off.
Round 7 Repeat Round 3
Round 8 Start in any ch2-corner space. *(1sc, ch2, 1sc) in ch2-corner space, 1sc in next 2 sts, 1fpdc in next st, repeat [1sc in next 2 sts, 1fptr around front post stitch from two rounds down, skip stitch behind fptr] till there are 5 sts left, 1sc in next 2 sts, 1fpdc in next st, 1sc in last 2 sts; repeat from * 3 more times. Close on first st and fasten off.
After Round 8 your work will look something like this.
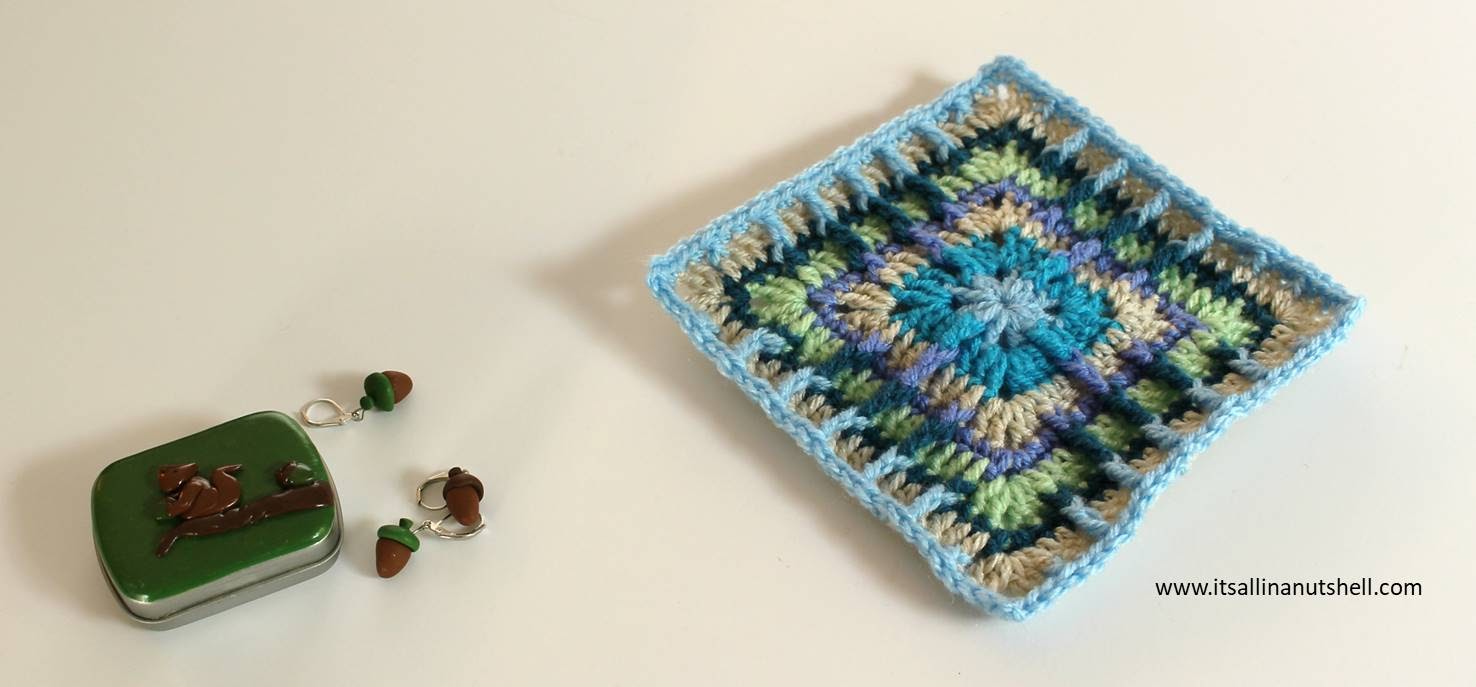
Round 9 and further Repeat Rounds 7 and 8 till the fabric is 70cm square. Work away all yarn tails before continuing.
Assembling & finishing the cushion
When the fabric is about 70cm square do the following to finish your cushion.
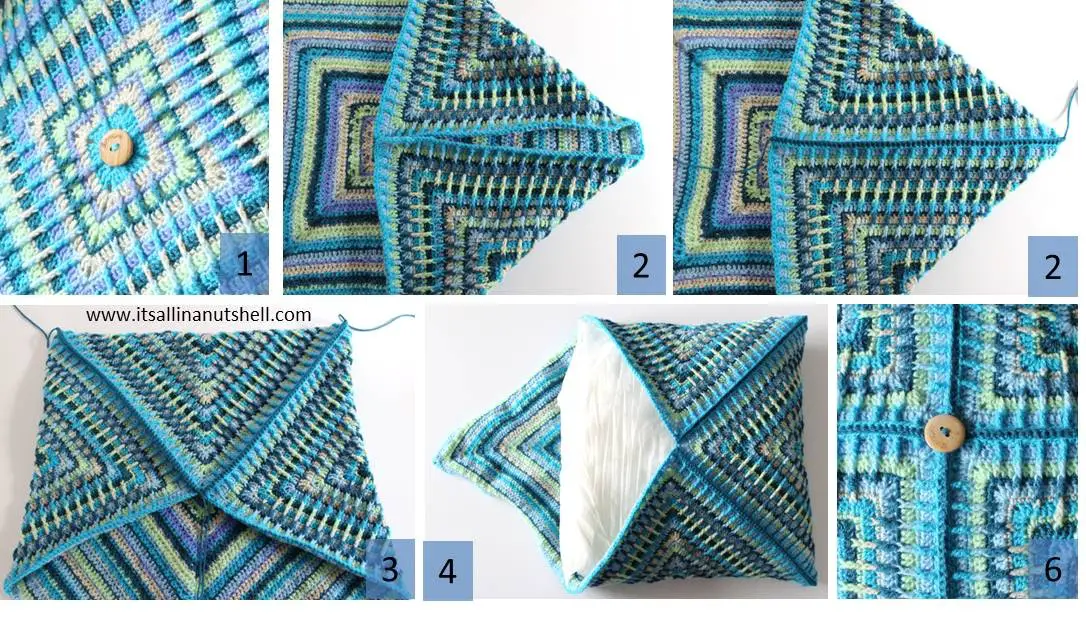
- Attach the first button in the center of the square where you started Round 1.
- With the back side facing, fold two corners of the square inward and align them with the center of the square. Work 1sc through the 2 adjacent ch2-corner spaces. Join the two edges of the square by working 1sc through adjacent stitches till you reach the new corner. There will be one stitch left exactly on the corner. Leave this stitch unworked. Fasten off and work away your yarn tails.
- Fold the next corner inward and repeat step 2 for the join.
- Place the cushion inner in the pocket created.
- Fold the last corner inward and repeat step 2 for the join.
- Attach the second button in the center of the cushion where the 4 corners meet.
- Work away the last yarn tails.
#itsallinanutshell
I would love to see your cushions. Feel free to share them on my Facebook page or tag me in one of your post on Instagram. You can also use #itsallinanutshell to help me find it.
With love,
Esther
This post contains affiliate links. Please read my disclosure and copyright policy. All opinions are my own and I only link to products I use or would use. Thank you for using the links on my blog and supporting my work.
Copyright (c) 2014-2026 It’s all in a Nutshell Creations. All rights reserved.
Discover more from It's all in a Nutshell Crochet
Subscribe to get the latest posts sent to your email.
It’s beautiful 🙂
LOL I Love your nutty accessories. They are SO cute.
So much loveliness!! 😀
Thank you so much for this CAL– it’s lovely. I’m making two Nuts about Earth. I plan to give as Christmas gifts. The video was absolutely fantastic. I’ve been crocheting for decades but sometimes the patterns weren’t quite clear to me. But the video took me right straight thru the unclear part with ease! Again thank you and all the designers so much for this project.
I am definitely going to tackle 2017 blanket. Beautiful patterns. You are all crochet wizards. Thank you and free.. ? I feel a little blessed to say the least..?
You are a superior teacher. Thank you for your service to everyone.
I love this, tempting to just keep going to use up scraps and make a huge blanket.