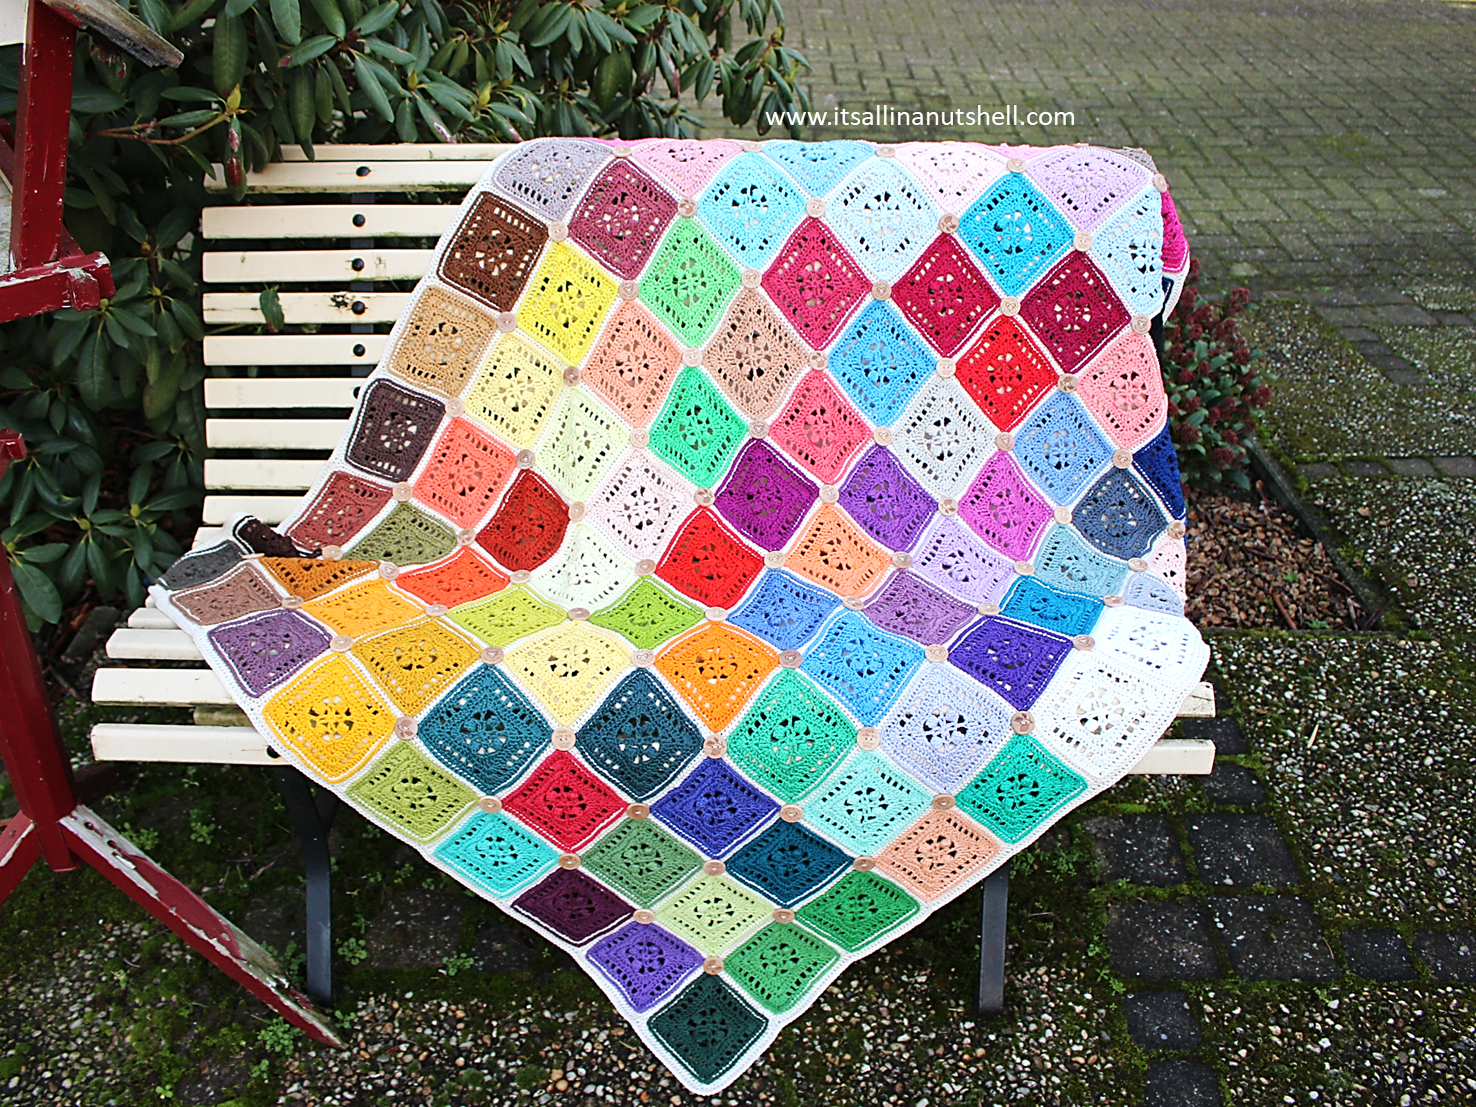
In this post you can find the free crochet pattern for my Button Blanket. To make a Button Blanket of your own, you work 108 squares using a Scheepjes Catona Colour Pack, join them up with the 109th color, and sew 88 wooden buttons on. Easy, right? If not, no worries, I also have a video tutorial for you to help you make the blanket every step of the way.
I believe many of us have a little box of buttons somewhere, sometimes old buttons that maybe belonged to your mother or grandmother. Sometimes spare buttons from clothing that you no longer own. Sometimes nostalgic buttons that remind you of something or someone. With this blanket I want to encourage you to use all those buttons, and make a memory blanket in the process.
Resources
- Printable Button Blanket PDF Pattern on Ravelry
- Nederlands patroon / Dutch pattern
- Video Tutorial
- Scheepjes Catona Yarn Packs
Materials
- 1 x Scheepjes Catona Colour Pack, 109 x 10g/25m
- 7 x 10³ Old Lace Scheepjes Catona 50g/125m
- 88 x 25mm (wooden) buttons, in four designs.
- 3.5mm (US E/4) hook
Scheepjes Catona Colour Packs are available from Wool Warehouse (UK)/International, Caro’s Atelier (NL/EU), and Bol.com (NL).
Size
The final blanket is approximately 140cm x 160cm / 56in x 64in.
Gauge
Each square is 11cm/4.5in after round 6, before blocking. After blocking, the squares are about 12cm.
Preparation
Find the 130 Old Lace cutie pie from the Colour Pack, and keep it separate. Use this color along with the large, 50g balls for the joining of the squares, sewing the buttons on, and making the border of the blanket.
Video tutorial
There is a video tutorial available showing the individual steps to make the Button Blanket. You can find the video by following THIS LINK
Abbreviations – US Crochet Terms
- beg beginning
- bphdc back post half double crochet
- ch chain
- ch1-sp(s) chain space(s)
- tr treble crochet
- dc double crochet
- hdc half double crochet
- hdc2tog two half double crochet stitches worked together over two stitches
- sc single crochet
- ss slip stitch
- st(s) stitch(es)
- popcorn 5dc in indicated st, remove hook from working loop, insert hook through first dc, return working loop to hook, pull loop through first dc, ch1.
- beg-popcorn ch2, 4dc in indicated st, remove hook from working loop, insert hook through top of ch2, return working loop to hook, pull loop through first top of ch2, ch1.
- PLT Pull Loop Through. After completing the stitch, remove hook from working loop, insert hook through indicated stitch, return working loop to hook, pull working loop through the stitch.
- *…; repeat from * 2 more times Repeat the instruction, starting at * and ending at ; the indicated number of times
Notes
The blanket is made by first turning each cutie pie into a square, after which the squares receive a border round in the base color 130 Old Lace. The border round is also used to join the squares together.
All rounds of both the square and the border are made with the right side facing. The final border around the entire blanket is also made with the right side facing.
Button Blanket – Free Crochet Pattern
Squares
Work 108 squares in total. This is one square from each ball from the Colour Pack, with the exception of 130 Old Lace.
Round 1 With any color from the Colour Pack, ch4 and close in first ch to form a ring, ch5 (counts as 1dc and ch2), in the ring work (1dc, ch1, 1dc, ch2) 3 times, 1dc, ch1, close with ss in first ch3.
[2 dc, 1 ch1-sp]
Round 2 Ss to ch2-sp, beg-popcorn in ch2-sp, *ch3, 1dc in ch1-sp, ch3, popcorn in ch2-sp; rep from * 3 more times omitting final popcorn on last repeat, close with ss in beg-popcorn.
[1 popcorn, 1 dc, 2 ch3-sp]
Round 3 ch1 (does not count as a st), *1sc in popcorn, (1sc, 1hdc, 2dc) in ch3-sp, 1tr in next dc, (2dc, 1hdc, 1sc) in ch3-sp; rep from * 3 more times, close with ss in first sc.
[3 sc, 2 hdc, 4 dc, 1 tr]
Round 4 ch2 (does not count as a st), 1hdc in current st,1 hdc in next 4 sts, *5hdc in next tr, 1hdc in next 9 sts; rep from * 3 more times omitting final 5 hdc on last repeat, close with ss in first hdc.
[13 hdc, 1 corner-hdc]
Round 5 ch4 (counts as 1dc and ch1), (skip next st, 1dc in next st, ch1) 2 times, skip next st, 1dc in next st, *5dc in next corner hdc (this is the third of 5 hdc worked in the corner), (1dc in next st, ch1, skip next st) 6 times, 1dc in next st; rep from * 3 more times omitting final 7 sts on last repeat, close with ss in first ch3.
[11 dc, 6 ch1-sps, 1 corner-dc]
Round 6 ch2 (does not count as st), 1dc in current st, 1dc in next 8 sts, *5dc in corner dc, 1dc in next 17 sts; rep from * 3 more times omitting final 9 sts, close with invisible join. Fasten off.
[21 dc, 1 corner-dc]
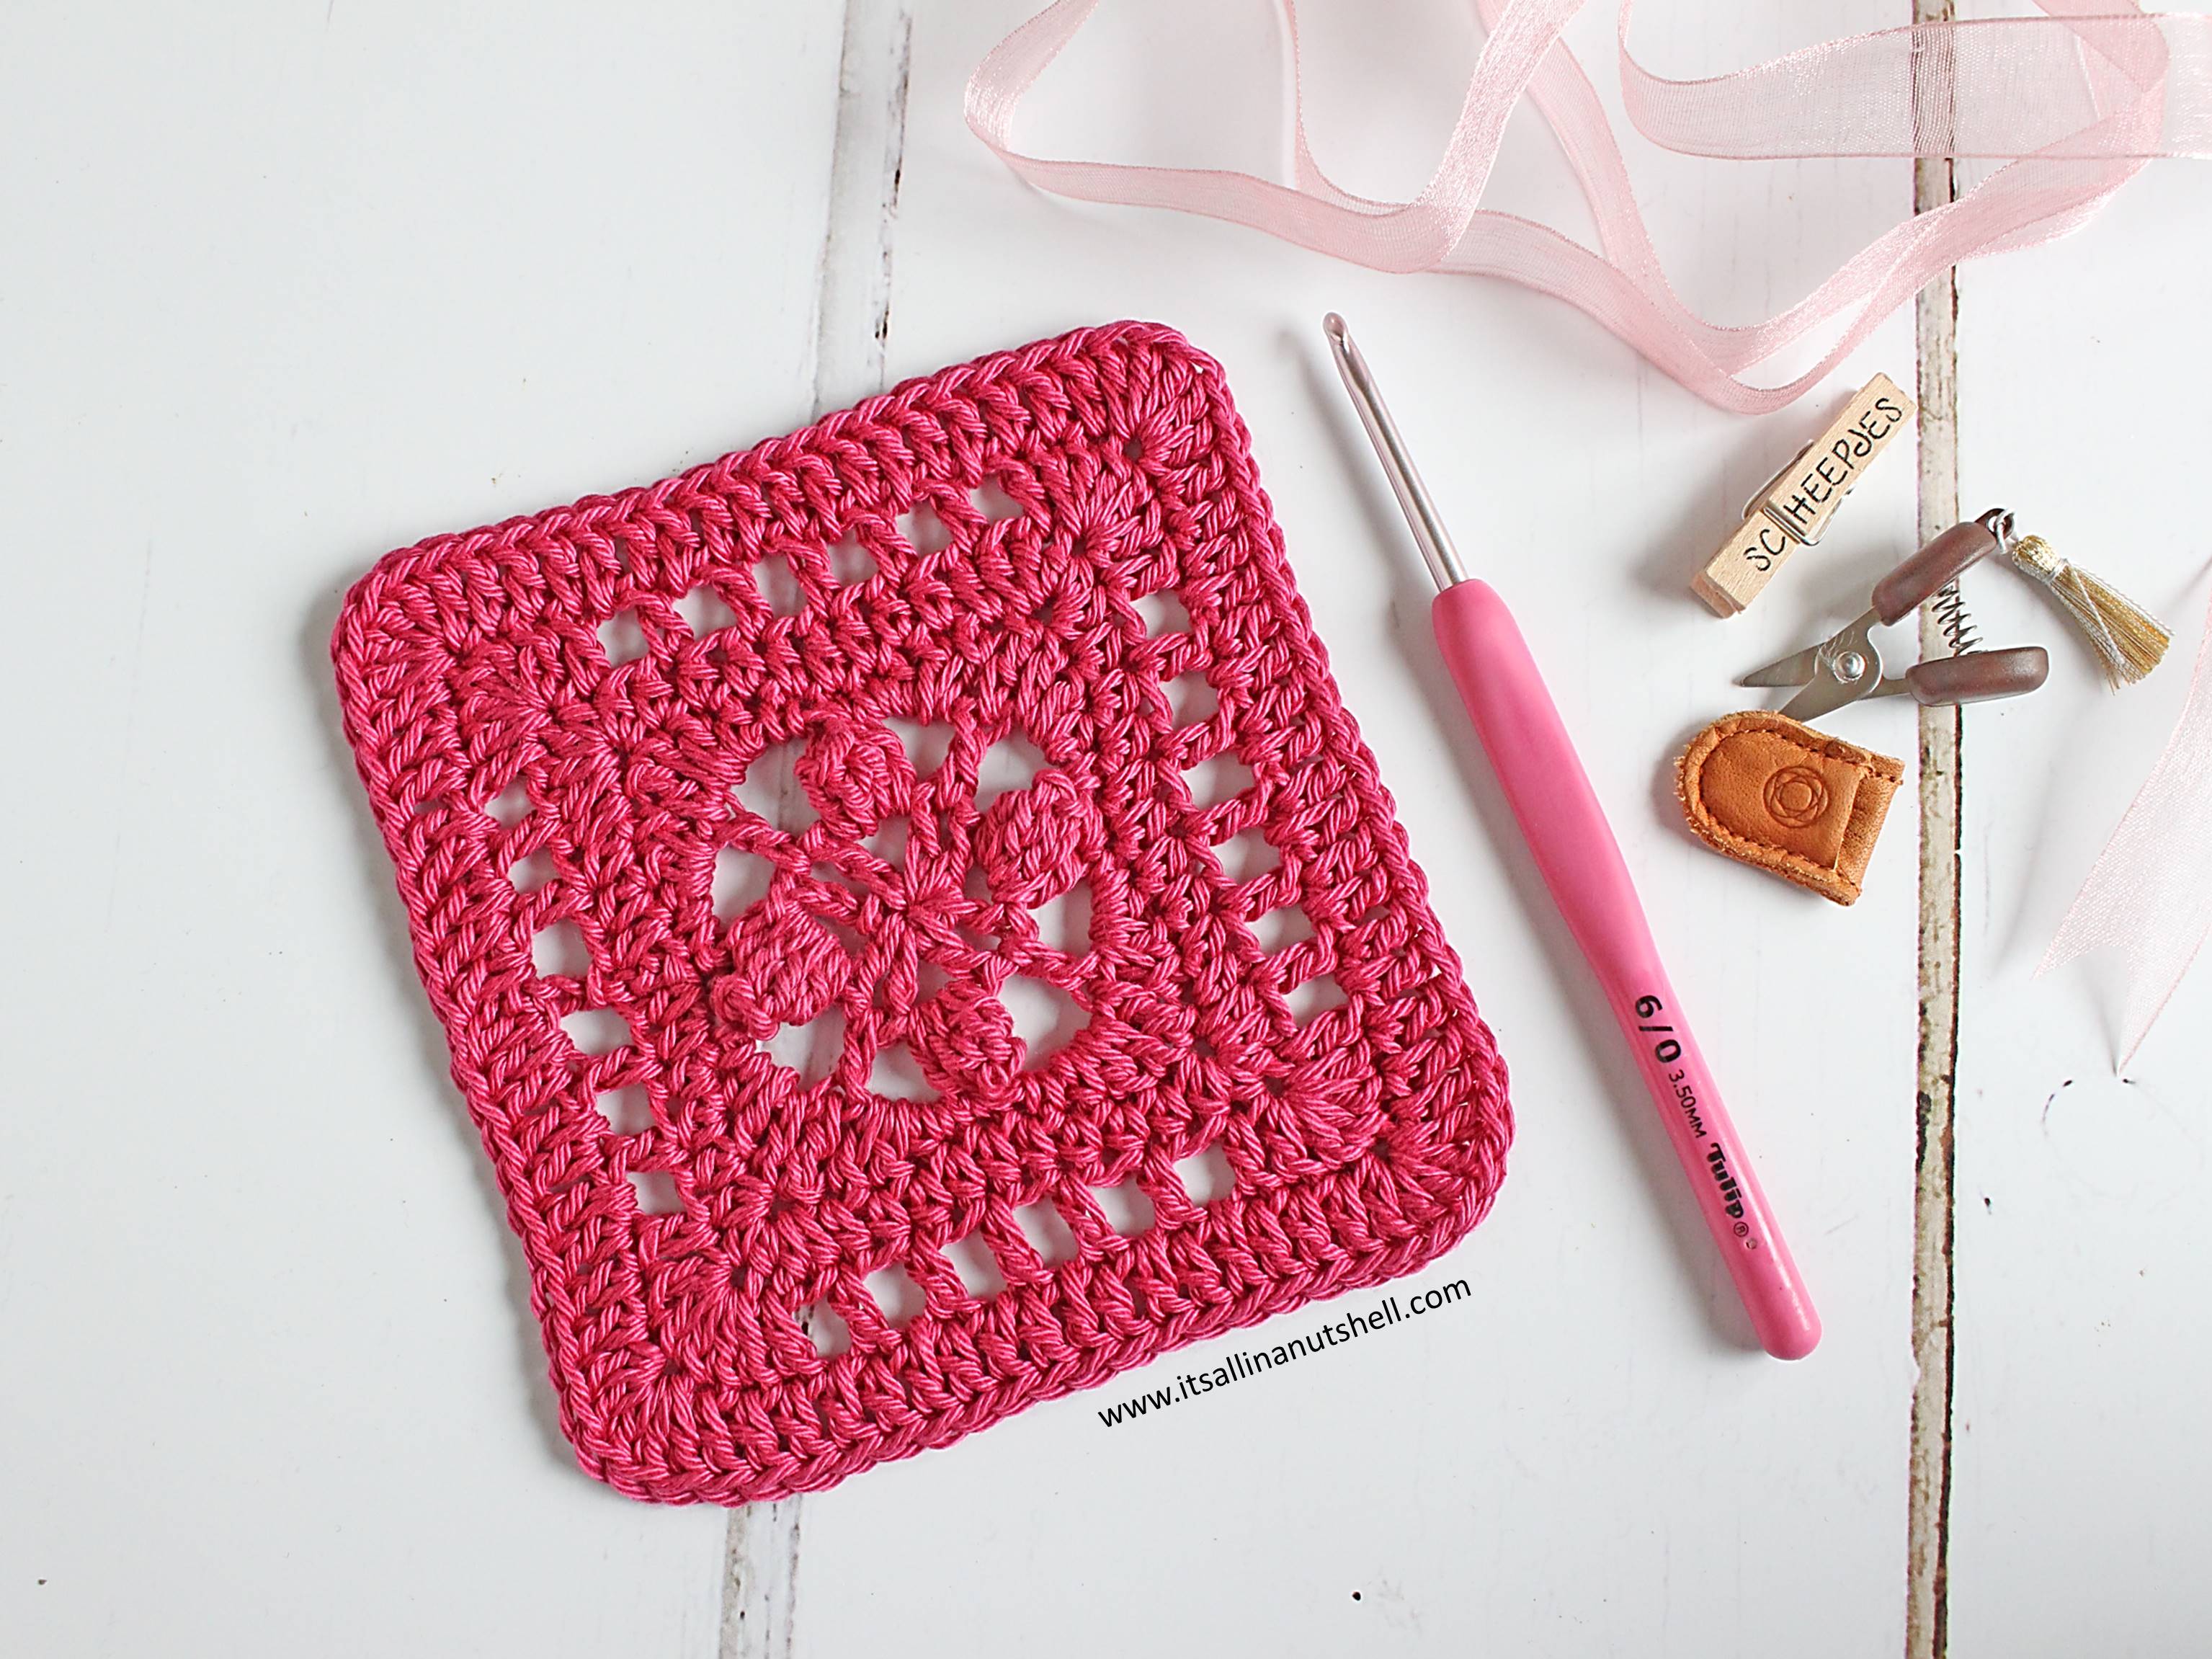
Blocking squares
At the end of Round 6, the square is about 11cm. Blocking your square(s) will more it more crisp, and give added quality to your blanket. Block your square(s) to 12cm.
Layout
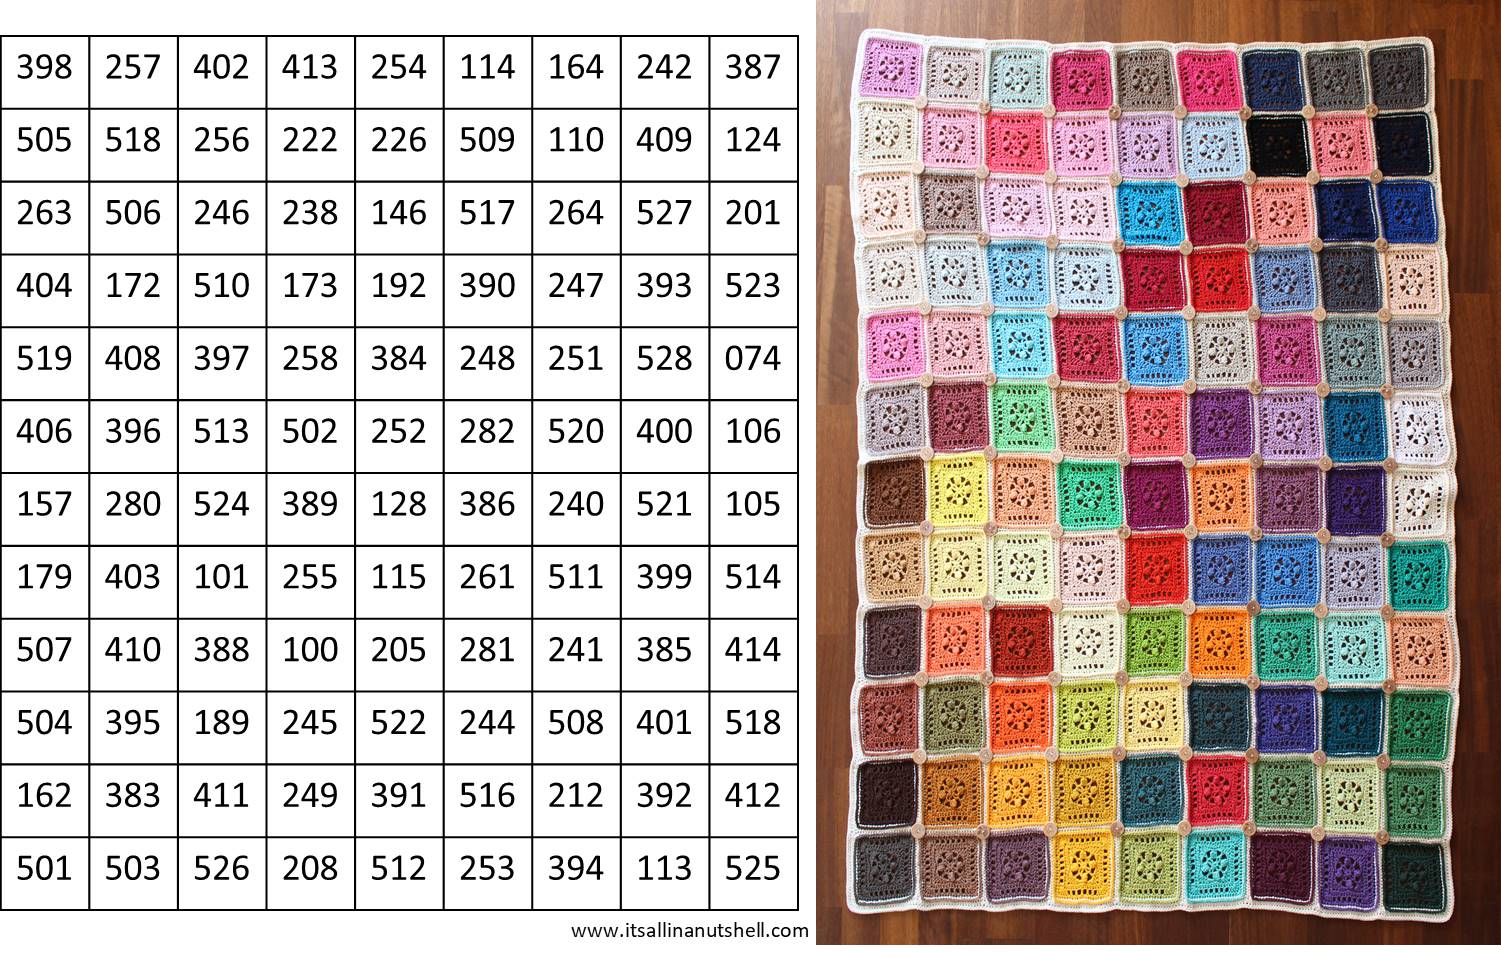
Below you find a suggestion for the layout of the squares. The number given is the color number. This layout is off course one of many layouts that can be used. For tips about how to make a good layout, see THIS POST by Cypress Textiles.
Join
The squares are joined by working an extra border-round around each square, during this extra border-round, the square is joined to one or two adjacent square(s), dependent on the layout.
When referring to a certain stitch in the corner on the adjacent square, this is done according to the working direction on the adjacent square. It can be confusion because the squares are mirror images of each other. If you get confused, the video tutorial might help you.
The center of the 3 stitches worked in the corner is not joined. This will result in a gap forming on the cross section where the squares meet. This gap will be closed when the buttons are sewn on.
Border on first square
With 130 Old Lace, standing bphdc in corner-dc, 2dphdc in same st, *1bphdc in next 21 sts, 3bphdc in corner-dc; repeat from * 3 more times, close with invisible join on first st. Fasten off.
[23 bphdc, 1 corner-bphdc]
Join a square to any other square on one edge only
With 130 Old Lace, standing bphdc in corner-dc, 2bphdc in same st, PLT corresponding stitch on adjacent square, this is the first of the 3 sts made in the corner, (1bphdc in next st, PLT next stitch on adjacent square) 21 times, 1bphdc in corner-dc, PLT next stitch on adjacent square, this is the third of the 3 sts made in the corner, 2bphdc in same corner-dc.
*1bphdc in next 21 sts, 3bphdc in corner-dc; repeat from * 2 more times omitting the final 3 corner sts, close with invisible join on first st. Fasten off.
[23 bphdc, 1 corner-bphdc]
Join a square to any other square on two edges
With 130 Old Lace, standing bphdc in corner-dc, 2bphdc in same st, PLT corresponding stitch on adjacent square, this is the first of the 3 sts made in the corner, (1bphdc in next st, PLT next stitch on adjacent square) 21 times, 1bphdc in corner-dc, PLT next stitch on adjacent square, this is the third of the 3 sts made in the corner, 1bphdc in same corner-dc.
1bphdc in same st, PLT corresponding stitch on adjacent square, this is the first of the 3 sts made in the corner, (1bphdc in next st, PLT next stitch on adjacent square) 21 times, 1bphdc in corner-dc, PLT next stitch on adjacent square, this is the third of the 3 sts made in the corner, 1bphdc in same corner-dc.
*1bphdc in next 21 sts, 3bphdc in corner-dc; repeat from * 1 more time omitting the final 3 corner sts, close with invisible join on first st. Fasten off.
[23 bphdc, 1 corner-bphdc]
Join all other squares
Repeat the joining on all squares, placing the squares in any layout you like. The 108 squares can best be made into a 12 x 9 blanket.
Buttons
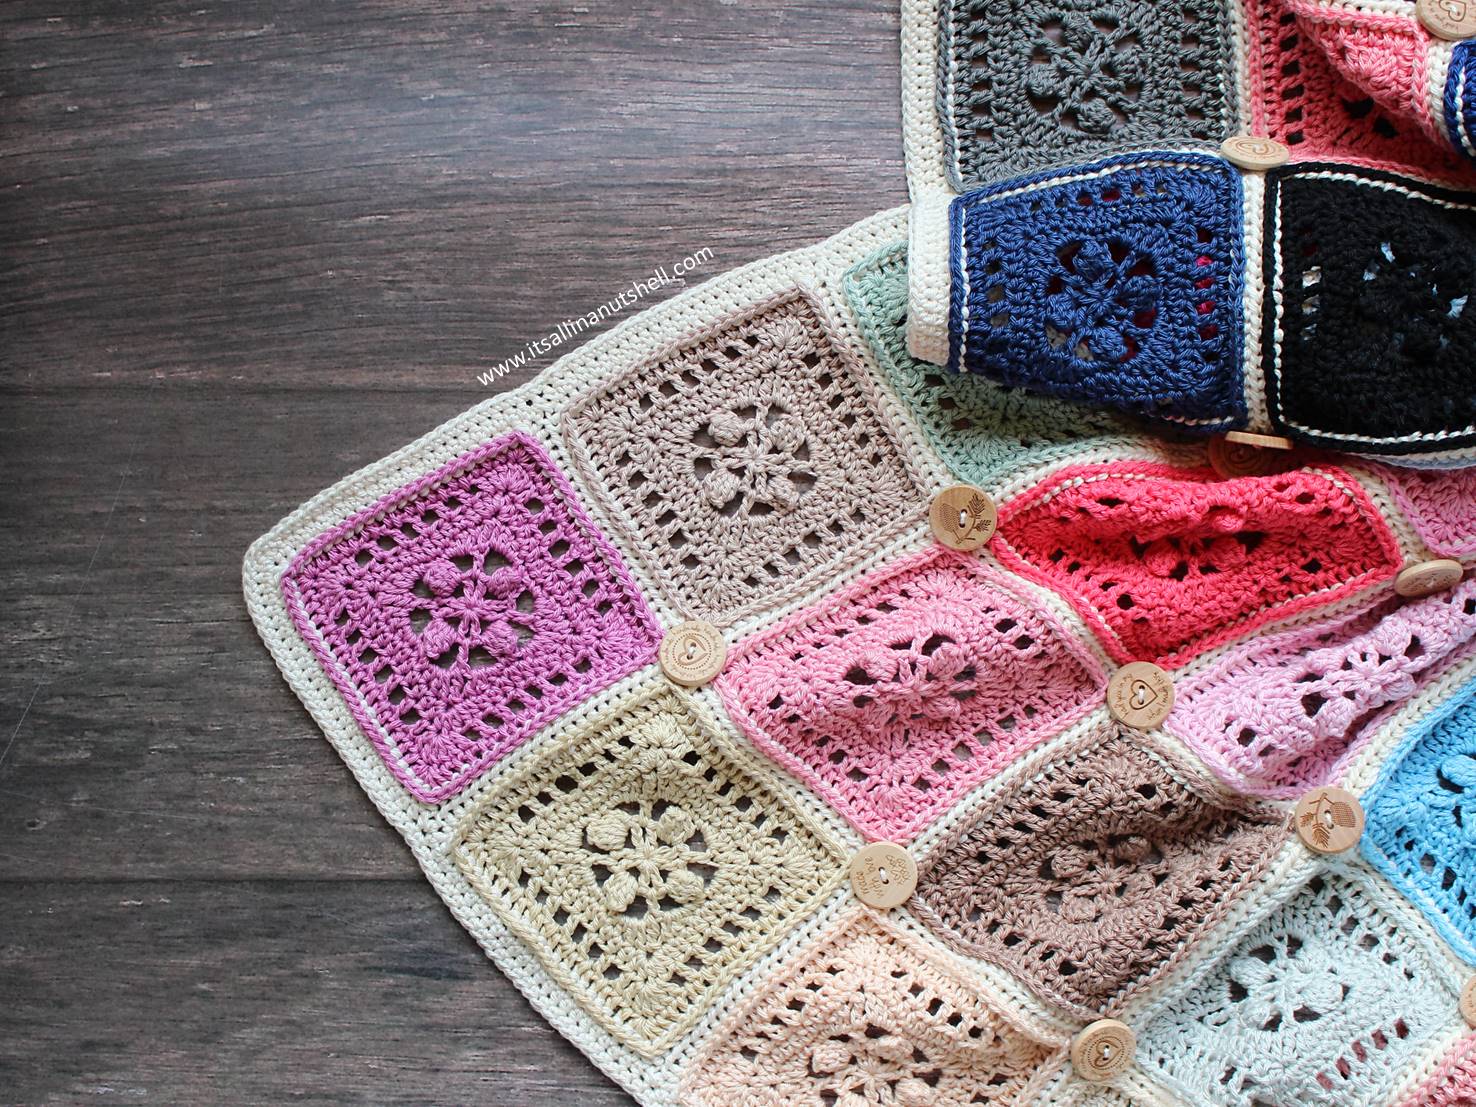
With 130 Old Lace, sew a button onto each of the crossing points between the squares. Use the 4 unworked corner stitches to sew the button on. Sew the buttons on in an alternating pattern so that there are never two of the same buttons next to each other. Tip: knot the yarn tails behind the button before working them in for extra security.

Border
Work a final border around the entire blanket.
Round 1 With 130 Old Lace, attach with a standing ** hdc in any of the four corners sts of the blanket, 2hdc in same st, *1hdc in next 23 sts, 1hdc2tog over next two sts, the first is the corner st of the current square and the second is the corner st of the next square, 1hdc in next 23 sts; repeat from * to end of the edge. Repeat from ** 3 more times, close with ss in first st.
Round 2 Ch1 (does not count as a st), 1sc in each st around entire blanket, close with invisible join. Fasten off.
Finishing
Work away all yarn tails. For best results block your blanket.


Support me and my work
There are many ways that you can support me and my work and most of them are free. By visiting my website you are already supporting me! Also by viewing any of the free videos on my YouTube channel you support me.
Other ways to support me are to make a purchase from one of my affiliates. I get a small commission based on your purchase after you click one of the links on my website. It costs you absolutely nothing but helps me a lot. My affiliates are Amazon.co.uk, KnitPicks, Wool Warehouse, Jimmy Beans Wool, Minerva Craft, The Knitting Network, Love Crafts, and Caro’s Atelier.
If you would like to support me in ways that are out of pocket for you, you could buy any of my patterns on Ravelry or my SHOP. You can also make a DONATION, which I really appreciate. Even a small amount helps me to keep my small business running.
#itsallinanutshell
If you are making something with one of my patterns or one of my videos, I would love to see your work. Use the hashtag #itsallinanutshell on Instagram to help me find it, share your work in my It’s all in a Nutshell Crochet Nuts group on Facebook or tag me in one of your posts.
With love,
Esther
Follow me on
Facebook, YouTube, Ravelry, Instagram
This post contains affiliate links. Please read my disclosure and copyright policy. All opinions are my own and I only link to products I use or would use. Thank you for using the links on my blog and supporting my work.
Copyright (c) 2014-2025 It’s all in a Nutshell Creations. All rights reserved.
Discover more from It's all in a Nutshell Crochet
Subscribe to get the latest posts sent to your email.




Gorgeous and unique blanket that is a priority on my to do list. Can the cotton 8 be a substitute for the Catona? I am trying to work from my stash this year but it is difficult. Thank you.
yes, absolutely. Just drop a hook size to 3mm for the Cotton 8 because it’s slightly thinner. Your blanket will be about 10% smaller I think.
Fantastic. Thank you.
Hi Esther, I love your button blanket. I am wondering how much yarn you had left after each square. I used some yarn here that is the same thickness and length of scheepjes and I had quite a bit left over. Thanks
I had about 5m left on each ball, with this I allow for gauge.
Why was I charged for a pattern that was labeled to be free.
I clearly state on Ravelry that there is a free version on my blog. You have the choice to buy an add-free pdf, or use the free version on my blog.
Hi Esther, I am new to crochet and have just begun this project and did one square to start. I didn’t think my tension was tight, but my square is 11cm after blocking. Should I increase needle size to get closer to the 12cm?
I would first make one or two more squares. Sometimes when we make a pattern for the first time we are a little unsure of what we are doing, and hence we work a little tighter. Then, as we grow in confidence, we literally relax into the pattern, resulting in a different gauge compared to the first square.
As such, it is not a problem if your squares are all a little smaller, then only your blanket will be smaller. If you feel your squares are rather stiff, you might want to go up a hook size to get a nice soft drape on your fabric.