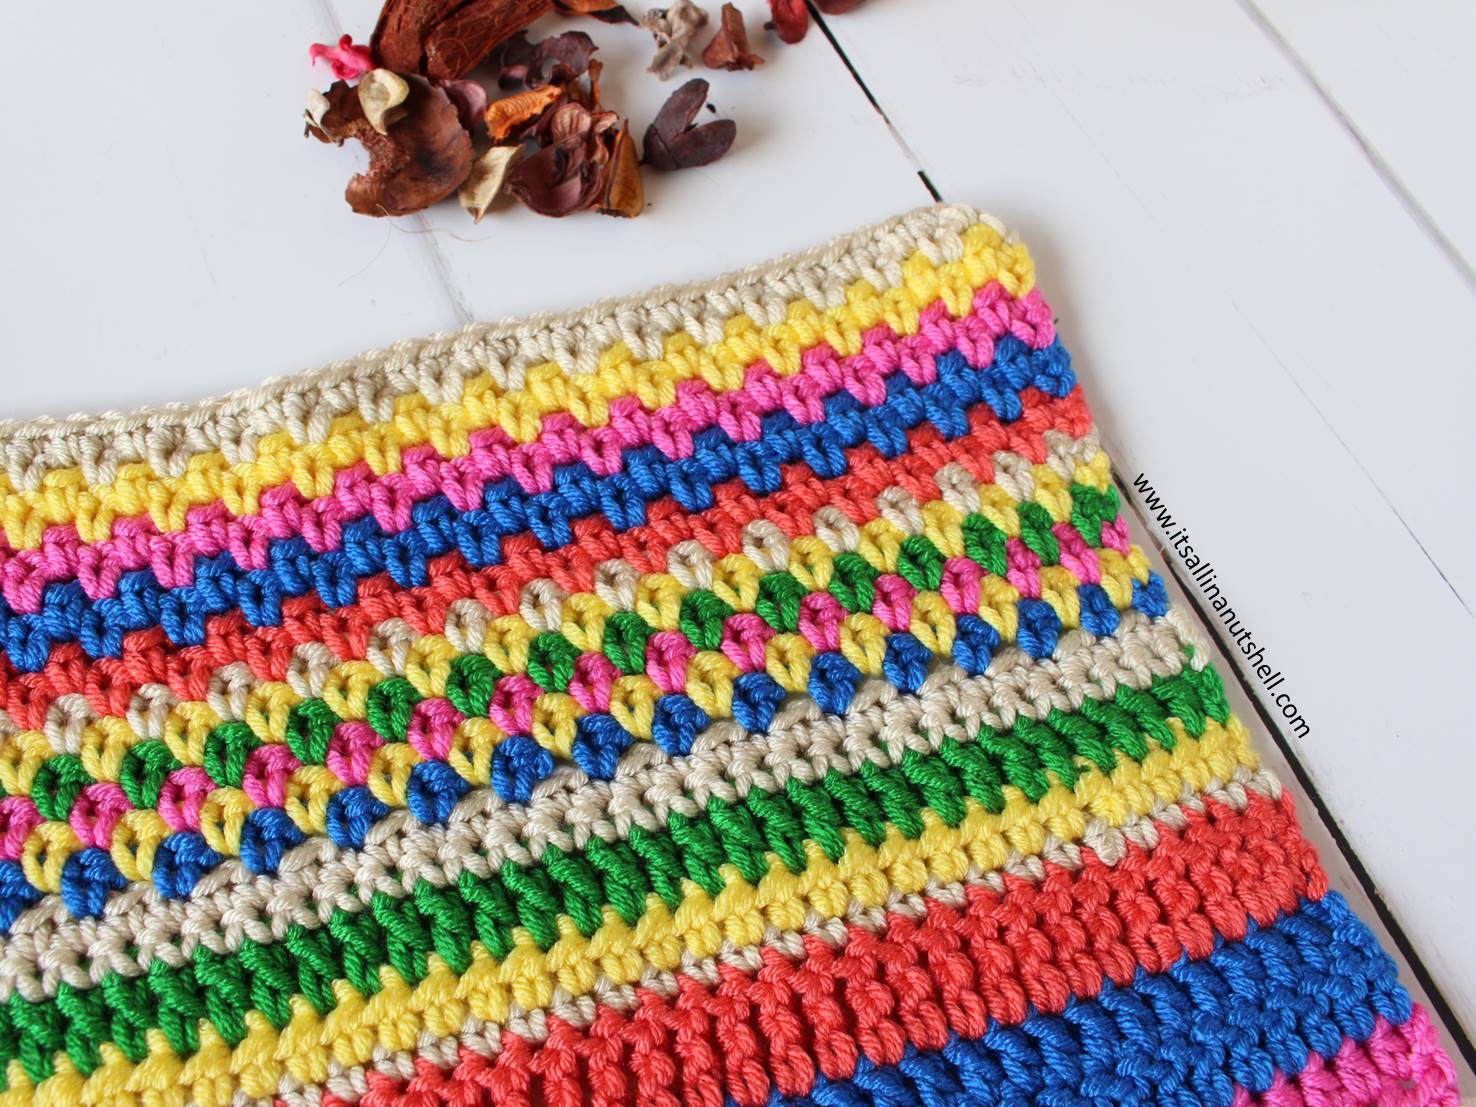
You have now learned the most fundamental crochet stitches, time to learn how to make a simple stitch pattern by combining stitches and colors. In Part 2 of TLC Blanket you will learn how to make chains and single crochet stitches in such a way that you make a stitch pattern. You will also see how color placement can change the look of the stitch pattern. Crochet is such a versatile craft!
Resources
- Add TLC Blanket to your Ravelry library
- Full PDF pattern containing all 8 parts plus links to all the videos
- All pattern parts and tips & tricks
- All RIGHT HANDED Video tutorials in one YouTube playlist
- All LEFT HANDED Video tutorials in one YouTube playlist
- Scheepjes Chunky Monkey yarn (100g/107m)
- 5.0mm (US size H/8) and 6.5mm (US size K/10.5) hook
- Find help in my It’s all in a Nutshell Facebook Group
- Nederlandse vertaling HIER
- Social Media #itsallinanutshell
Materials
TLC Blanket is available in 3 beautiful colorways from the wide range of Scheepjes Chunky Monkey yarn. Each blanket is made using 6 colors, a 5.0mm and a 6.5mm hook. Find all information about yarn amounts and other other supplies HERE.
Scheepjes Chunky Monkey is available from many Scheepjes retailers, including Wool Warehouse (UK/Int), Jimmy Beans Wool (USA), The Knitting Network (UK/Int), and Caro’s Atelier (NL/EU).
Learning Objectives Part 2
In part 2 of the pattern you will learn to combine two stitches you learned in part 1, to make a new stitch pattern. You will learn
- to skip a stitch
- to work in a chain space
- to change hook size to compensate for smaller stitches
- to work a repeat unit
- to work a stitch pattern with only the right side facing
Abbreviations
This pattern uses US terms.
ch chain
ch-sps chain space(s)
sc single crochet
st(s) stitch(es)
RS Right side of work
WS Wrong side of work
Notes and Tips Part 2
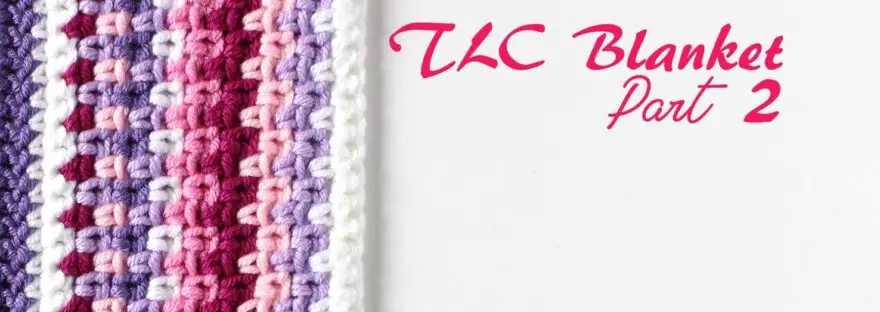
- The stitch pattern we work in part 2 is called a linen stitch or moss stitch.
- Rows 14 to 28 are worked with a 6.5mm hook. Increasing the hook size compensates for all the chain stitches in the stitch pattern. A chain stitch is slightly small than a single crochet stitch. The cumulative effect of so many chains in one stitch pattern leads to your work becoming smaller. Going up a hook size compensates for this decrease in size.
- The stitches used for each row are in essence the same, but by using different colors each row (Rows 14 to 19) versus using the same color for two consecutive rows (Rows 20 to 27), a different look is achieved.
- Although working with a larger hook size, keep the stitches a bit loose to prevent puckering of the fabric.
- Ch1 at the beginning of a row does not count as a stitch.
Video Tutorials Part 2
To help you as much as possible, I have made full video tutorials showing as much as possible of every step involved in making your TLC Blanket. The videos are available in a LEFT HANDED version and a RIGHT HANDED version.
TLC Blanket Part 2 – Free Crochet Pattern
Row 14 (RS) With a 6.5mm hook, attach Color F in first st with ss, ch1 (does not count as a st), 1sc in first st, *ch1, skip next st, 1sc in next st; repeat from * to end. Fasten off. Turn.
[72 ch1-sps, 73 sc]
Row 15 (WS) Attach Color D in first st with ss, ch1, 1sc in first st, *1sc in next ch1-sp, ch1, skip next st; repeat from * till 2 sts left, 1sc in last ch1-sp, 1sc in last st. Fasten off. Turn.
[71 ch1-sps, 74 sc]
Row 16 (RS) Attach Color B in first st with ss, ch1, 1sc in first st, *ch1, skip next st, 1sc in next ch1-sp; repeat from * till 1 st left, 1sc in last st. Fasten off. Turn.
[72 ch1-sps, 73 sc]
Row 17 (WS) Repeat Row 15 with Color E.
[71 ch1-sps, 74 sc]
Row 18 (RS) Repeat Row 16 with Color D.
[72 ch1-sps, 73 sc]
Row 19 (WS) Repeat Row 15 with Color A.
[71 ch1-sps, 74 sc]
Row 20 (RS) Attach Color C in first st with ss, ch1, 1sc in first st, *ch1, skip next st, 1sc in next ch1-sp; repeat from * till 1 st left, 1sc in last st. Turn. Do not fasten off.
[72 ch1-sps, 73 sc]
Row 21 (WS) Ch1, 1sc in first st, *1sc in next ch1-sp, ch1, skip next st; repeat from * till 2 sts left, 1sc in last ch1-sp, 1sc in last st. Turn. Fasten off.
[71 ch1-sps, 74 sc]
Rows 22-23 Repeat Rows 20 and 21 with Color F.
Rows 24-25 Repeat Rows 20 and 21 with Color B.
Rows 26-27 Repeat Rows 20 and 21 with Color D.
Row 28 (RS) Attach Color A in first st with ss, ch1, 1sc in first st, *ch1, skip next st, 1sc in next ch1-sp; repeat from * till 1 st left, 1sc in last st. Turn. Do not fasten off.
[72 ch1-sps, 73 sc]
Row 29 (WS) Change to 5mm hook, ch1, 1sc in first st, 1sc in next st to end. Fasten off.
[145 sc]
Finishing Part 2
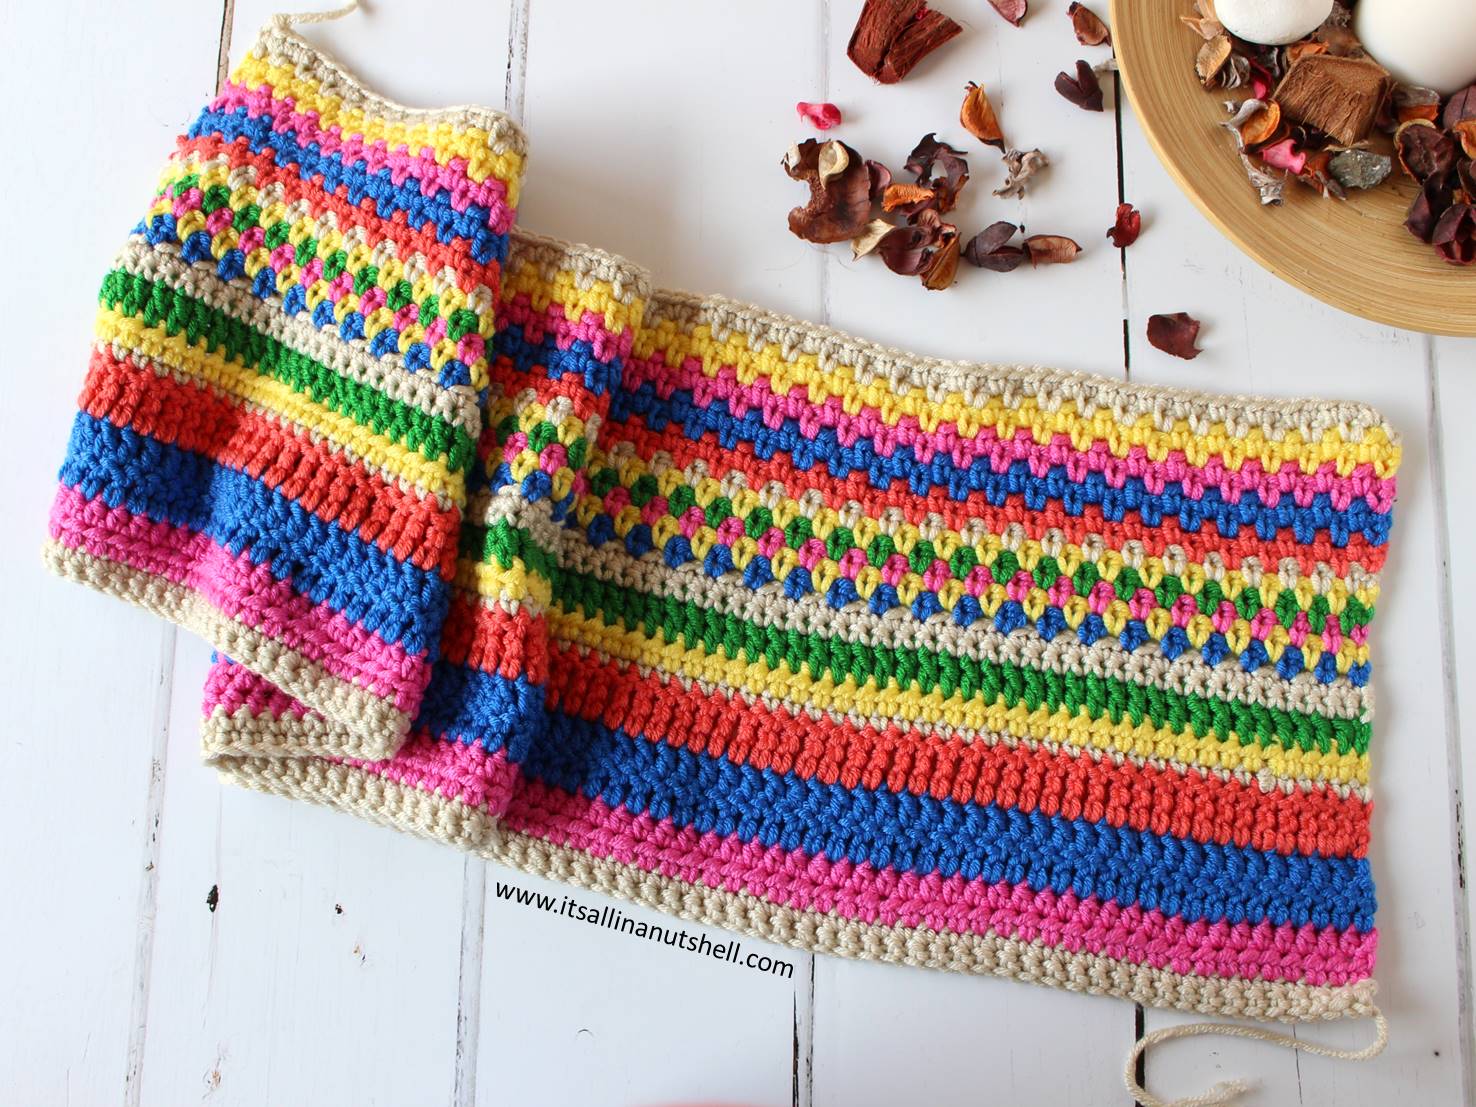
Work away all yarn tails. The blanket may pull a bit; this is almost inevitable with the combination of stitches worked in part 1 and 2. The blanket is now 24cm wide and 125cm long.
#itsallinanutshell
If you would like to share your blankets, use the hashtag #itsallinanutshell to help me find it on Facebook or Instagram. If you need any extra help, I am available in my Facebook group It’s all in a Nutshell Crochet Nuts. Also if you would like to show us your blanket, my Facebook group is a great place to do so.
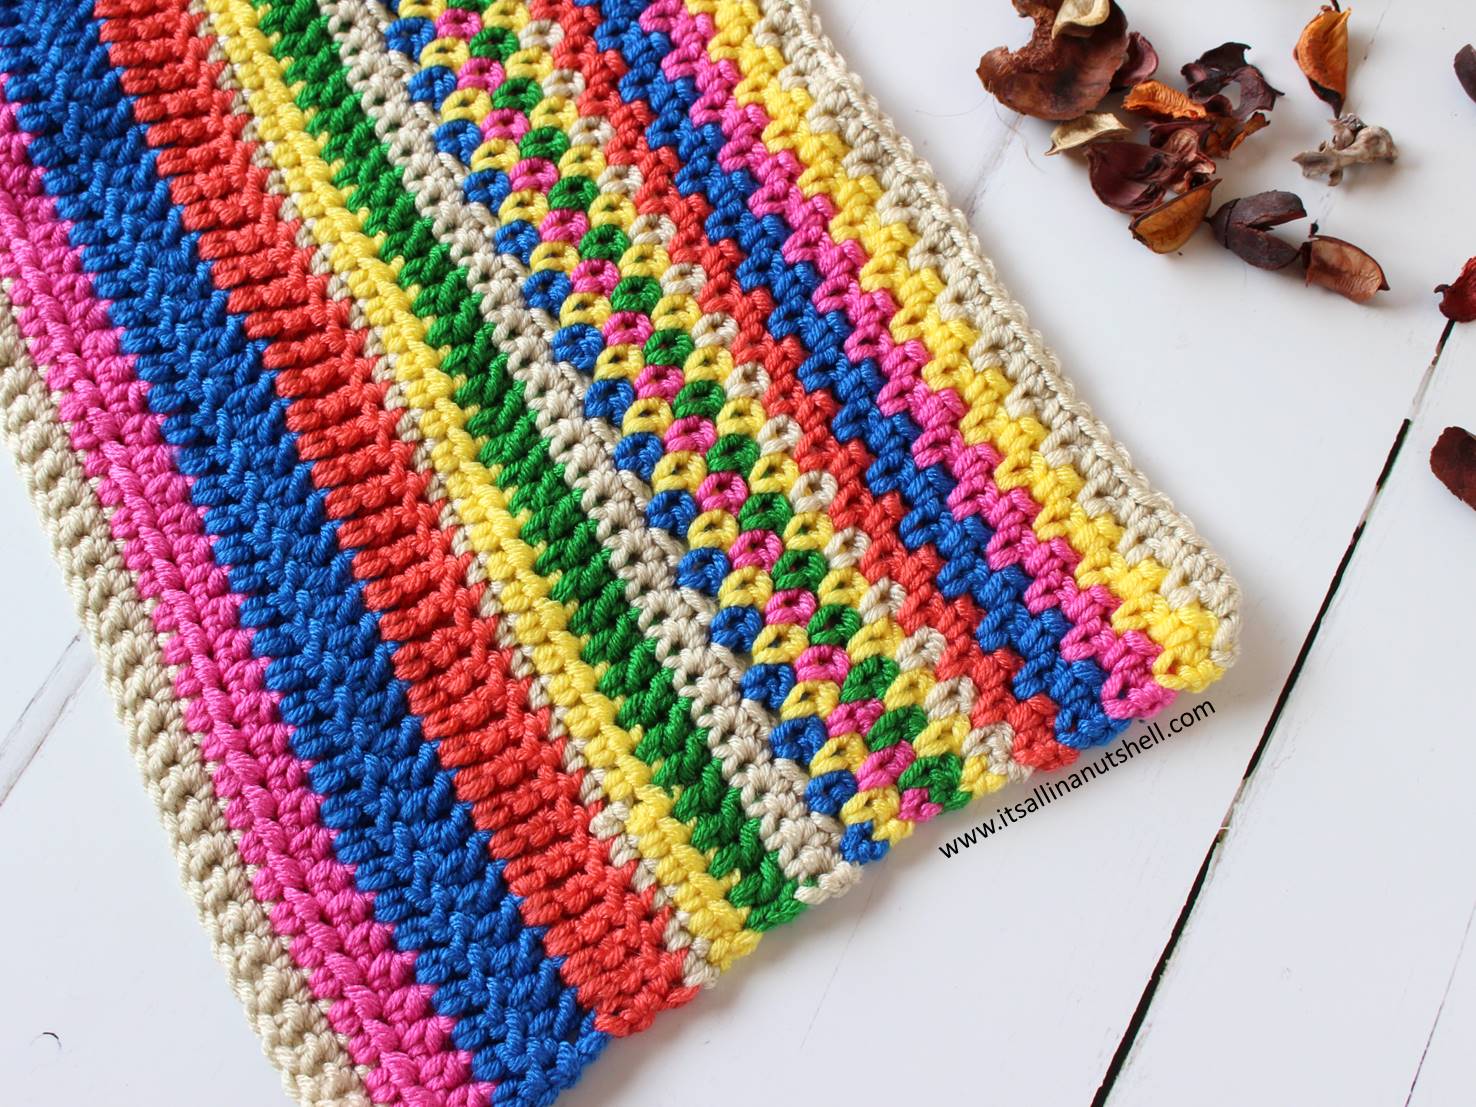
Next week we learn a classic stitch, the so-called granny stitch pattern. This is the stitch that you granny used to make, and it’s a must-learn stitch for every crocheter. See you next week!
With love,
Esther
Follow me on
Facebook, YouTube, Ravelry, Instagram
This post contains affiliate links. Please read my disclosure and copyright policy. All opinions are my own and I only link to products I use or would use. Thank you for using the links on my blog and supporting my work.
Copyright (c) 2014-2025 It’s all in a Nutshell Creations. All rights reserved.
Discover more from It's all in a Nutshell Crochet
Subscribe to get the latest posts sent to your email.


Looks beautiful!