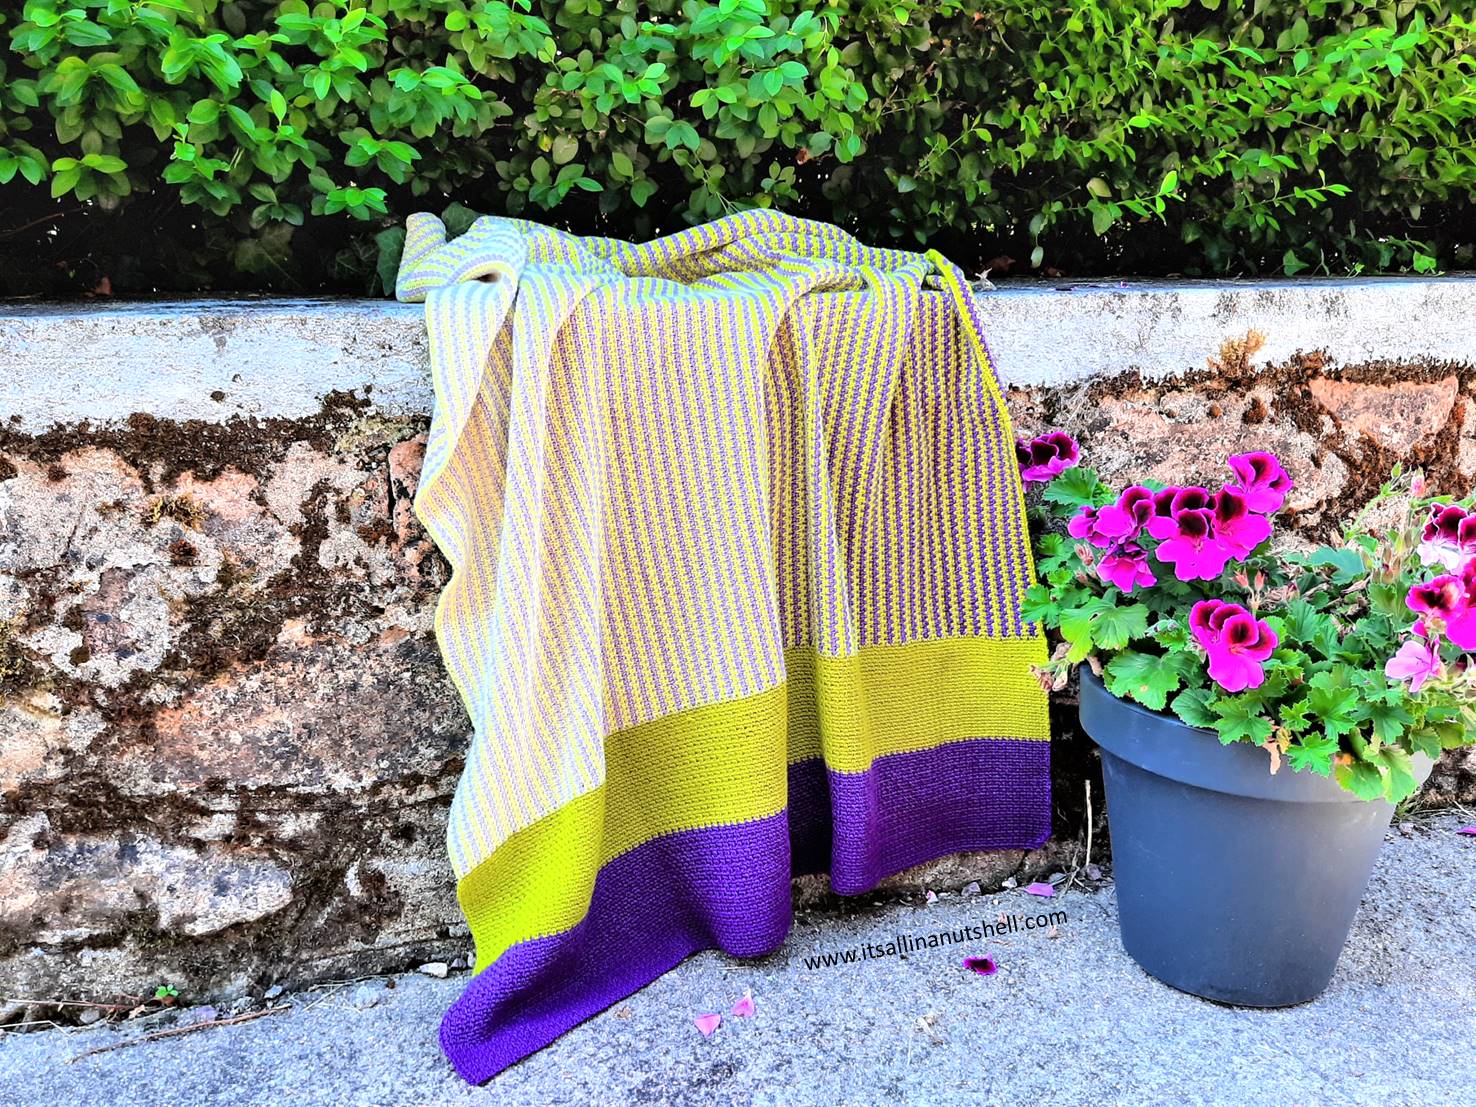
If you are looking for a relaxing “TV-project”, a project in which little thinking is required, look no further. My Morvan Blanket, named after the beautiful Morvan region in France, is exactly what you are looking for. It’s a relaxing linen stitch crochet pattern in which two Scheepjes Whirls from the Ombré collection give the blanket a fabulous color boost. Another bonus of my Morvan Blanket is that there are only 8 yarn tails to work away! In this post you find the free crochet pattern and the free video tutorial showing you the steps involved to make the blanket.
Resources
- Morvan Blanket Pattern on Ravelry
- Morvan Blanket Pattern on It’s all in a Nutshell SHOP
- Morvan Blanket NEDERLANDSTALIG Patroon
- Scheepjes Whirl yarn
Materials
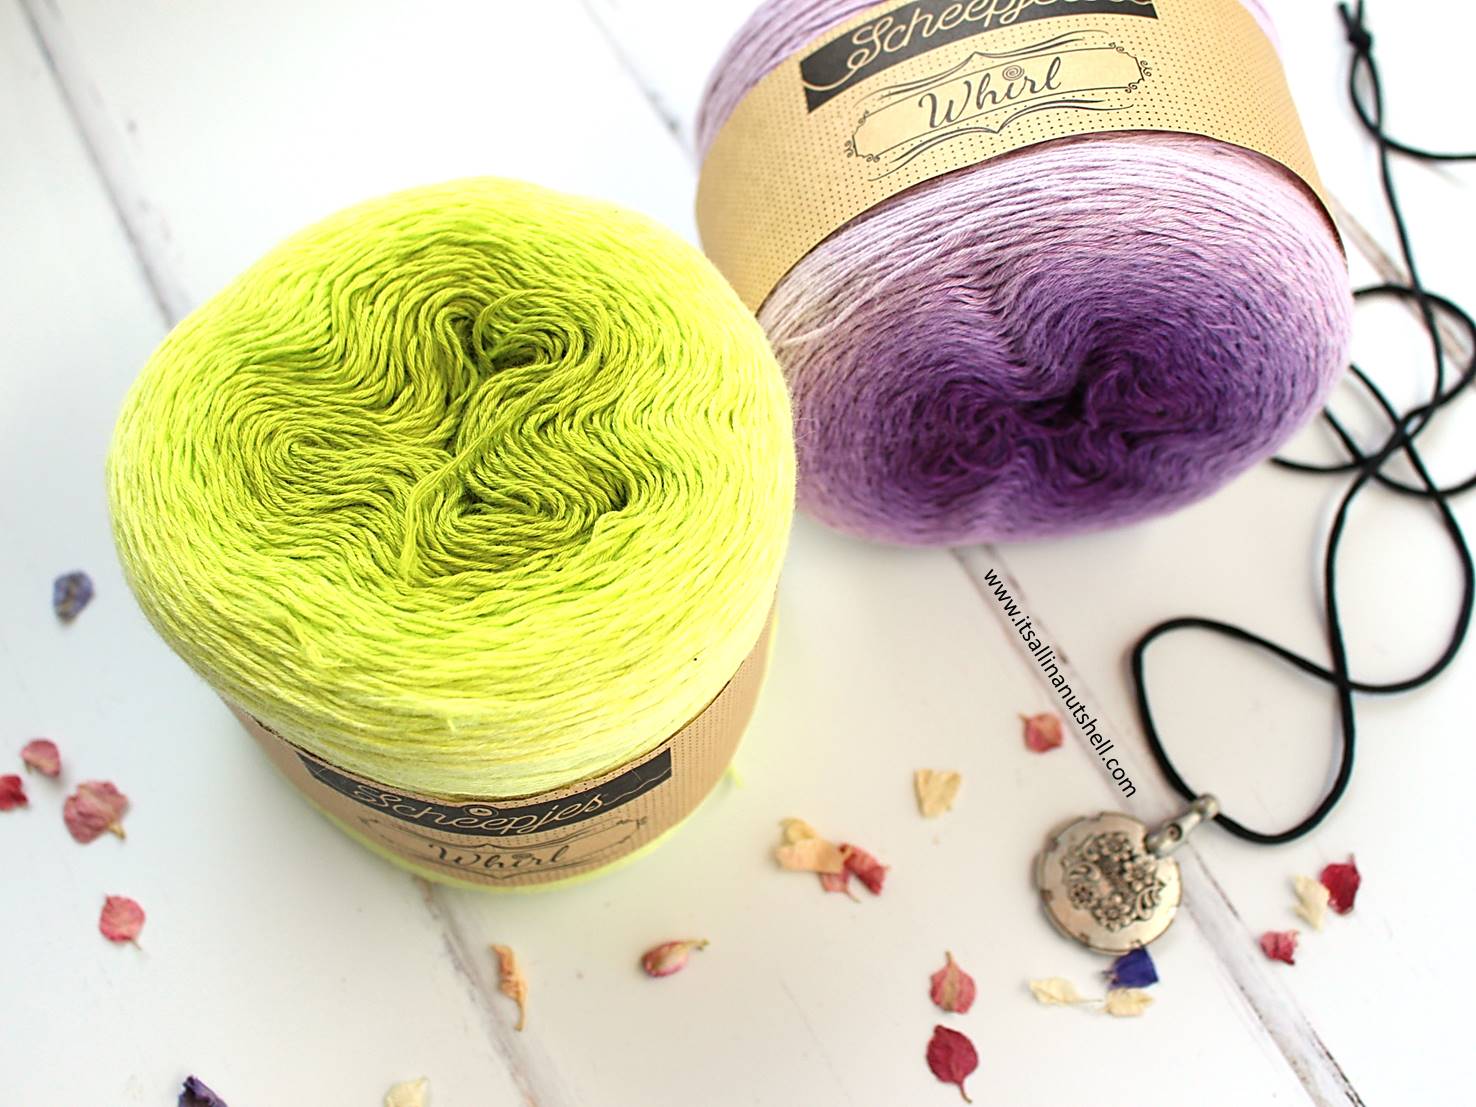
2 x Scheepjes Ombré Whirls
Color A – 1 x Citrus Squeeze (563)
Color B – 1 x Shrinking Violet (558)
3.5mm (US E/4) hook

Scheepjes Whirl is available from Wool Warehouse (UK/Int), The Knitting Network (UK), Jimmy Beans Wool (USA), Caro’s Atelier (NL/EU), or your favorite Scheepjes stockist.
Gauge and Size
The gauge of the blanket is 28sts x 32 rows measures 10cm x 10cm. The final size of the blanket is 90cm x 110cm.
Abbreviations
Please note that US Crochet Terminology is used for this pattern.
- ch chain
- ch-sp chain space
- sc single crochet
- st(s) stitch(s)
Notes
Start on the outside of both Ombré Whirls. This will be the lightest point of the yarn.
When making the starting chain, place stitch markers every 20 chain stitches to help you keep track of how many stitches you have made.
During part 1 of the blanket, do not cut the yarn after every row, but carry it up along the side of the blanket. When working with Color A, leave color B at the edge of the blanket. When you have worked two rows in color A, change to color B and leave Color A at the edge of the blanket. This way there is always one ball attached to the side of the blanket while working part 1.
To make the carrying of the yarn more neat do the following at the end of a row: change from Color A to Color B with the last yarn over of the single crochet, then when working the first single crochet with Color B, bring up yarn A and work over Color A with the single crochet in Color B. Work the following stitches in Color B, ignoring Color A and leaving Color A to the edge of the blanket. When changing from Color B to Color A, do the same procedure. This way the yarn that you are not using will be carried up through the first stitch at the edge of the blanket. If you look closely you will see the yarn being carried up, but from even a small distance it is almost impossible to see.
Working direction of each part is stated in the schematic. At the end of part 1, the blanket is rotated 90o to work part 2.
Video tutorials
I have a right handed and left handed video tutorial available in which I show you the steps involved in making the Morvan Blanket. In the video description you can find the time points for the start of every row.
Morvan Blanket – Free Crochet Pattern
Part 1 / Panel A
In Part 1 work Panel A, alternating two rows of linen stitch in Color A with two rows of linen stitch in Color B. Start and finish with Color A.
Row 1
With Color A, ch242, start in second ch from hook with 1sc, *ch1, skip next ch, 1sc in next ch; repeat from * to end. Change to Color B during last st. Turn.
[121 sc, 120 ch1-sps]
Row 2
With Color B, ch1 (does not count as a st here and throughout), 1sc in first st, *1sc in next ch1-sp, ch1, skip next sc; repeat from * till (1sc, 1 ch1-sp, 1sc) left, ch1, skip next sc, 1sc in last st ch1-sp, 1sc in last st. Turn.
[122 sc, 119 ch1-sps]
Row 3
Continue with Color B, ch1, 1sc in first st, *ch1, skip next sc, 1sc in next ch1-sp; repeat from * till 2 sc sts left, ch1, skip next sc, 1sc in last st. Change to Color A during last st. Turn.
[121 sc, 120 ch1-sps]
Row 4
With Color A, ch1 (does not count as a st here and throughout), 1sc in first st, *1sc in next ch1-sp, ch1, skip next sc; repeat from * till (1sc, 1 ch1-sp, 1sc) left, ch1, skip next sc, 1sc in last st ch1-sp, 1sc in last st. Turn.
[122 sc, 119 ch1-sps]
Row 5
Continue with Color A, ch1, 1sc in first st, *ch1, skip next sc, 1sc in next ch1-sp; repeat from * till 2 sc left, ch1, skip next sc, 1sc in last st. Change to Color B during last st. Turn.
[121 sc, 120 ch1-sps]
Row 6 –245
Repeat rows 2-5, ending with a repeat of rows 4 and 5 in Color A.
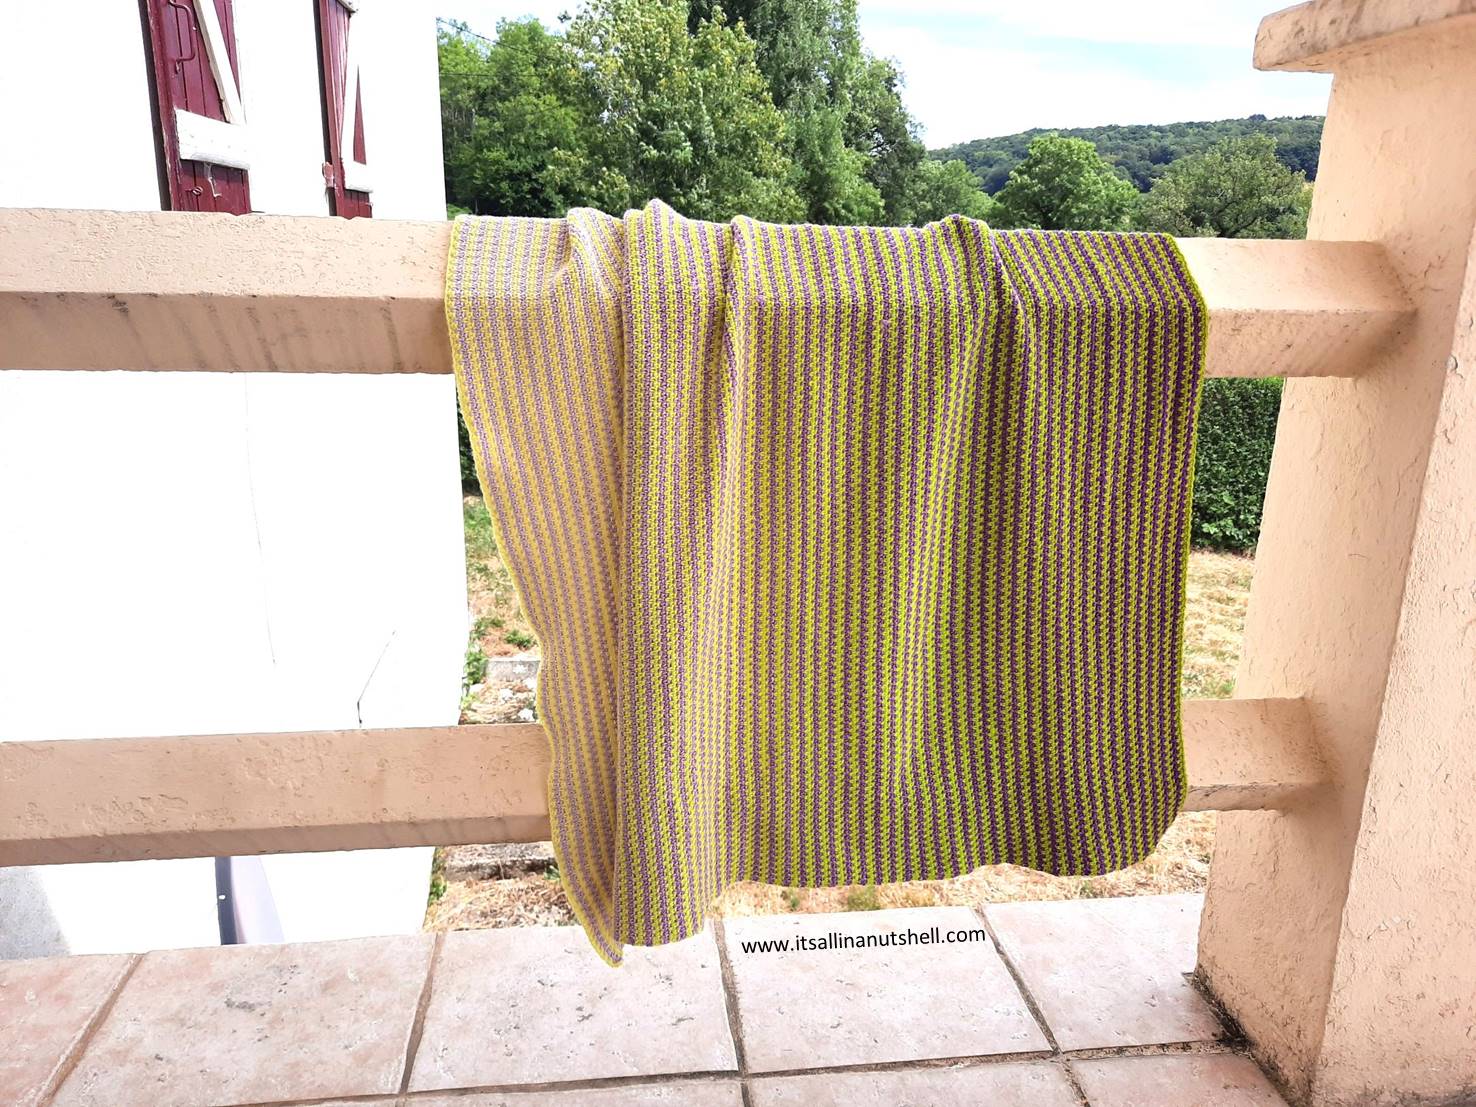
After row 245 the blanket will be 90cm x 90cm square. Fasten off both Colors A and B. At the end of Part 1, your blanket looks like this.
Part 2
Rotate the blanket so that the stripes are oriented vertically. Work part 2 along the bottom edge of the blanket. It does not matter which side you designate as the front of the blanket.
Work panel B with Color A till all the yarn from Color A is finished. Then work panel C with Color B, continuing in the same stitch pattern as panel B till all the yarn from Color B is finished.
Panel B
Row 1
In this row you work a base row to continue with the pattern along the bottom of the blanket. Except for the first and last row, every two rows worked in one color in part 1 have (1sc, 1 ch1-sp) along the side of that particular row.
Attach Color A along the side of the first stitch made in row 1 of part 1 with a ss, ch1 (does not count as a st), 1sc in the side of the first st in which the ss is made, ch1, *1sc along the side of the sc of the next row, ch1, skip the next sc; repeat from * till last row of part 1, 1sc along the side of the next sc of the second last row, ch1, 1sc along the side of the last sc of part 1. Turn.
[123 sc, 122 ch1-sps]
Row 2
Continue with Color A, ch1 (does not count as a st here and throughout), 1sc in first st, *1sc in next ch1-sp, ch1, skip next sc; repeat from * till (1sc, 1 ch1-sp, 1sc) left, ch1, skip next sc, 1sc in last st ch1-sp, 1sc in last st. Turn.
[124 sc, 121 ch1-sps]
Row 3
Continue with Color A, ch1, 1sc in first st, *ch1, skip next sc, 1sc in next ch1-sp; repeat from * till 2 sc left, ch1, skip next sc, 1sc in last st. Turn.
[123 sc, 122 ch1-sps]
Row 4 –30
Repeat rows 2 and 3 until Color A is finished. If you work more (or less) than 30 rows this is not a problem. Fasten off color A.
Panel C
On the last stitch of Panel B, change to Color B and continue repeating rows 2 and 3 of Panel A till Color B is finished. There will be approximately 35 rows in Panel C. Fasten off Color B. Work away all yarn tails and block your blanket to the given measurements.

Support me and my work
There are many ways that you can support me and my work and most of them are free. By visiting my website you are already supporting me! Also by viewing any of the free videos on my YouTube channel you support me.
Other ways to support me are to make a purchase from one of my affiliates. I get a small commission based on your purchase after you click one of the links on my website. It costs you absolutely nothing but helps me a lot. My affiliates are Amazon.co.uk, KnitPicks, Wool Warehouse, Jimmy Beans Wool, Minerva Craft, The Knitting Network, Love Crafts, and Caro’s Atelier.
If you would like to support me in ways that are out of pocket for you, you could buy any of my patterns on Ravelry or my SHOP. You can also make a DONATION, which I really appreciate. Even a small amount helps me to keep my small business running.
#itsallinanutshell
If you are making something with one of my patterns or one of my videos, I would love to see your work. Use the hashtag #itsallinanutshell on Instagram to help me find it, share your work in my It’s all in a Nutshell Crochet Nuts group on Facebook or tag me in one of your posts.
With love,
Esther

Follow me on
Facebook, YouTube, Ravelry, Instagram
This post contains affiliate links. Please read my disclosure and copyright policy. All opinions are my own and I only link to products I use or would use. Thank you for using the links on my blog and supporting my work.
Copyright (c) 2014-2025 It’s all in a Nutshell Creations. All rights reserved.
Discover more from It's all in a Nutshell Crochet
Subscribe to get the latest posts sent to your email.


Absolutely stunning for Spring. Thank you Ester
Ow love it Esther! Those colors, true summer and i also LOVE the Morvan!
I cannot wait to try this beautiful blanket pattern.
Can we decrease the chain to make a baby blanket? I assume even number+2
Yes, you can decrease the base chain by a multiple of 2 to make it smaller