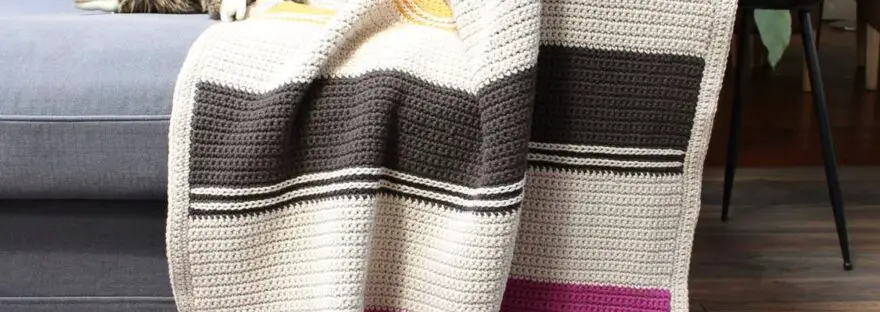
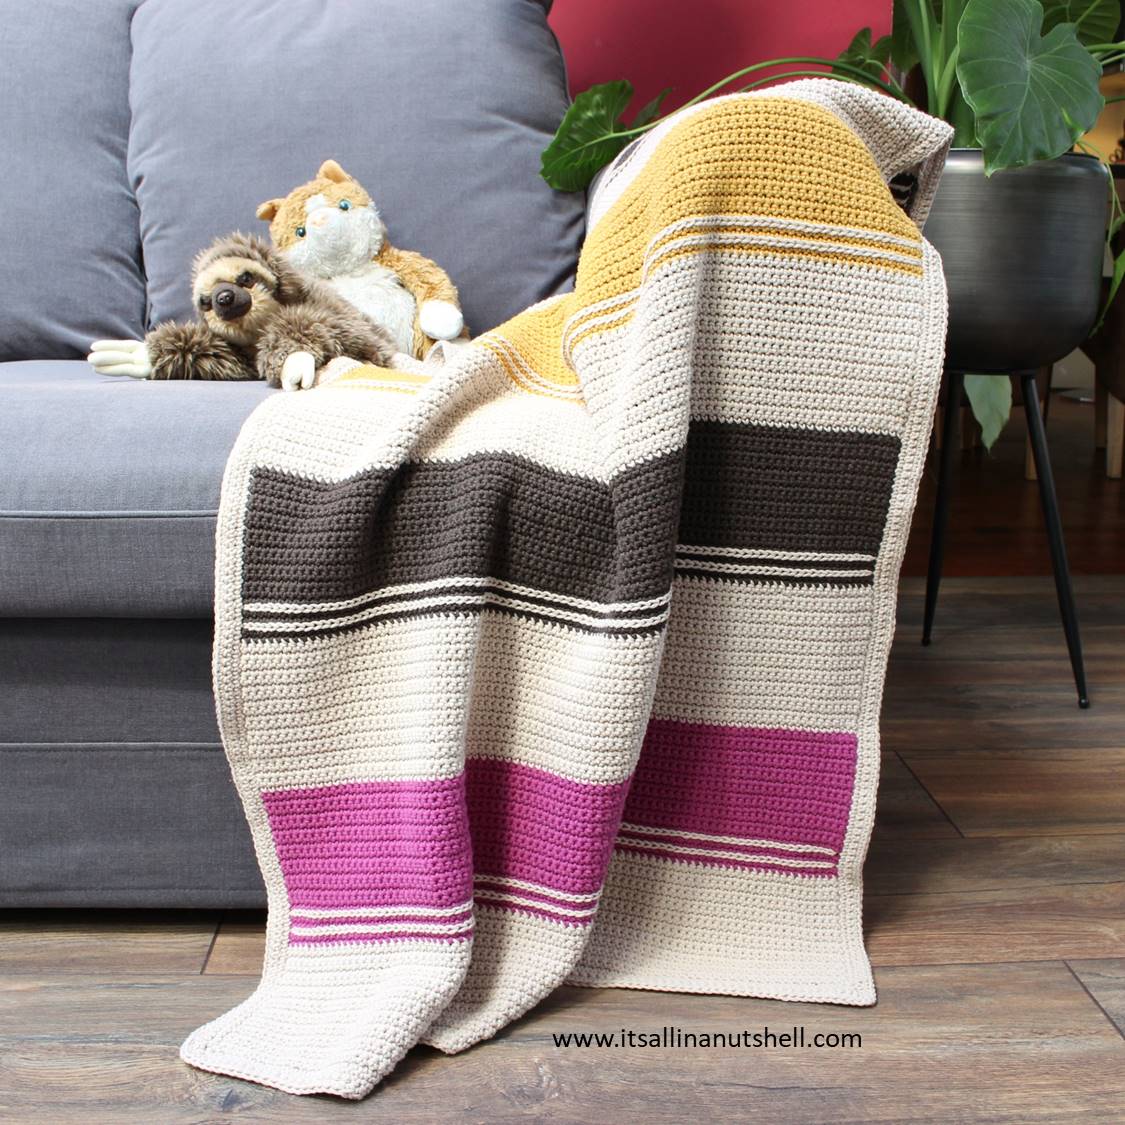
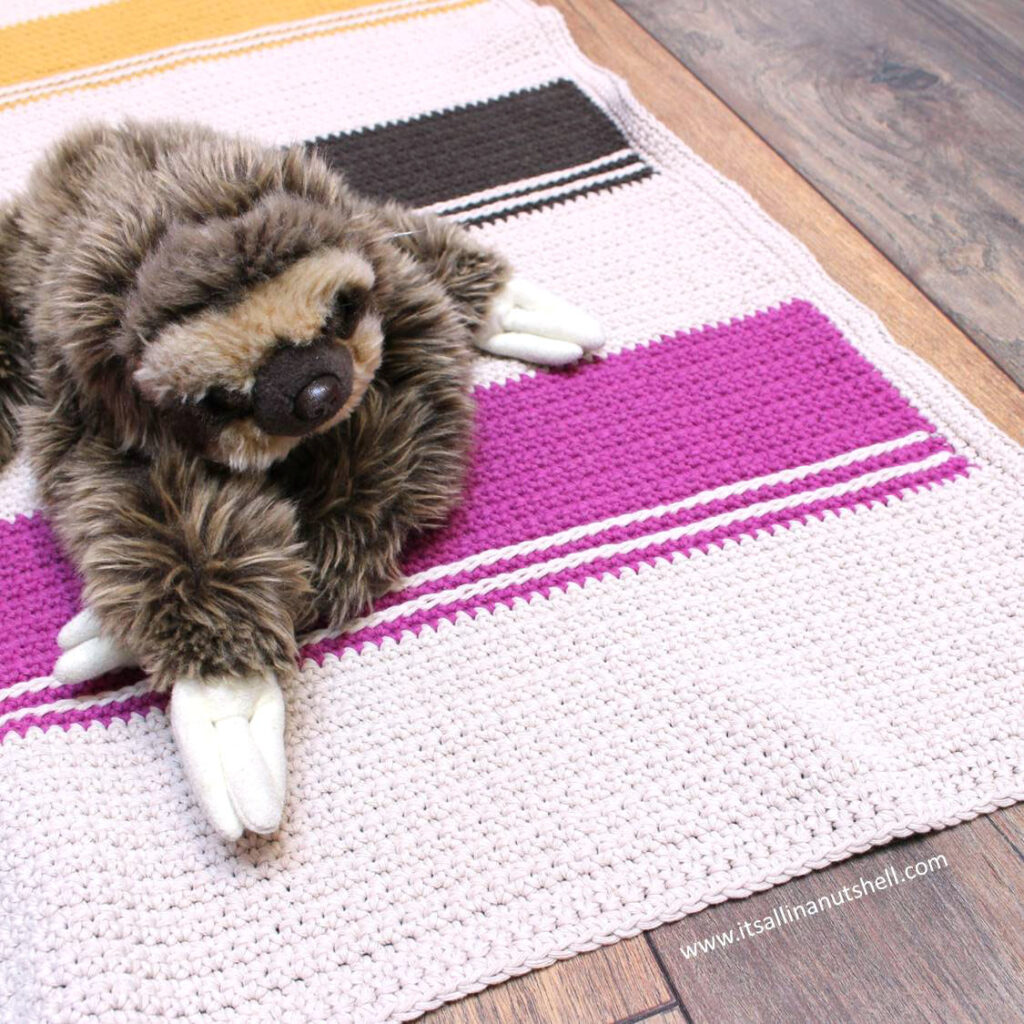
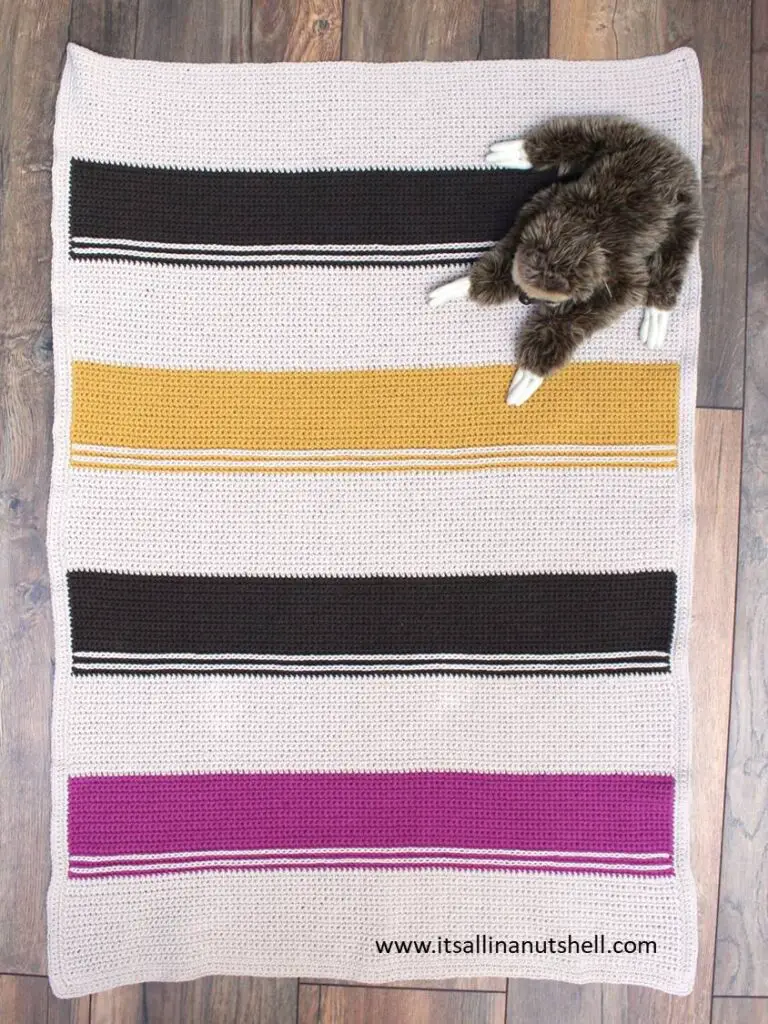
Sometimes I enjoy working on a project that is beautiful in its simplicity. That I feel is the case with my new Dreamweaver Baby Blanket design. It’s only one stitch with a bit of surface crochet, easy on the mind so to speak. In this post you find the free crochet pattern, including a free video tutorial, plus all information about yarn and colors. I hope you enjoy making this baby blanket.
De NEDERLANDSE versie van dit patroon is HIER beschikbaar.
The colors I chose for this blanket are intentional. I did not want to make a blue or pink blanket, immediately stereotyping what a child should be or like. Why should a boy be blue and a girl be pink? What if a boy likes pink? I want this blanket to be for all baby humans. I believe the colors are pretty for all little babies, bright with just a bit of retro feel to it.
Resources
- Dreamweaver Pattern on Ravelry
- PDF Pattern on It’s all in a Nutshell SHOP
- Video tutorial – RIGHT HANDED
- Video tutorial – LEFT HANDED
- **Dreamweaver Baby Blanket Yarn Kit**
- Social Media #itsallinanutshell
Pattern in one document
The pattern for Dreamweaver Baby Blanket is available for free here on my website. If you prefer to have the pattern as a printable pdf document, you can purchase the pattern on Ravelry or in my SHOP for a small fee.
Materials
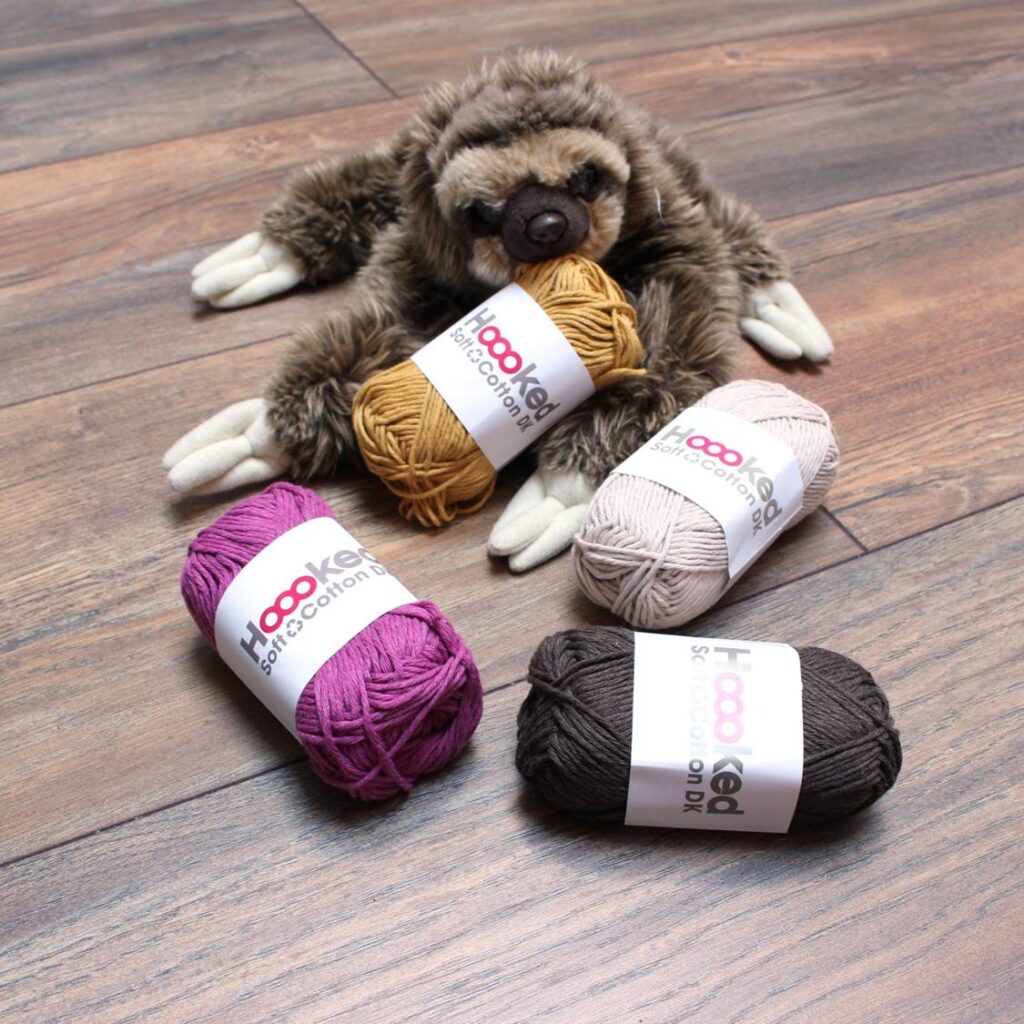
You will need 4 colors of Hoooked Soft Cotton DK (50g/85m) yarn to make your Dreamweaver Baby Blanket. The sample shown uses the following colors
- 10 x California Sand SC33 (Color A)
- 2 x Hanoi Plum SCSP4 (Color B)
- 4 x Havana Brown SC39 (Color C)
- 2 x Sienna Ocre SC53 (Color D)
In addition to the yarn, you will also need
- 5.0mm (US H-8 / UK 6) crochet hook
- 5.5mm (US I-9 / UK H) crochet hook
- darning needle
Everything you need to make the Dreamweaver Baby Blanket is available as a kit in my SHOP. The kit includes yarn and the pattern.
Abbreviations
This pattern uses US terms
ch chain
sc single crochet
ss slip stitch
st(s) stitch(es)
RS right side
WS wrong side
Size
When finished, the baby blanket measures 80cm x 100cm / 32in x 40in.
Gauge
Gauge is not critical for this project. If you want to work to gauge to ensure that you have enough yarn, 14 stitches x 19 rows measures 10cm x 10cm.
Notes and Tips
- When making the base chain, place stitch markers every 10 stitches to help you count.
- After making the surface slip stitches, pull the yarn tail to the back of your work.In the border rounds, the second of 3 stitches worked in the corner is the new corner stitch.
Dreamweaver Baby Blanket – Free Crochet Pattern
Blanket
Band #1
Row 1 (RS) With Color A and 5.5mm hook, ch111. Change to 5.0mm hook, 1sc in second chain from hook, 1sc in each ch to end. Turn. [110 sc]
Row 2 (WS) Continue with the same color, ch1 (does not count as a stitch here and further), 1sc in each st to end. Turn. [110 sc]
Rows 3– 20 Repeat Row 2. Fasten off at the end of Row 20.
Band #2
Row 21 (RS) With Color B and 5.0mm hook, start with a standing sc in the first st, 1sc in each st to end. Turn. [110 sc]
Row 22 (WS) Continue with the same color, ch1, 1sc in each st to end. Turn. [110 sc]
Rows 23– 40 Repeat Row 22. Fasten off at the end of Row 40.
With Color A and 5.5mm hook, work surface slip stitches over all the stitches of Row 22. Fasten off.
With Color A and 5.5mm hook, work surface slip stitches over all the stitches of Row 24. Fasten off.
Band #3
Row 41 (RS) With Color A and 5.0mm hook, start with a standing sc in the first st, 1sc in each st to end. Turn. [110 sc]
Row 42 (WS) Continue with the same color, ch1, 1sc in each st to end. Turn. [110 sc]
Rows 43– 60 Repeat Row 42. Fasten off at the end of Row 60.
Band #4
Row 61 (RS) With Color C and 5.0mm hook, start with a standing sc in the first st, 1sc in each st to end. Turn. [110 sc]
Row 62 (WS) Continue with the same color, ch1, 1sc in each st to end. Turn. [110 sc]
Rows 63– 80 Repeat Row 62. Fasten off at the end of Row 80.
With Color A and 5.5mm hook, work surface slip stitches over all the stitches of Row 62. Fasten off.
With Color A and 5.5mm hook, work surface slip stitches over all the stitches of Row 64. Fasten off.
Band #5
Rows 81 – 100 Repeat as for Rows 41 – 60.
Band #6
Row 101 (RS) With Color D and 5.0mm hook, start with a standing sc in the first st, 1sc in each st to end. Turn. [110 sc]
Row 102 (WS) Continue with the same color, ch1, 1sc in each st to end. Turn.
[110 sc]
Rows 103– 120 Repeat Row 102. Fasten off at the end of Row 120.
With Color A and 5.5mm hook, work surface slip stitches over all the stitches of Row 102. Fasten off.
With Color A and 5.5mm hook, work surface slip stitches over all the stitches of Row 104. Fasten off.
Band #7
Rows 121 – 140 Repeat as for Rows 41 – 60.
Band #8
Row 141 (RS) With Color C and 5.0mm hook, start with a standing sc in the first st, 1sc in each st to end. Turn. [110 sc]
Row 142 (WS) Continue with the same color, ch1, 1sc in each st to end. Turn.
[110 sc]
Rows 143– 160 Repeat Row 142.
Fasten off at the end of Row 160. With Color A and 5.5mm hook, work surface slip stitches over all the stitches of Row 142. Fasten off.
With Color A and 5.5mm hook, work surface slip stitches over all the stitches of Row 144. Fasten off.
Band #9
Rows 121 – 140 Repeat as for Rows 41 – 60.
Border
With Color A and 5.5mm hook, work surface slip stitches along both uneven edges of the blanket. Work 2 slip stitches per 2 rows.
Round 1 (RS) With Color A and 5.0mm hook, start with a standing sc in the bottom corner of the blanket in the first chain of Row 1, 2sc in same stitch, 1sc in next 108 chain stitches, 3sc in last chain. Rotate work and work into the surface slip stitches along the edge of the blanket. Work 1sc in each slip stitch to end. Rotate work and work along the top of the blanket. 3sc in first stitch, 1sc in next 108 sts, 3sc in last st. Rotate work and work along the long edge of the blanket. Work 1sc in each slip stitch to end. Join to first sc with ss. Turn.
Round 2 (WS) Ch1, *1sc in next st to corner, 3sc in corner stitch; repeat from * to end, close to first st with ss. Turn.
Round 3-4 Repeat as for Round 2. Fasten off at the end of Round 4.
Finishing
Work away all yarn tails. Block the blanket to the given measurements. Tip: use the left over yarn to make tassels and attach them to the corners of the blanket.
Video tutorials
There is a left handed and right handed version available for my Dreamweaver baby Blanket to help you every step of the way. Please note that the videos are in English US Terms. I hope the videos make it possible for everyone to make the blanket.
Support me and my work
There are many ways that you can support me and my work and most of them are free. By visiting my website you are already supporting me! Also by viewing any of the free videos on my YouTube channel you support me.
Other ways to support me are to make a purchase from one of my affiliates. I get a small commission based on your purchase after you click one of the links on my website. It costs you absolutely nothing but helps me a lot. My affiliates are Amazon.co.uk, KnitPicks, Wool Warehouse, Jimmy Beans Wool, Minerva Craft, The Knitting Network, Love Crafts, and Caro’s Atelier.
If you would like to support me in ways that are out of pocket for you, you could buy any of my patterns on Ravelry or my SHOP. You can also make a DONATION, which I really appreciate. Even a small amount helps me to keep my small business running.
#itsallinanutshell
If you are making something with one of my patterns or one of my videos, I would love to see your work. Use the hashtag #itsallinanutshell on Instagram to help me find it, share your work in my It’s all in a Nutshell Crochet Nuts group on Facebook or tag me in one of your posts.
With love,
Esther
Follow me on
Facebook, YouTube, Ravelry, Instagram
This post contains affiliate links. Please read my disclosure and copyright policy. All opinions are my own and I only link to products I use or would use. Thank you for using the links on my blog and supporting my work.
Copyright (c) 2014-2025 It’s all in a Nutshell Creations. All rights reserved.
Discover more from It's all in a Nutshell Crochet
Subscribe to get the latest posts sent to your email.

