I have knitted my first pair of socks. Remember when I shared my first knitted project ever, the Shawl of Secrets, that I said I wanted to learn to knit socks. I can honestly say that I can knit socks. Let me show you the process I went through in a photo heavy post, showing the 10 steps involved in making your first pair.
Resources
- Pattern by Staci Perry from Very Pink
- Video tutorials by Staci Perry from Very Pink
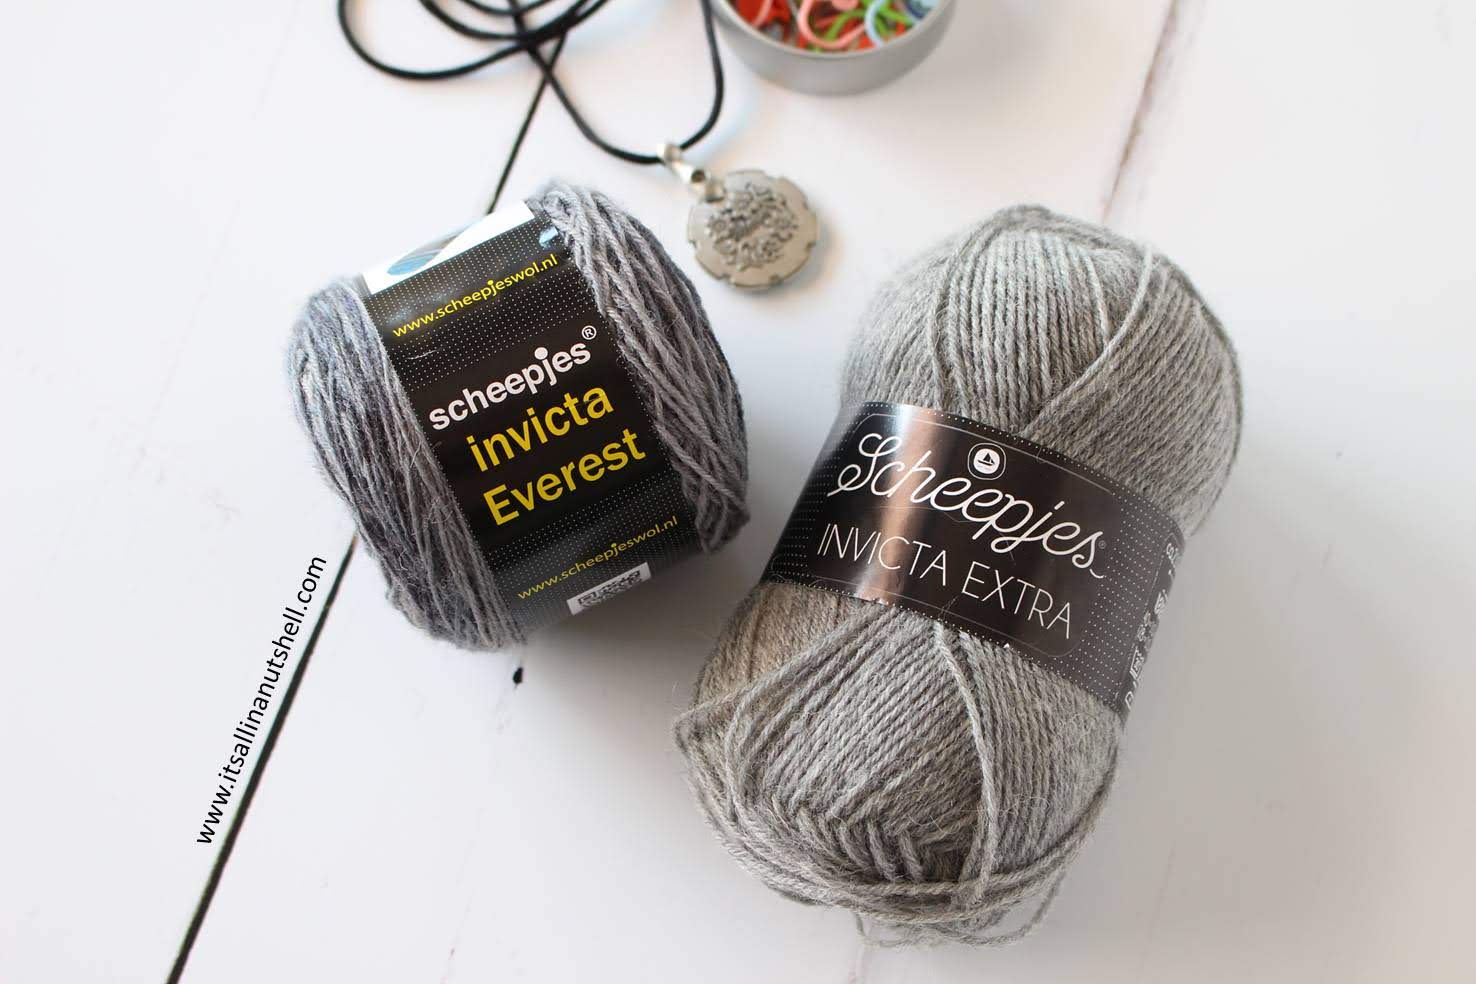
- Scheepjes Invicta Extra sock yarn
- Scheepjes Invicta Everest sock yarn
- Circular knitting needles
Step 1: find a pattern
I knew nothing about knitting socks, so I spend at least a week researching how socks are made and what patterns are out there. It turns out there are two basic ways to knit socks, cuff-down or toe-up. From my research I learned that toe-up gives less yarn-stress because you always know you will have enough yarn left to complete the sock; you simply continue to knit the last part of the sock till you run out of yarn. With cuff-down you always have to ensure that you have enough yarn for the foot of the sock. Considering that this is my first pair, I don’t want any stress, so toe-up it is.
I also learned that there are two knitting ways of making socks, either on double pointed needles or on circular needles using the so-called magic loop method. I don’t have any double pointed needles, so I wanted to make them using the magic loop method.
There are many free patterns out there, but I was looking for a toe-up, magic loop pattern, suitable for beginners and with video tutorials because I have no idea what I’m doing and need all the help I can get. I settled on a (paid) pattern by Staci from Very Pink. Her pattern has all the elements I need. It has row-by-row, idiot proof, written instruction, it has a video tutorial for all the difficult steps such as the toe, heel and cuff. Plus it has a bonus video (which you only get if you buy the pattern) showing how to do these socks using magic loop. I couldn’t be happier, totally perfect!
Step 2: find yarn and needles
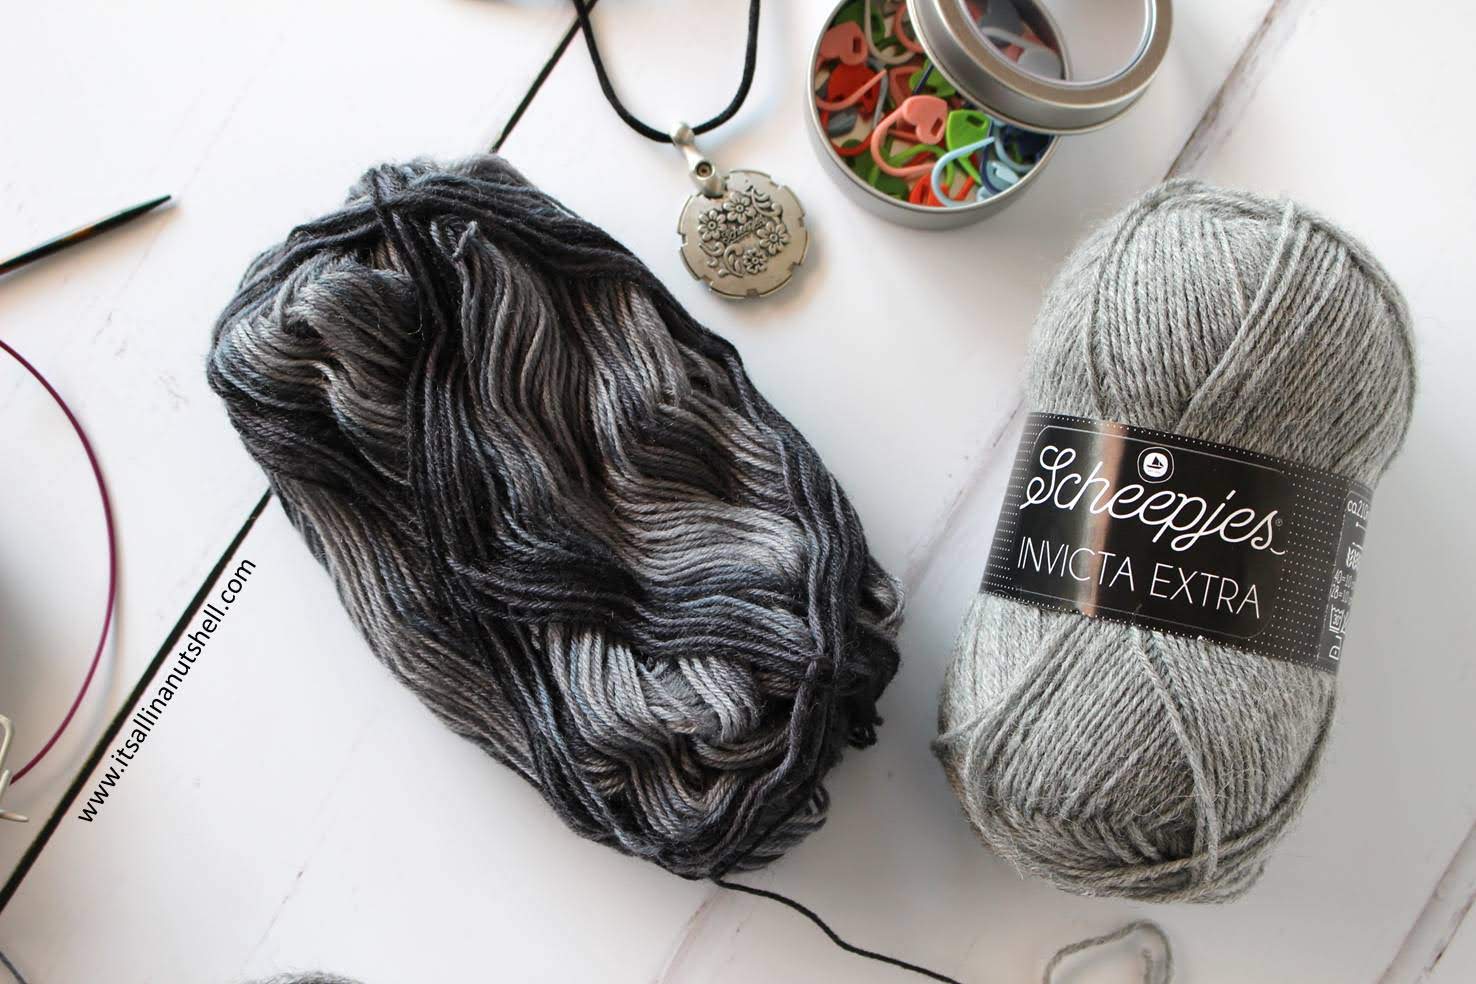
I rummaged through my vast yarn stash and found a ball of Scheepjes Invicta Extra and Scheepjes Invicta Everest, both are classic sock yarns which are a wool/polyamide blends. If you are in doubt if you can use a yarn for socks, just remember that good sock yarns need to contain polyamide (also known as nylon) to make them stretchy and strong. If you are looking for really warm socks, make sure the yarn contains at least 50% animal fiber too, because that is warmth guaranteed.
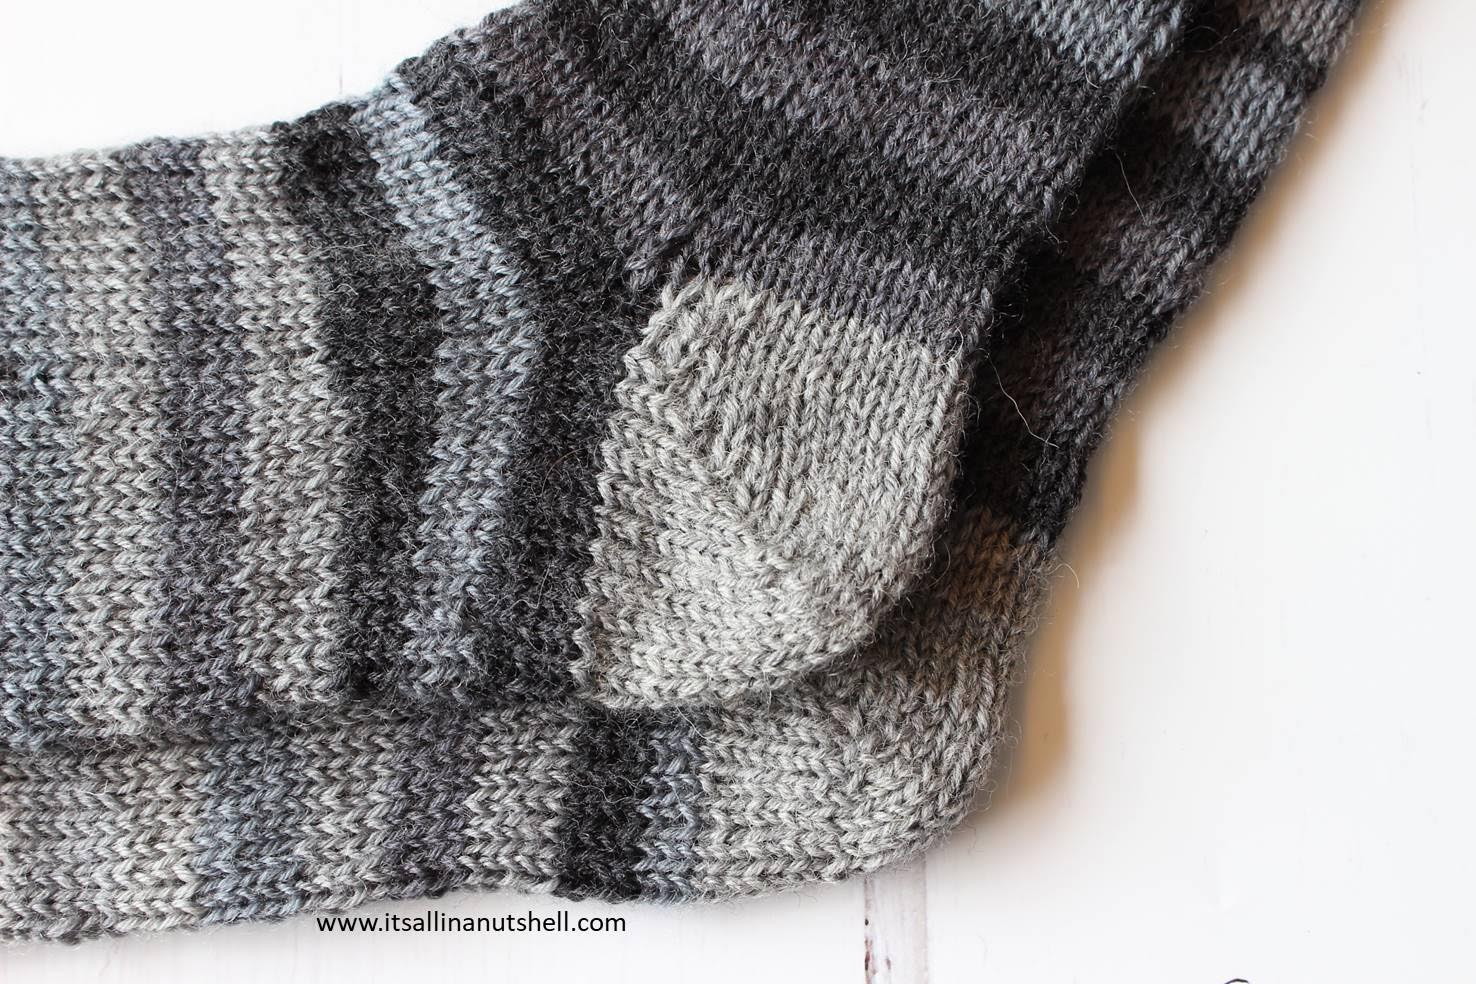
I selected two grey shades of yarn for my socks. I wanted to make the toe, heel and cuff a different color and I wanted to make a neutral colored sock. The second reason lead me to select two grey balls of yarn, a ball of Scheepjes Invicta Extra in solid light grey for the toe, heel and cuff, and a ball of Scheepjes Invicta Everest which is a self-striping yarn for the rest of the sock. The reason I chose a neutral shade is because if the socks turn out too big or too small I can give them to my husband or my boys. Neither of them would wear pink socks (I would!), so decided to play it safe for this first pair just in case.
The needle size suggested with the yarn is 3mm. Since I am a beginner I decided to go up one size to 3.25mm because often new knitters tend to knit a bit tight. Reflecting on my choice after completing my socks, I believe I am a loose knitter and next time I will drop a size to 2.75mm.
Step 3: prepare yarn
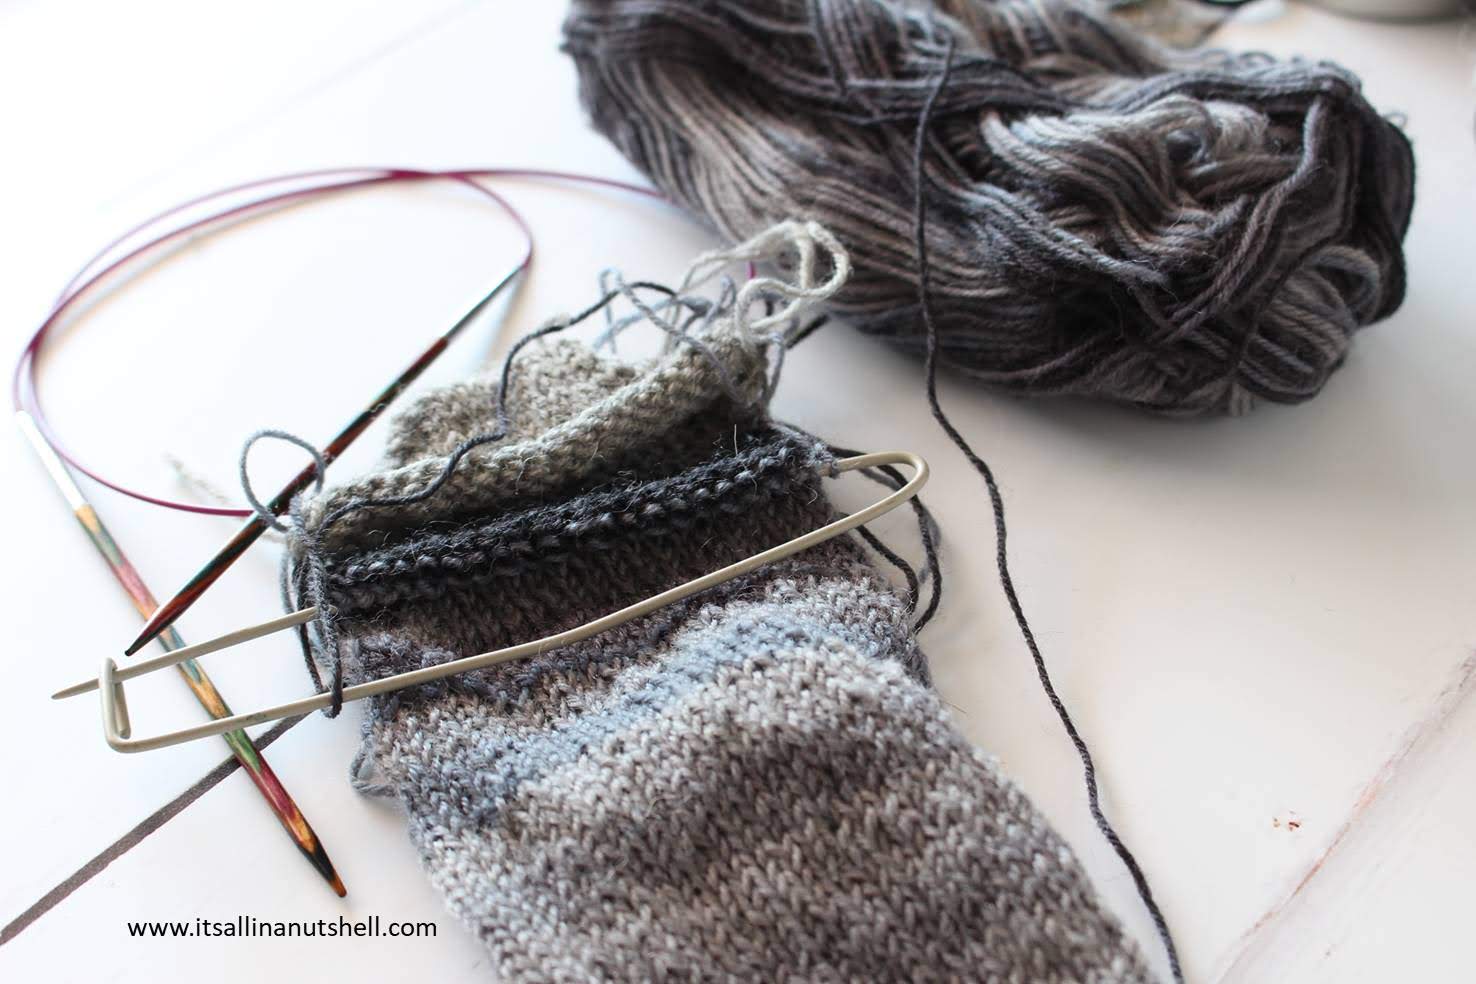
I learned from Staci that when knitting toe-up you can just knit and knit till you run out of yarn. To help this process she gave the tip to make two identical cakes of yarn beforehand, and then you can knit each cake into one sock. So I made the 100g ball of Invicta Everest into two 50g cakes.
Step 4: cast-on and toe using German Short Rows (GSR)
First thing to make these socks is to do a provisional cast-on, and then knit the toe using German Short Rows. I had never in my life ever heard of this, and I am totally happy that Staci shows in her video exactly how to work these rows, because I had no clue. But honestly, there is a rhythm and a logic to it that I really like. You flip the stitches over the needle, keep them separate for a while and then work them up. Kind of magical, but really easy.
Step 5: foot
After the toe, I had to pick up the provisional cast-on, which is a bit fiddly, but again thanks to the video easy to do. After that it is plain sailing, knitting round and round and round till the foot of the sock is long enough. This is totally relaxing and I think my favorite part of sock knitting.
Step 6: heel using German Short Rows
The heel is, amazingly enough, an exact copy of the toe. I worked another set of GSR’s (I am speaking the slang already), but only on half of the stitches. When working on double pointed needles it’s easy to just work on half the stitches and put the other half to the back in the mean time, but with circular needles I need all of the needles and can’t leave anything ‘to the back’. I rummaged through my mum’s old knitting stuff and found just what I needed, a stitch keeper. I slipped half of the stitches on there and kept them safe while I worked the heel.
Step 7: leg
This is again easy peasy, just round and round till you are happy with the height of the sock. This is were toe-up socks are in the advantage, now you can just knit on till you run out of yarn. Keep in mind that the cuff will add a bit more length to the sock, so if you are looking for a certain length of sock you may need to stop before you run out of yarn.
Step 8: cuff
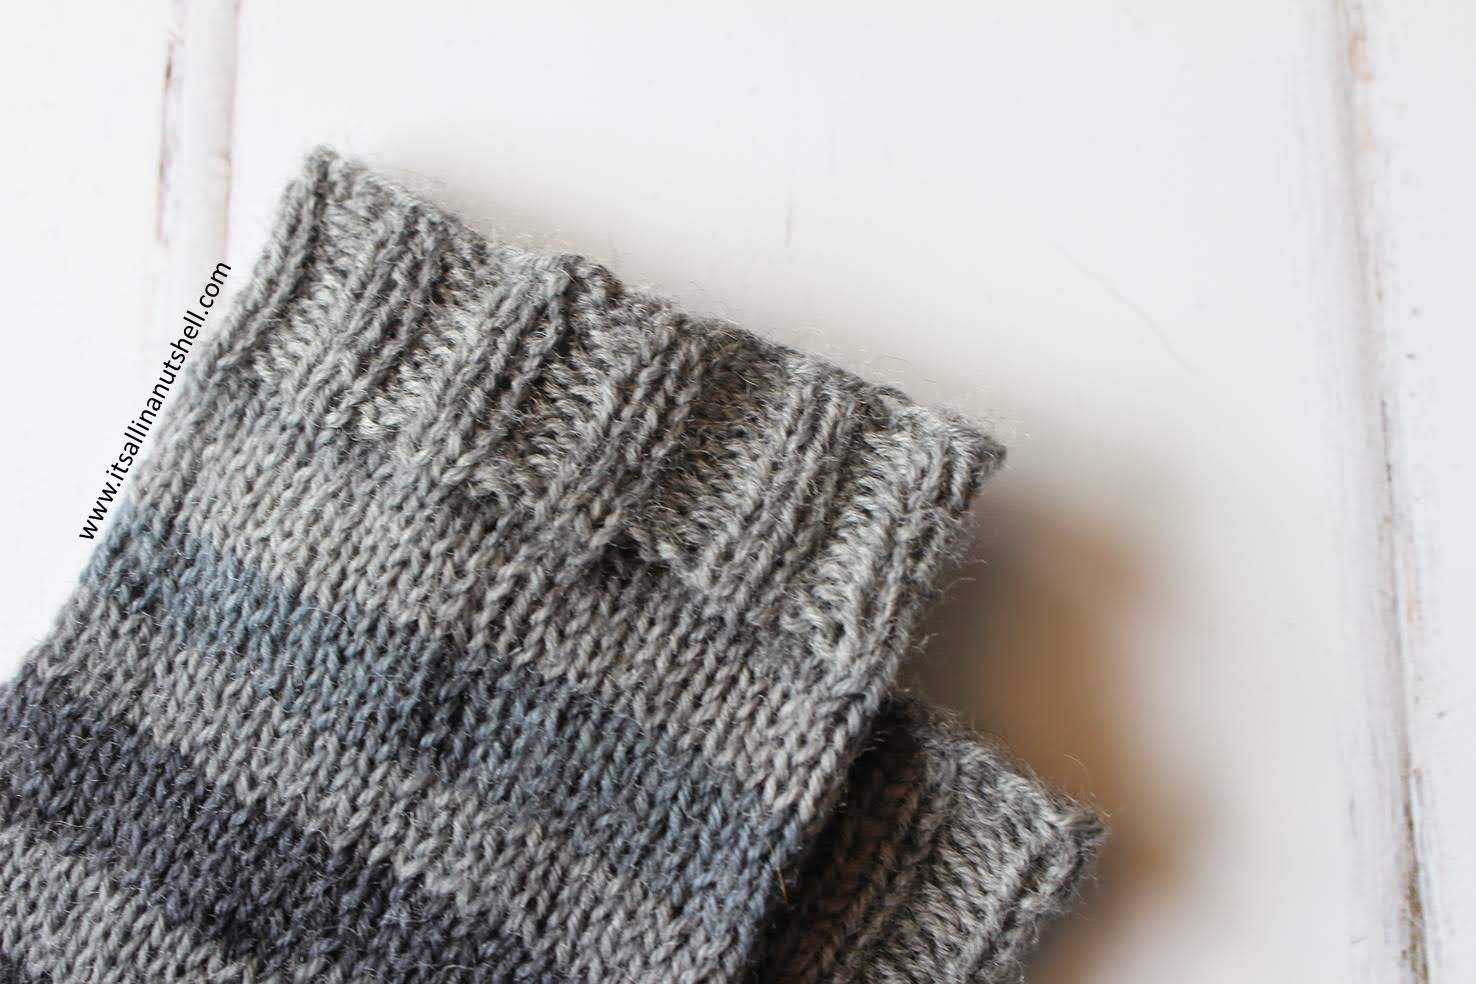
I have never worked the ‘cuff stitch’ before, but also this is very doable, knit 2 then purl 2, and repeat. I worked 12 rounds to get a nice sized cuff.
Step 9: bind-off
Last step is the bind-off. Again Staci comes to the rescue showing how to work a stretchy bind-off to make it easy to put the sock on.
Step 10: repeat for the second sock!
This is a step that sometimes gets forgotten, you need to make another sock. Sometimes people suffer from one-sock-syndrome, a condition in which the second sock never gets made. Best to prevent this by knitting that second sock right away.
Finished!
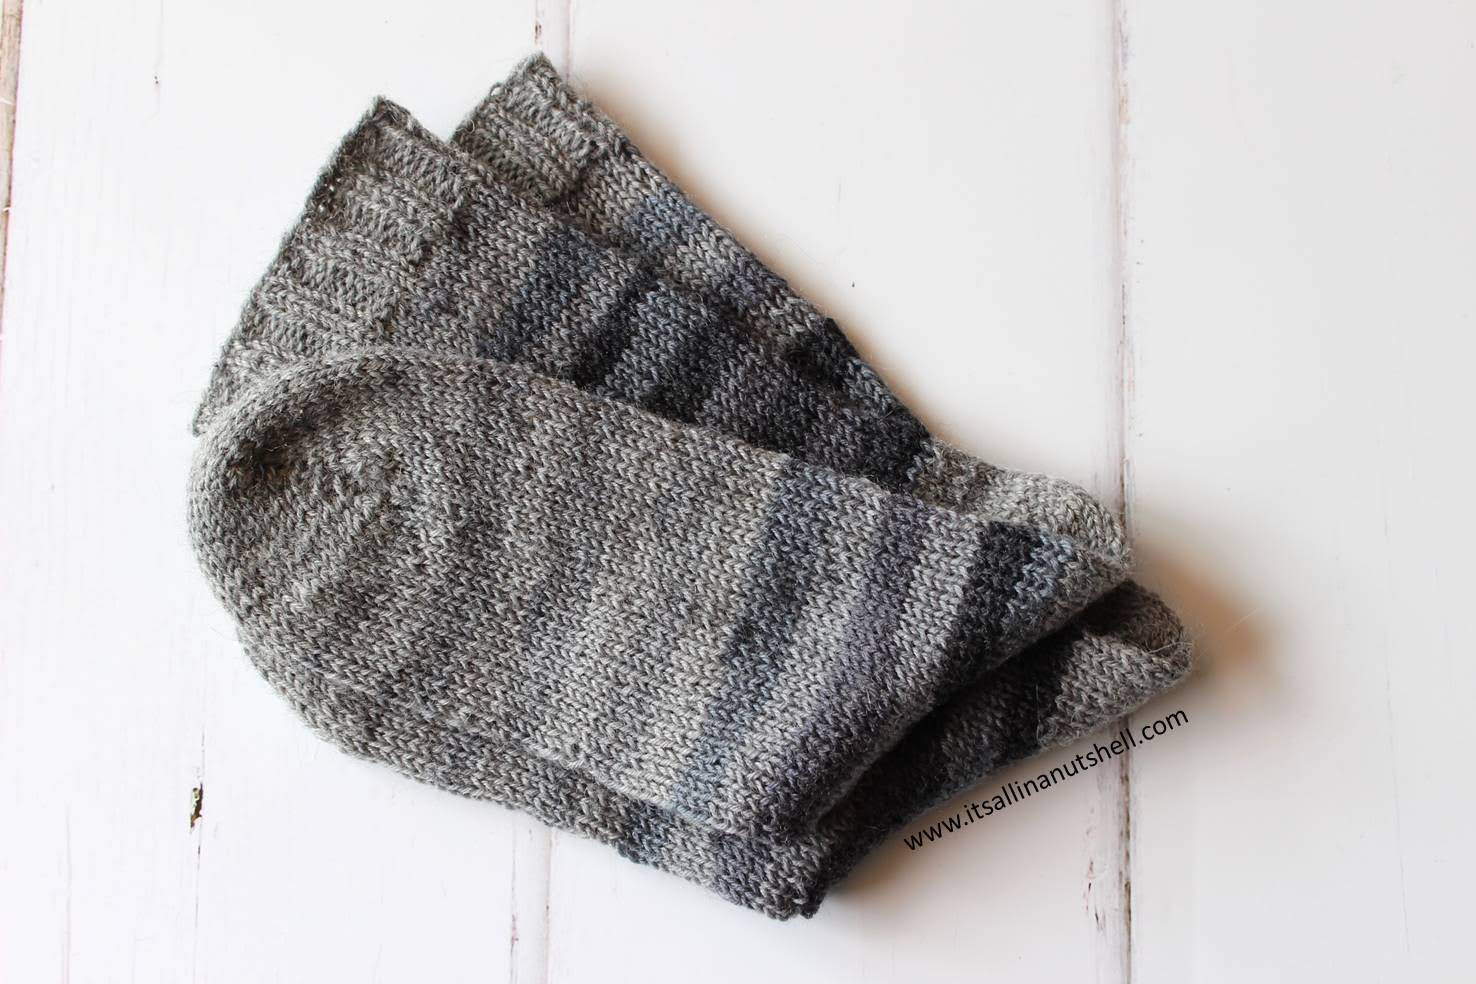
My socks are all done. I made these for me, so I used the instructions in the pattern for women socks, but apparently my tension is rather loose. My socks are way too big for me. But no stress, luckily my husband has larger feet, so I have gifted these socks to him and he doesn’t mind having another pair of grey socks.
Looking at this fist pair there are a few things that I want to pay more attention to next time. The seam where I go from one needle to the next is slightly visible on the edge of the sock. I believe that if I pull my first stitch on each needle a bit tighter I I can prevent this. I also made a bit of a boo-boo on one of the heels which lead to a hole, but nothing I can’t fix at the end with a sewing needle and some extra yarn.
But all in all I am really chuffed with these socks, just look at how the stripes line up between the two socks. This is actually completely coincidental. I did not plan this, it’s the yarn that I have to give credit. The Scheepjes Invicta Everest is a self-striping yarn that, if you make the sock in the repeat of the colors, makes for perfectly matching socks. I believe I am a big fan of self-striping sock yarn and will use it again for my next pair.
Did I just say next pair? Yes, I am. I must confess, I have already started a second pair. This time I dropped a few needles sizes to get the socks to hopefully fit me next time. I will show you my next pair when they are done.
With love,
Esther
Follow me on
Facebook, YouTube, Ravelry, Instagram
This post contains affiliate links. Please read my disclosure and copyright policy. All opinions are my own and I only link to products I use or would use. Thank you for using the links on my blog and supporting my work.
Copyright (c) 2014-2025 It’s all in a Nutshell Creations. All rights reserved.
Discover more from It's all in a Nutshell Crochet
Subscribe to get the latest posts sent to your email.





Oh I love that you did this! It is the truest dedication of a knitter ?
Most sock makers either make one sock and then quit, swearing never to make any socks again… OR they become serious die-hard knitters ?? You make everything look so simple, this must be a good sign for the rest of us who have ever been intimidated by the sock thing ? Keep up the great work my dear ???
Kan Theun nieuwe sokken bestellen?
Great job Esther! Your socks look GREAT!
If you snug the yarn on your SECOND stitch of your needle, that should take care of the hole or looseness of the stitch! ?
Merry
Will try that, thanx
I am so excited to see this post. I love to knit and want to do socks so very much. You have inspired me.
Thank you for the great visual of your experience in knitting your first pair.
Julie
I love making socks. Toe-up for me too! Though I think I may use a different short row method (must look up GSR). Great socks. I use a 2.5mm very short circular needle so you just go round and round – no need to pull 2nd stitch to prevent ladders. I normally knit fairly standard tension.
Gorgeous socks! What I love most about them is that you relied on Staci’s video to complete them–just as we rely on your videos to complete our crochet projects. I’ve been knitting for many years, but I would never tackle socks; yet, here you are making socks in your second knitting project. You are always inspiring to us crafters, Esther.
Its so bizarre that you should do a post on your first pair of knitted socks today. I’m in the middle of knitting the second sock of my first pair ever and am completely hooked. Also my yarn arrived today to start my Nuts about Squares afghan. Why do I not have two sets of hands?!
Wat een leuk geschreven stuk, Esther. Dank je.?
I think Very Pink has a 2-at-a-time magic loop toe up method so that there is no risk of suffering from 2nd sock syndrome; I’m going to try that one ? great article by the way…
Well done! I’m still too much of a wuss to try sock knitting. Oh the things that I could do wrong….
Congrats! Now you’re hooked I bet! I have 2 comments- Do not snug up on the first stitch to prevent “ladders”. Snug up on the 2nd stitch, and make sure your back needle is as close as you can get it to the working needle. Second, I’m trying to understand why you put the instep stitches on a stitch holder. They just kinda hang out waiting while you work back & forth on your heel.
the snug thing I am working on, isn’t as easy as it looks 😀
I was working on circular needles, and I didn’t have any spare DPNs to work the heel with.
Congratulations!
I remember my first pair! So satisfying!
I knit socks that way for many years.
I suffered from 2 problems that many sock knitters face. The biggest one was “2nd sock syndrome,” followed closely by “the socks don’t match!”
About a decade ago, I solved BOTH problems by learning to knit both socks, toes up on an extra long circular needle.
Now, both socks are finished at the same time, and both socks are identical!
I’m a very happy sock knitter!