
UPDATE: I have updated this pattern and I have made a series of video tutorials showing how to knit toe-up socks. My Happy Socks tutorial series is available HERE.
If you have been following my blog for a while, you will know that I am learning how to knit, and particularly learning how to knit socks. I can knit socks, and now I can actually knit socks that fit! I am so chuffed with myself, I can’t suppress smiling.
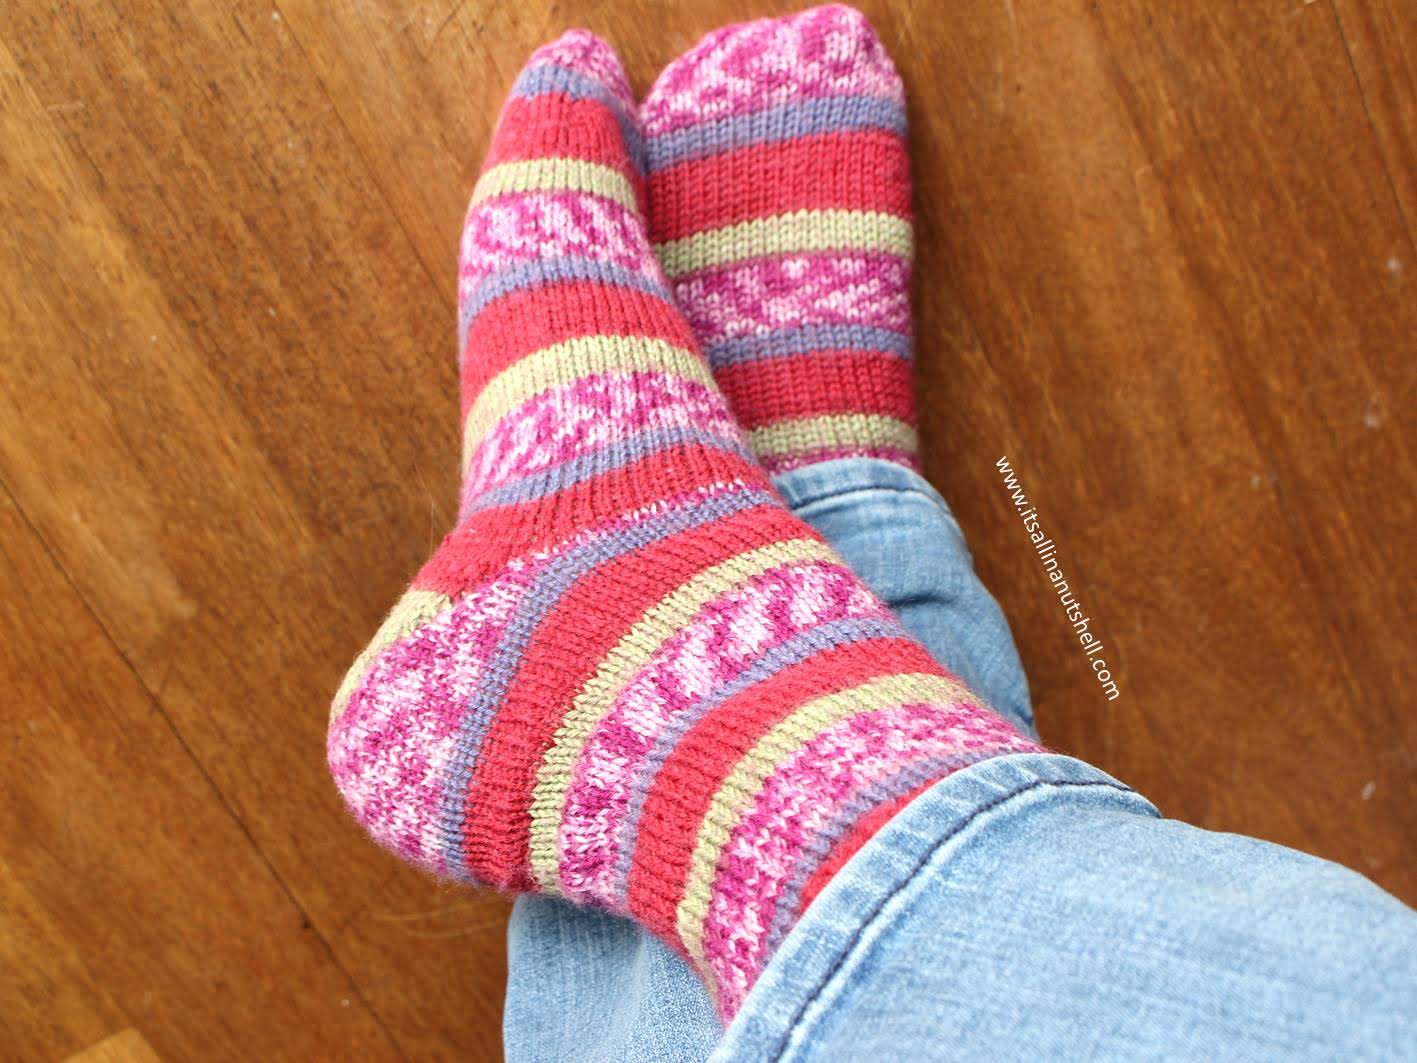
I have had quite some struggles with socks, they were too long, too wide, too narrow, you name it, I had it. I bought a recipe by Sox Therapist on how to make a cardboard mold of your feet and using them to knit socks. And they work like a charm.
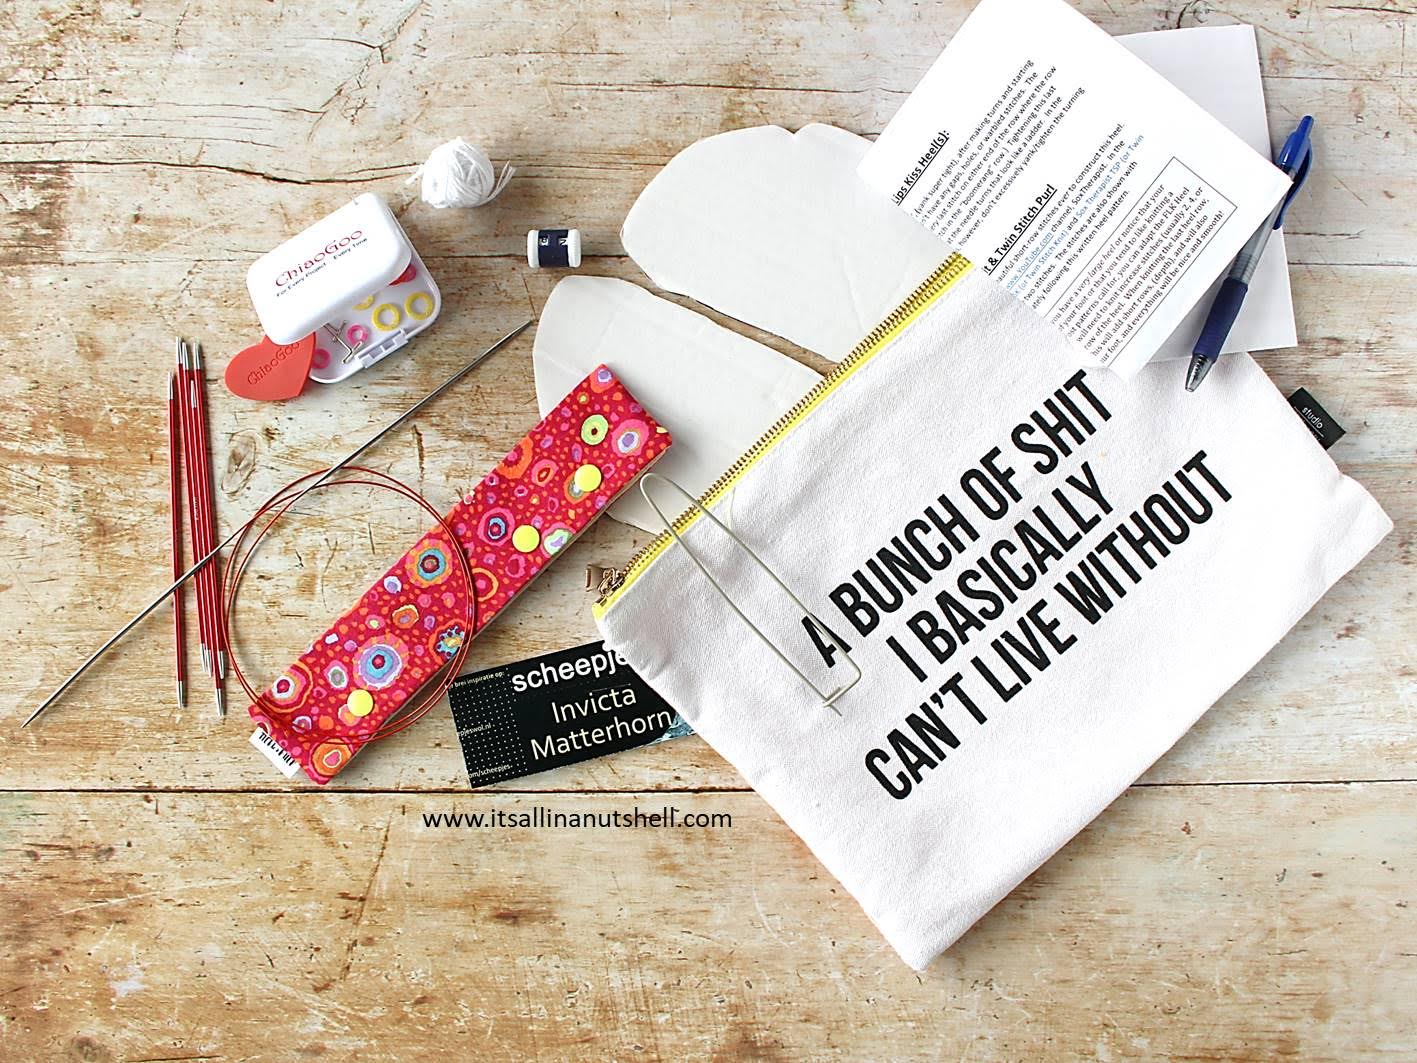
Sock knitting supplies
To knit socks that fit I believe you need a cardboard mold of your feet, knitting needles, ChiaoGoo circular knitting needles are my favorite, and yarn. I am a big fan of self-striping yarn. For my first pair of socks that actually fit I used Scheepjes Metropolis, a classic sock yarn. An optional gadget you don’t really need, but that is great to have is a cozy for your needles; I have these from TIEN en MIEP Designs. Extra things that have found their way into my project bag are printed patterns, pens, stitch markers, a round counter, and even some cotton yarn if I need to insert a lifeline into my work. All happily chucked into my sock knitting project bag by Studio Stationary.
Scheepjes Metropolis yarn is available from Wool Warehouse (Ships International) and Caro’s Atelier (NL/EU) and well as many other Scheepjes Stockists.
Toe-up Sock – Free Knit Pattern
I am using the word pattern here loosely. What I am giving you here is the pattern I used to knit my socks. With my tension, this pattern gives a UK size 6/EU size 39 sock. I am giving you this method so that you have a starting point to adjust the pattern to your own needs. I link to video tutorials by several YouTubers who have really helped me get the hang of knitting.
Materials
- 2.5mm/80cm circular needles
- 2.5mm double pointed needles (DPNs)
- Self-striping sock yarn
- Cardboard mold
Abbreviations
- kte – knit to end, knit all stitches on the current needle to the end
- kte-1 – knit all stitches on the current needle to one stitch before the end
- k – knit
- p – purl
- m1r – make one right, increases a stitch to the right
- m1l – make one left, increases a stitch to the left
- st(s) – stitch(es)
Pattern
- Toe
- Round 1 Cast on 20sts using Judy’s magic cast-on, 10sts per needle [20 sts]
- Round 2 kte on both needles [20 sts]
- Round 3 (k1, m1r, kte-1, m1l, k1) on both needles [24 sts]
- Round 4 kte on both needles [24 sts]
- Repeat Rounds 3 and 4, 9 times [60 sts]
- Foot
- Round 23 kte [60 sts]
- Repeat Round 23, 50 times till it reaches the indicated line on the cardboard mold [60 sts]
- Heel
- Knit a heel on the 30 sts from needle 1. The first time you knit a heel, it is a good idea to keep the sts from needle 2 safe by putting them on a stitch keeper. Also insert a safety line through the stitches of needle 1 so you can easily frog back if needed.
- Knit an easy heel, such as a German Short Row (GSR) heel, or the Fish Lips Kiss heel. I use a separate pair of DPNs to knit the heel.
- Leg
- Round 54 kte [60 sts]
- Repeat Round 54, 60 times till the desired length of the sock is reached [60 sts]
- Cuff
- slip 2 sts from needle 2 to needle 1 so that the stitches on both needles are dividable by 4
- Round 125 repeat (k2, p2) till end of both needles [60 sts]
- Repeat Round 125, 15 times [60 sts]
- Fasten off
- fasten off using a stretchy bind-off
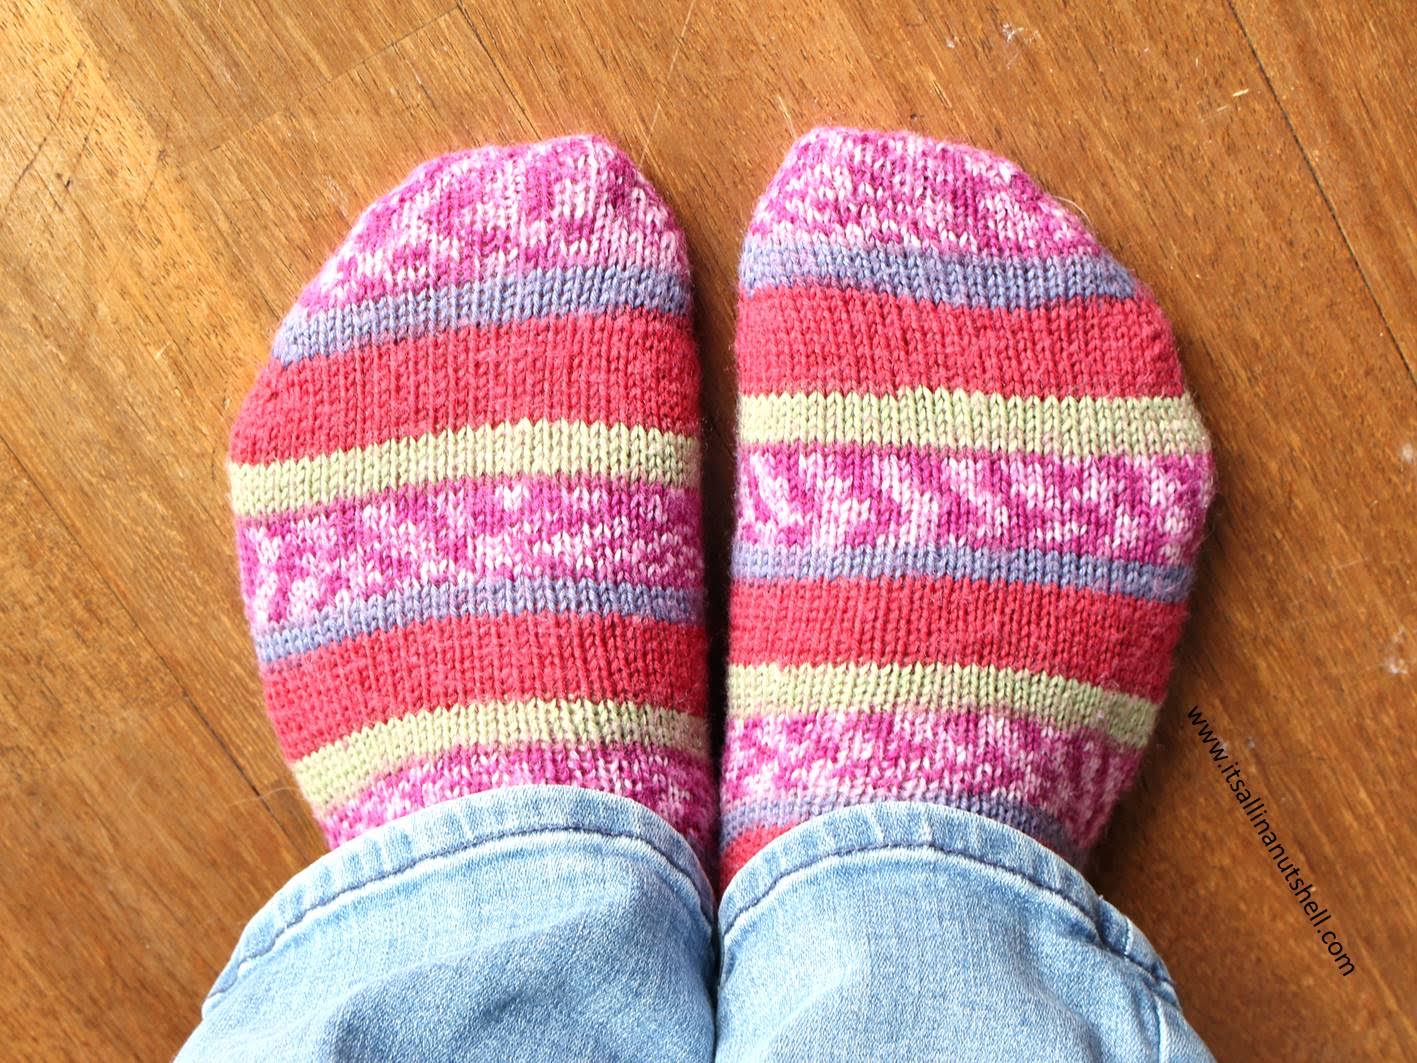
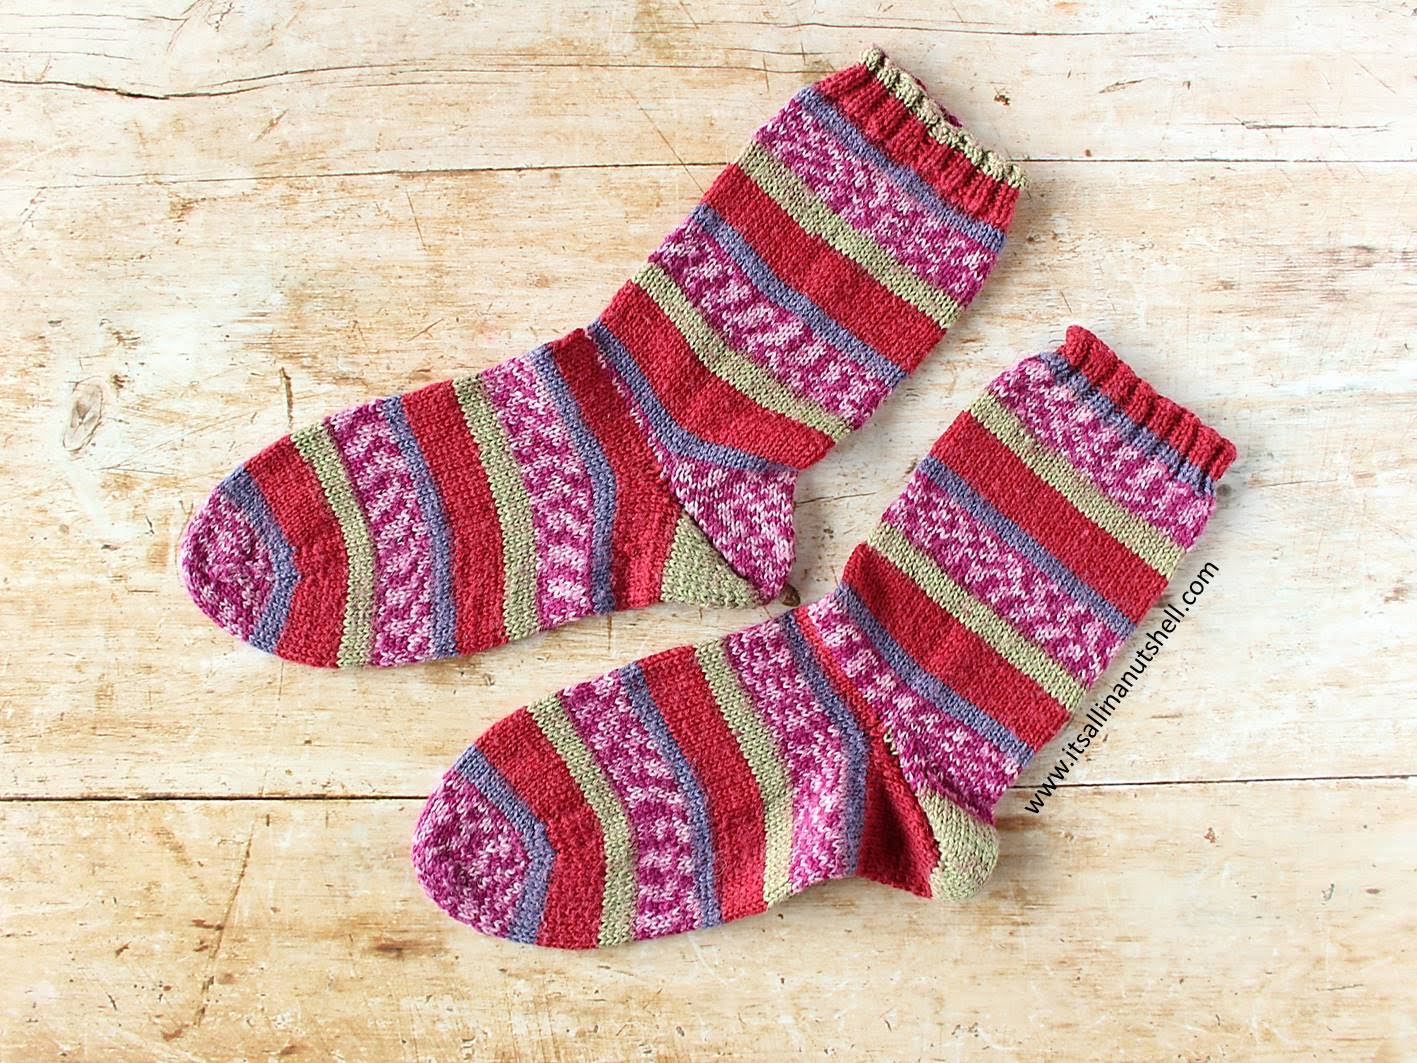
Finished socks
My finished socks are so warm! I have never had wool socks before, and I just didn’t realize how warm they are. No more cold feet for me next winter.
I now feel confident enough that I know what I am doing to knit my hand-dyed-by-myself rainbow yarn into a pair of socks. I will show you those when they are finished.
With love,
Esther
Follow me on
Facebook, YouTube, Ravelry, Instagram
This post contains affiliate links. Please read my disclosure and copyright policy. All opinions are my own and I only link to products I use or would use. Thank you for using the links on my blog and supporting my work.
Copyright (c) 2014-2025 It’s all in a Nutshell Creations. All rights reserved.
Discover more from It's all in a Nutshell Crochet
Subscribe to get the latest posts sent to your email.
How do I close the toe opening? I didnt see antthing in the pattern, unless I missed it.
You start from the toe, so no need to close it because it’s already closed from the start.