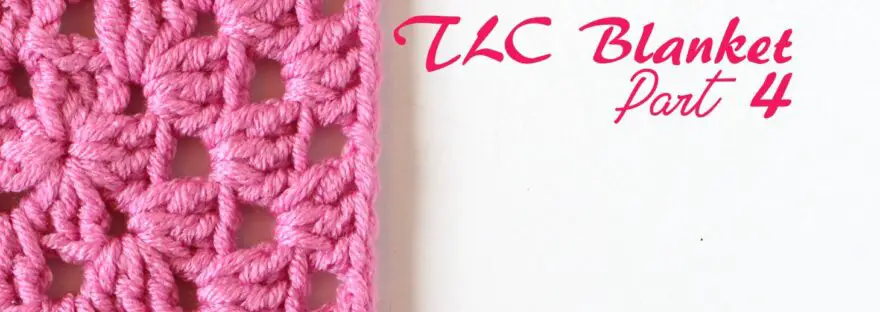
For part 4 of TLC Blanket you can put your main blanket aside for the moment. We are going to learn something totally new in part 4, we are going to make granny squares. Squares are an essential part of the crochet craft community, and learning how to make squares really means you are becoming a crocheter.
Resources
- Add TLC Blanket to your Ravelry library
- Full PDF pattern containing all 8 parts plus links to all the videos
- All pattern parts and tips & tricks
- All RIGHT HANDED Video tutorials in one YouTube playlist
- All LEFT HANDED Video tutorials in one YouTube playlist
- Scheepjes Chunky Monkey yarn (100g/107m)
- 5.0mm (US size H/8) and 6.5mm (US size K/10.5) hook
- Find help in my It’s all in a Nutshell Facebook Group
- Nederlandse vertaling HIER
- Social Media #itsallinanutshell
Materials
TLC Blanket is available in 3 beautiful colorways from the wide range of Scheepjes Chunky Monkey yarn. Each blanket is made using 6 colors, a 5.0mm and a 6.5mm hook. Find all information about yarn amounts and other other supplies HERE.
Scheepjes Chunky Monkey is available from many Scheepjes retailers, including Wool Warehouse (UK/Int), Jimmy Beans Wool (USA), The Knitting Network (UK/Int), and Caro’s Atelier (NL/EU).
Learning Objectives Part 4
In part 4 of the pattern you will learn to work a classic granny square. You will learn
- to work a round based or motif based pattern
- to work in the round to make a square
- to work more than one round in a motif
Abbreviations
This pattern uses US terms.
ch chain
ch-sps chain space(s)
dc double crochet
ss slip stitch
st(s) stitch(es)
GG Granny group, 3dc worked in one position
RS Right side
Notes and Tips Part 4
- If you are making your blanket longer, work 2 extra squares per 24 stitches that you added to your work in part 1. If you added 48 or more stitches, it is possible that you will have to work one square less than I estimate now. This is because the size of your squares will determine how many you actually need at the end of the day. The length of all your squares together should be approximately the same as your blanket.
- Each square is about 12.5cm. The total length of all your squares should be roughly the same as the length of your blanket.
- The square we work in part 4 is called a granny square, because it uses the granny stitch pattern we learned in part 3.
- Do not turn your work. All rows are worked with RS facing.
- The group of 3dc is called a granny group, I abbreviate it with GG.
- In a square, the stitch count is given for only one edge. The stitch count is the same for all 4 edges. The corner stitches are not given in the stitch count.
- The ch2 is the corner stitch.
- Ch3 at the beginning of a round counts as 1dc.
Video Tutorials Part 4
To help you as much as possible, I have made full video tutorials showing as much as possible of every step involved in making your TLC Blanket. The videos are available in a LEFT HANDED version and a RIGHT HANDED version.
TLC Blanket Part 4 – Free Crochet Pattern
First square
Round 1 (RS) With Color B and 5mm hook, ch4, close in the first st with ss to form a ring. Ch3 (counts as 1dc), 2dc in ring, (ch2, 3dc in ring) 3 times, ch2, close with ss in first st.
[1 GG]
Round 2 (RS) Ss in next 3 sts to ch2-sp, ch3, 2dc in ch2-sp, ch2, 3dc in ch2-sp, *ch1, (3dc, ch2, 3dc) in next ch2-sp; repeat from * 2 more times, ch1, close with ss in first st.
[2 GG, 1 ch1-sp]
Round 3 (RS) Ss in next 3 sts to ch2-sp, ch3, 2dc in ch2-sp, ch2, 3dc in ch2-sp, *ch1, 3dc in next ch1-sp, ch1, (3dc, ch2, 3dc) in next ch2-sp; repeat from * 2 more times, ch1, 3dc in next ch1-sp, ch1, close with ss in first st.
[3 GG, 2 ch1-sps]
Round 4 (RS) Ss in next 3 sts to ch2-sp, ch3, 2dc in ch2-sp, ch2, 3dc in ch2-sp, *ch1, 3dc in next ch1-sp, ch1, 3dc in next ch1-sp, ch1, (3dc, ch2, 3dc) in next ch2-sp; repeat from * 2 more times, ch1, 3dc in next ch1-sp, ch1, 3dc in next ch1-sp, ch1, close with invisible join over first st. Fasten off.
[4 GG, 3 ch1-sps]
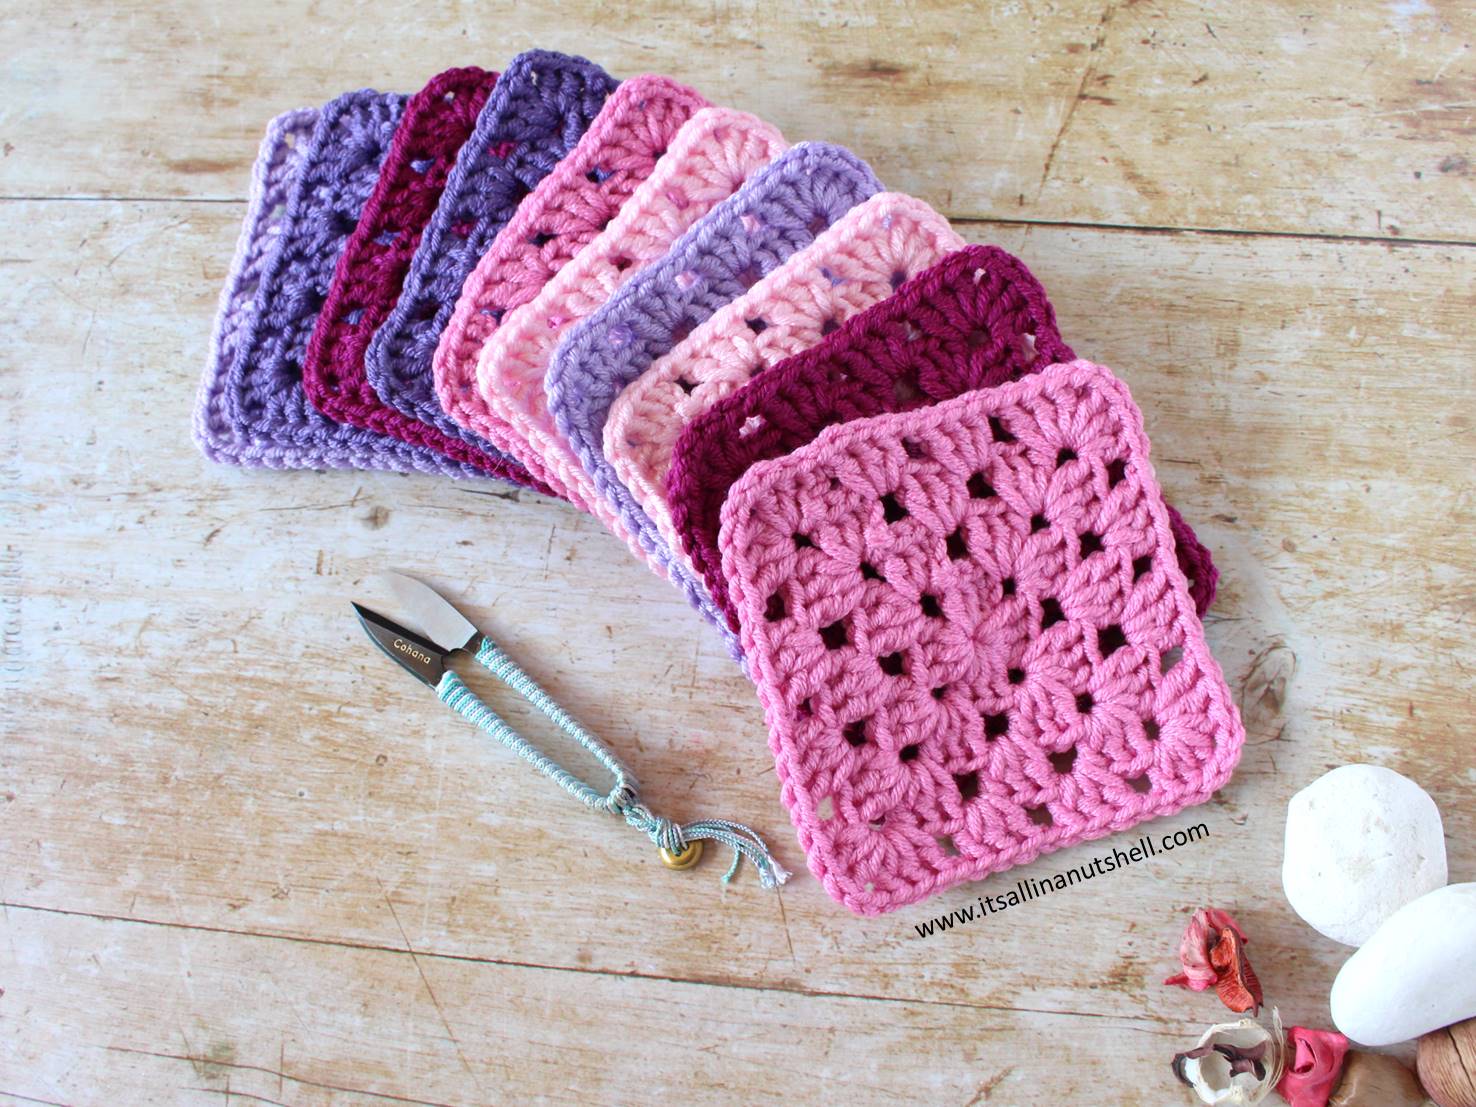
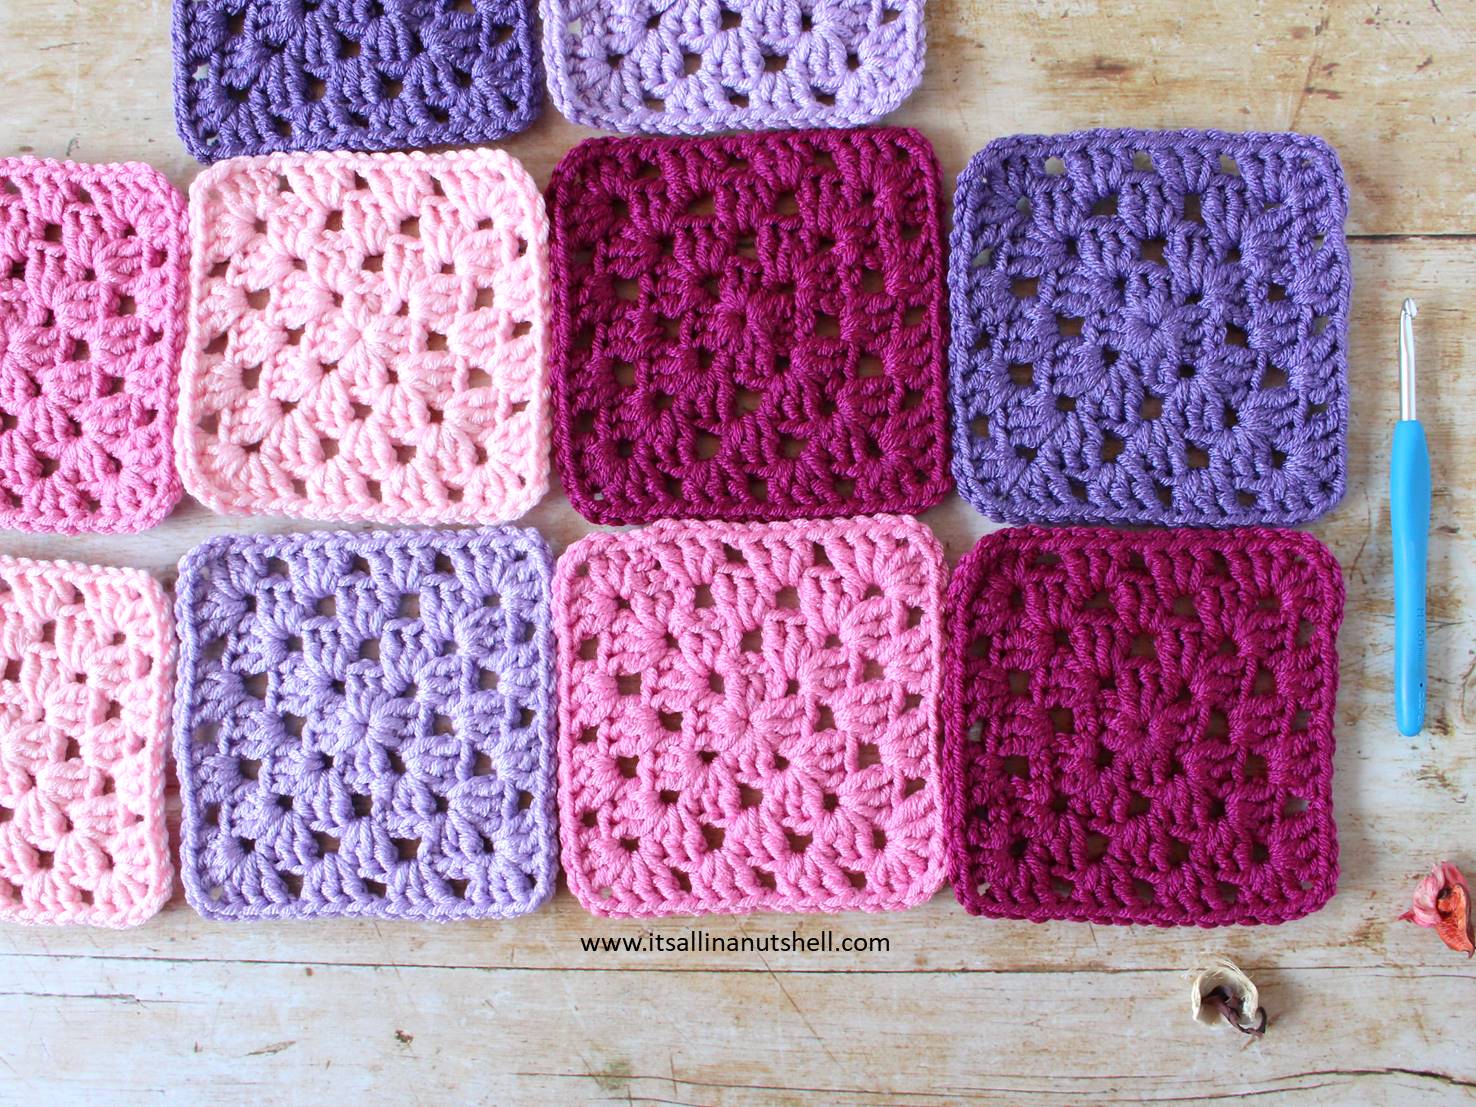
Other squares
Work 10 squares in total. You have worked 1 square in Color B already, work 9 more squares by repeating Round 1-4 of the squares in the following colors and amounts:
- 1 x Color B
- 2 x Color C
- 2 x Color D
- 2 x Color E
- 2 x Color F
Finishing Part 4
Work away all yarn tails on the squares. Each square is about 12.5cm. We will join the squares to our main blanket in the next part.
#itsallinanutshell
If you would like to share your blankets, use the hashtag #itsallinanutshell to help me find it on Facebook or Instagram. If you need any extra help, I am available in my Facebook group It’s all in a Nutshell Crochet Nuts. Also if you would like to show us your blanket, my Facebook group is a great place to do so.
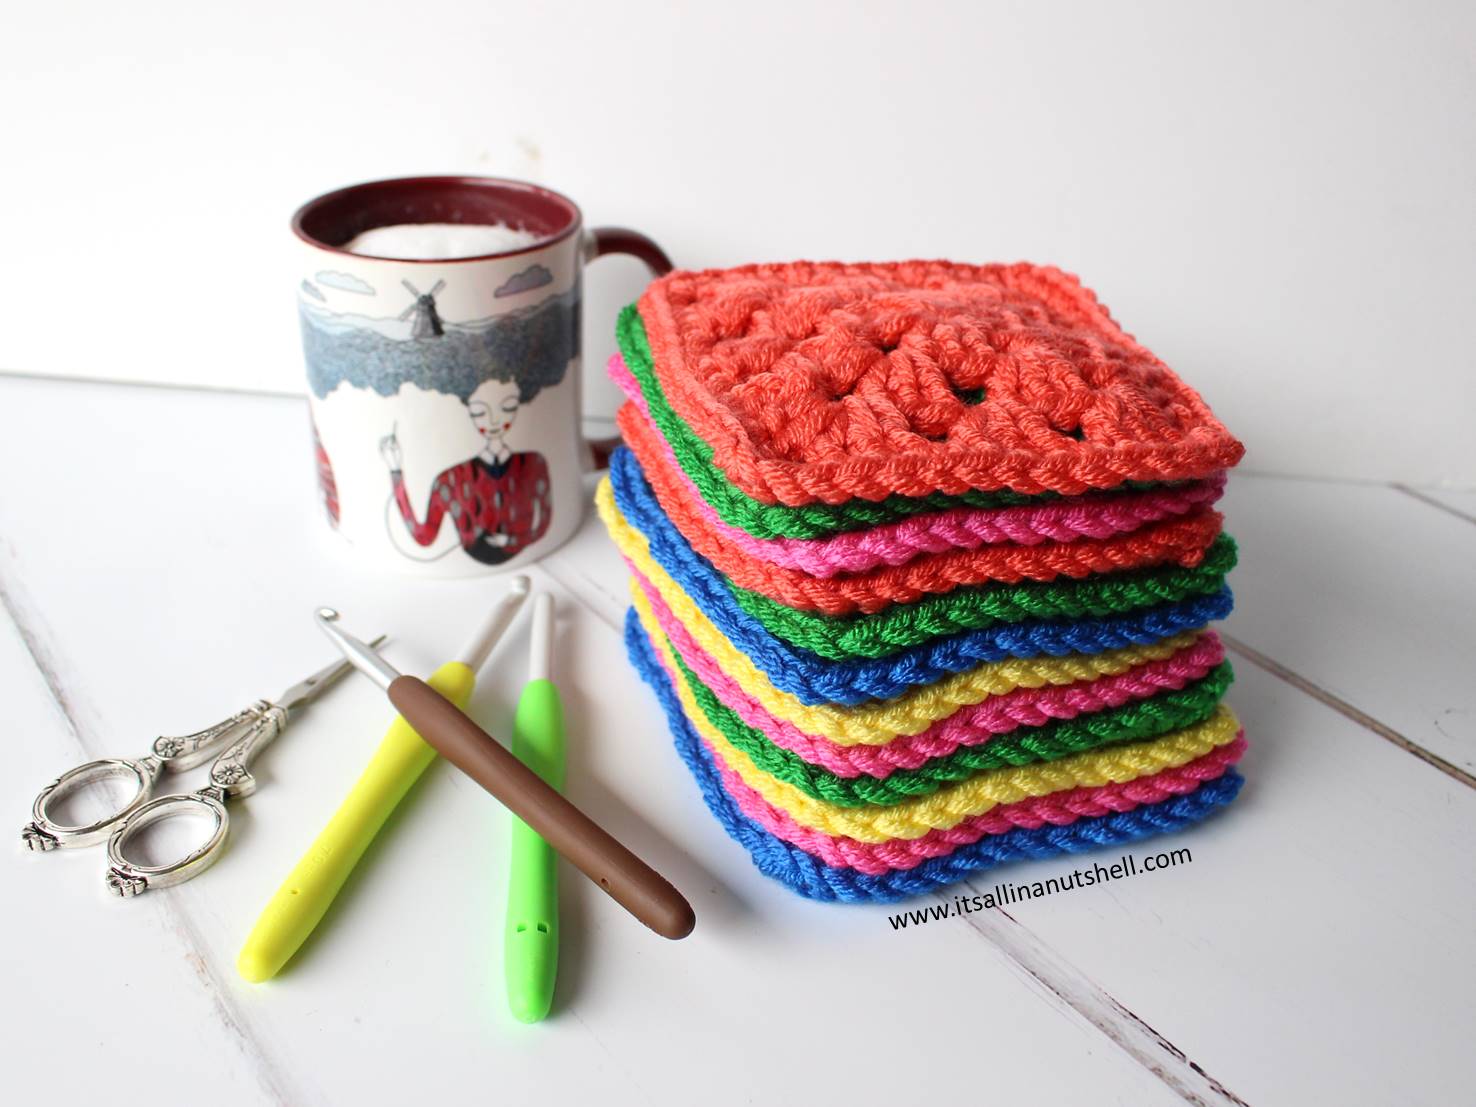
I hope you have a lovely pile of squares. Next week we will join them to our blanket.
With love,
Esther
This post contains affiliate links. Please read my disclosure and copyright policy. All opinions are my own and I only link to products I use or would use. Thank you for using the links on my blog and supporting my work.
Copyright (c) 2014-2026 It’s all in a Nutshell Creations. All rights reserved.
Discover more from It's all in a Nutshell Crochet
Subscribe to get the latest posts sent to your email.
Thank you for this project. Even though I have been crocheting for decades I always read your tips! And I’ve learned a couple new things. I love the scissors at the end of Part 4 (with the mug, 3 hooks and a lovely stack of granny squares). Can you tell me where I can purchase a pair? Thank you and keep crocheting.
I made 2 of the Nuts about Squares afghans/blankets. And your videos are amazing. Very helpful and nicely put together.
Those sioccors are silver plated embroidery siccors. You can get them here: https://habbedash.com/product/haberdashery-accessories/scissors-and-thread-snips/silver-plated-embroidery-scissors/
Hi Esther,
Many thanks for your TLC blanket – I have learned quite a lot. However, for some reason I have been working with 135 stitches and I am also using a size 4mm crochet hook (with a 5mm crochet hook for part two). Thankfully so far so good – although I will need to block the work as you have suggested. Given this information could you please advise me on how many squares I will need to crochet for Part 4?
Kind Regards,
Linda Lewis
That is difficult to predict, because you are 10 stitches short. I suggest you make 11 squares, then if they are long enough to cover the length of your blanket, you are good. If they are too short, i suspect square number 12 will be too long. Then you will have to fudge it with adding an extra round of sc stitches around each square. You will also have to fudge your stitch count back to 135.