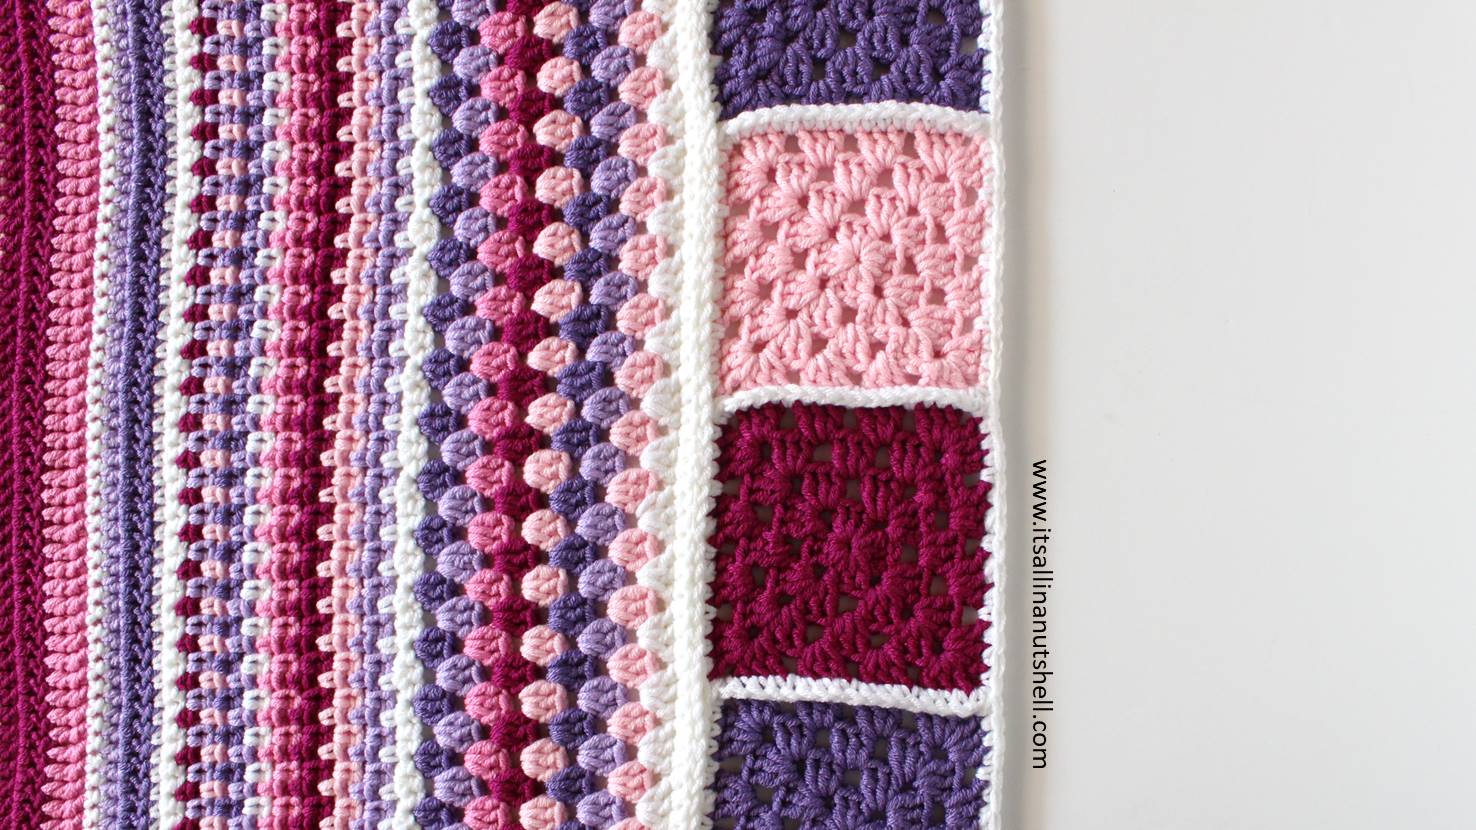
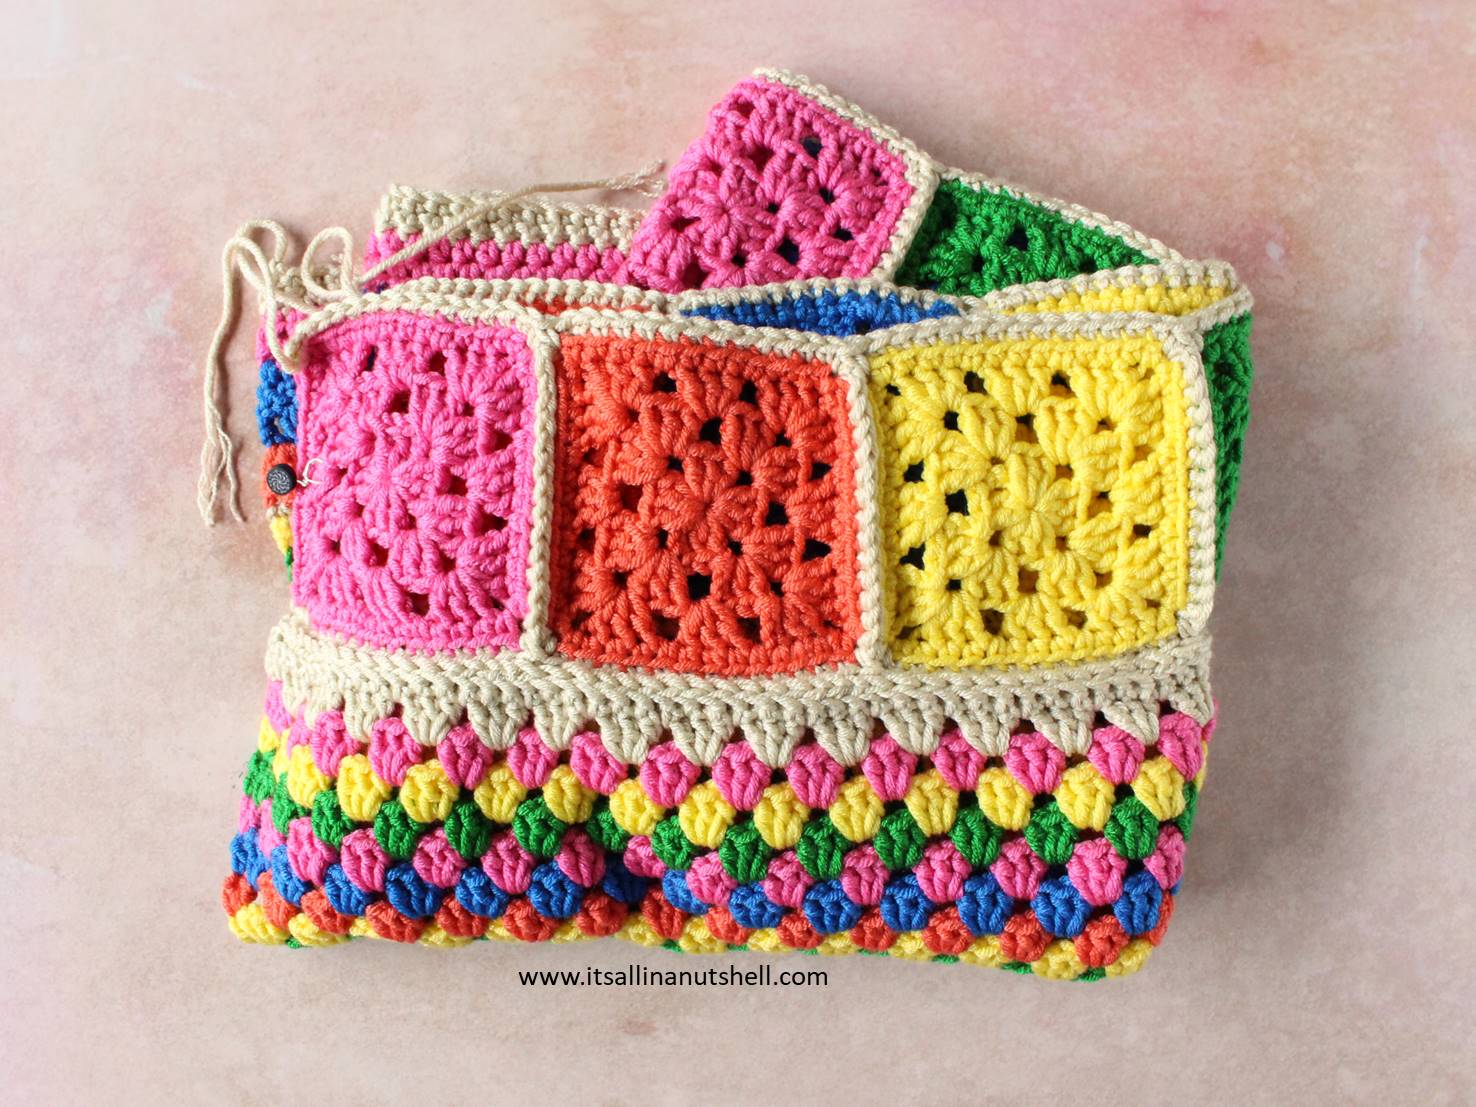
Last week we made a beautiful pile of squares, now in part 5 of TLC Blanket we are going to join them to our blanket. We will do this in two steps; first we join the squares to make a long strip of fabric, and then we join the strip to our blanket.

Resources
- Add TLC Blanket to your Ravelry library
- Full PDF pattern containing all 8 parts plus links to all the videos
- All pattern parts and tips & tricks
- All RIGHT HANDED Video tutorials in one YouTube playlist
- All LEFT HANDED Video tutorials in one YouTube playlist
- Scheepjes Chunky Monkey yarn (100g/107m)
- 5.0mm (US size H/8) and 6.5mm (US size K/10.5) hook
- Find help in my It’s all in a Nutshell Facebook Group
- Nederlandse vertaling HIER
- Social Media #itsallinanutshell
Materials
TLC Blanket is available in 3 beautiful colorways from the wide range of Scheepjes Chunky Monkey yarn. Each blanket is made using 6 colors, a 5.0mm and a 6.5mm hook. Find all information about yarn amounts and other other supplies HERE.
Scheepjes Chunky Monkey is available from many Scheepjes retailers, including Wool Warehouse (UK/Int), Jimmy Beans Wool (USA), The Knitting Network (UK/Int), and Caro’s Atelier (NL/EU).
Learning Objectives Part 5
In part 5 of the pattern you will learn different joining techniques. You will learn
• to join squares using single crochet stitches
• to join two pieces of fabric using slip stitches
• to work in the front/back loop of a stitch
• decrease stitch count by working a sc2tog
Abbreviations
This pattern uses US terms.
ch chain
ch-sps chain space(s)
sc single crochet
ss slip stitch
sc2tog two single crochet stitches worked together
st(s) stitch(es)
RS Right side
Notes and Tips Part 5
- We join the 10 squares we made last week to make a long fabric. This long fabric is then joined to the blanket.
- If you are making your blanket longer, you will have to work a few extra sc2tog stitches on the edge of the long fabric strip after joining your squares to get your stitch count to match to your main blanket. Distribute these sc2tog stitches evenly over your long fabric strip, it is not important where they are placed. What is important is that your stitch count on the long fabric is the same as on the main blanket before you start joining the fabric strip to the blanket. If you added 24 stitches, you will have to work 4 extra sc2tog stitches, if you added 48 stitches you have to work 8 extra sc2tog, etc. If you have added 72 stitches or more, consider omitting one of your squares to get the fabric strip to align well with the main blanket.
- If this slip stitch join is too complicated, or you struggle with it, feel free to use the same sc-join we use to connect the squares.
- Place a stitch marker on the front side of your long strip of joined squares so that you know which side is the front when joining it to your main blanket. You will not be the first person to have your squares upside down in your blanket.
Video Tutorials Part 5
To help you as much as possible, I have made full video tutorials showing as much as possible of every step involved in making your TLC Blanket. The videos are available in a LEFT HANDED version and a RIGHT HANDED version.
TLC Blanket Part 5 – Free Crochet Pattern
Joining squares to make a long strip of fabric
The squares are joined using a single crochet join to form a long strip of fabric. This type of join is one of many ways in which you can join squares.
Join the first two squares by placing the back sides of the first two squares facing; this will be a square in Color B and a square in Color C. With Color A and 5mm hook, make a slip knot on your hook; work a sc through both ch2-sps of the two squares. Work a sc through the next two adjacent stitches of both squares. Repeat working a sc through all the stitches and spaces till the next ch2-sp. Finish the join with a sc through both ch2-sps of the two squares. You now have 17 sc stitches along the join between the two squares. Fasten off.
Repeat the join on the other squares, joining them in the following order. The first two squares are already joined, so the next square to join to the fabric has Color D.
B C D E F B E D F C
Edge on the long strip of fabric
We will now work an edge along the top and bottom of the fabric with squares.
With Color A and a 5mm hook, place a slip knot on your hook, have the right side of the long fabric facing. Make 1sc in the first corner ch2-sp of the most right (left if you are left handed) square, 1sc in next 15 sts, 1sc2tog over next 2 ch2-sps, (1sc in next 5 sts, 1sc2tog over next 2 sts, 1sc in ch1-sp, 1sc2tog over next 2 sts, 1sc in next 5 sts, 1sc2tog over next 2 ch2-sps) 8 times, 1sc in last 15 sts, 1sc in last corner ch2-sp. Fasten off.
[145 sts]
With Color A, work the same stitches on the other side of the fabric. Fasten off.
[145 sc]
Join the long fabric to the blanket
We will use a different joining technique to join the long fabric to the blanket. The join we will use is slightly more complicated, but in my opinion the most beautiful join available. We are going to make it in Color A, which will make the join virtually invisible. In the video I use a contrasting color, so that you can see what I am doing, but for the blanket use Color A. Use a 6.5mm hook for this join.
With Color A make a slip knot on your hook and align the main blanket to the long with their right sides facing upwards, in other words, with their back sides facing each other. Make a slip stitch through the first stitch of both the main blanket and the long fabric, making sure that your yarn is BELOW your work between the two fabrics. You will be joining the fabric by catching one loop at a time on each of the two fabrics directly opposite each other. These are the two most inner loops of the squares as they lay next to one another.
Insert your hook from front to back in the inner loop of the next stitch on the main blanket. Then insert the hook in the inner loop (also from front to back) of the next stitch of the long fabric and pull your yarn through all loops on your hook to complete the slip stitch. Continue to the next stitch and join in the same way till you have joined all stitches.
Finishing Part 5
Work away all yarn tails. The blanket is now about 50cm wide and 125cm long.
#itsallinanutshell
If you would like to share your blankets, use the hashtag #itsallinanutshell to help me find it on Facebook or Instagram. If you need any extra help, I am available in my Facebook group It’s all in a Nutshell Crochet Nuts. Also if you would like to show us your blanket, my Facebook group is a great place to do so.

Part 5 was difficult, but just look at what you did! Well done! Next week we learn something new to add texture to our work.
With love,
Esther

Follow me on
Facebook, YouTube, Ravelry, Instagram
This post contains affiliate links. Please read my disclosure and copyright policy. All opinions are my own and I only link to products I use or would use. Thank you for using the links on my blog and supporting my work.
Copyright (c) 2014-2025 It’s all in a Nutshell Creations. All rights reserved.
Discover more from It's all in a Nutshell Crochet
Subscribe to get the latest posts sent to your email.


