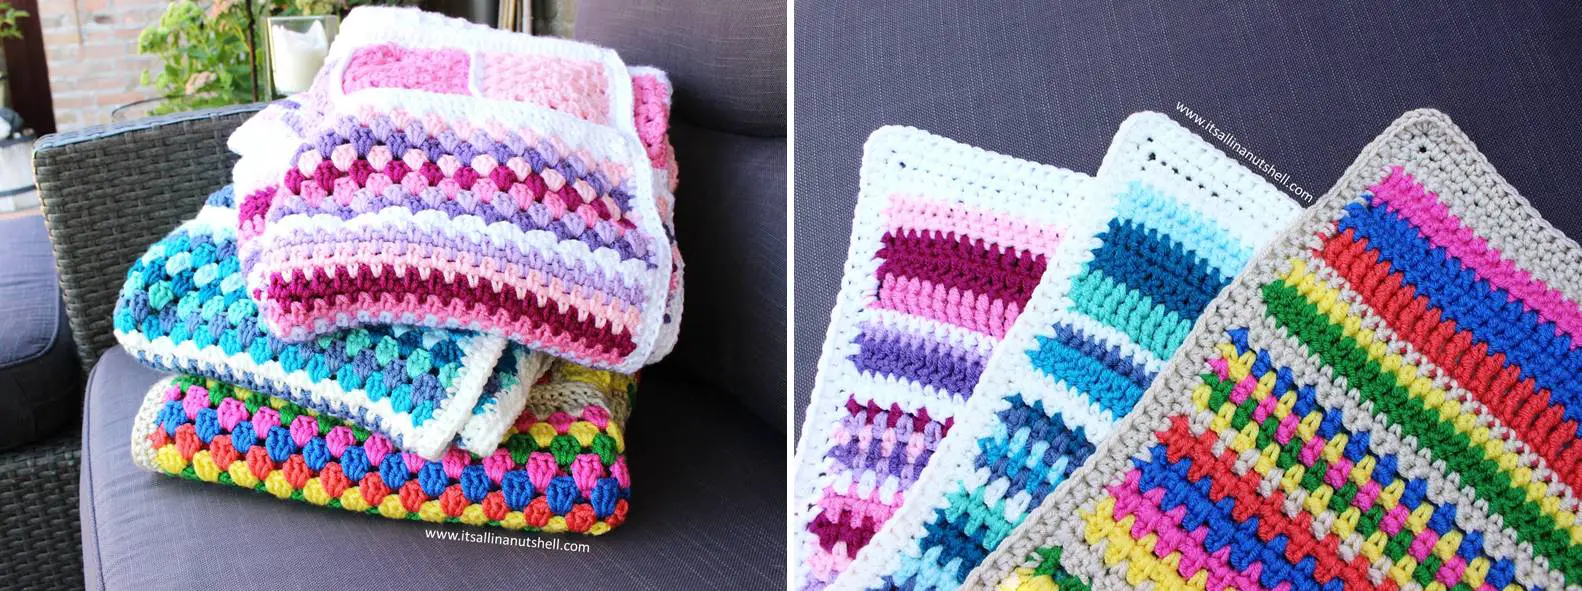
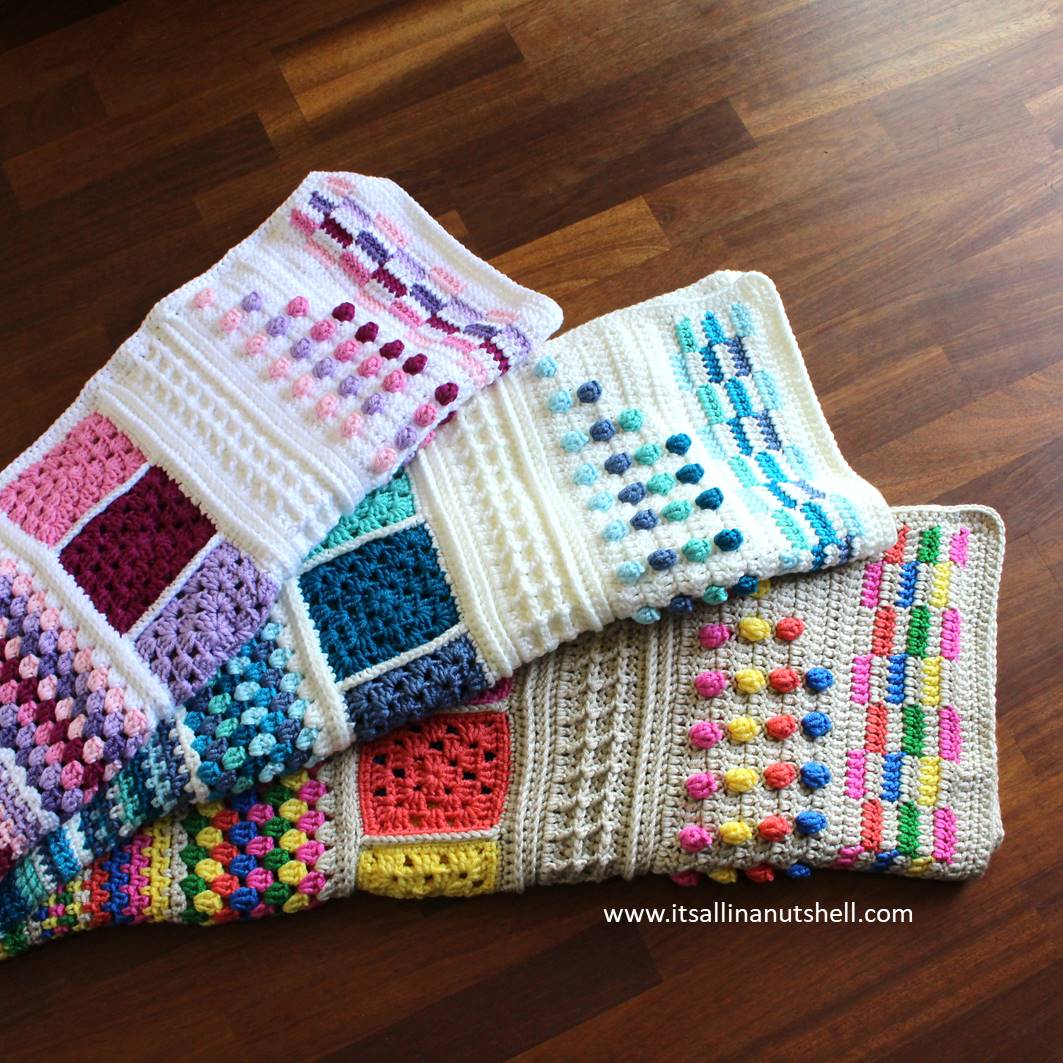
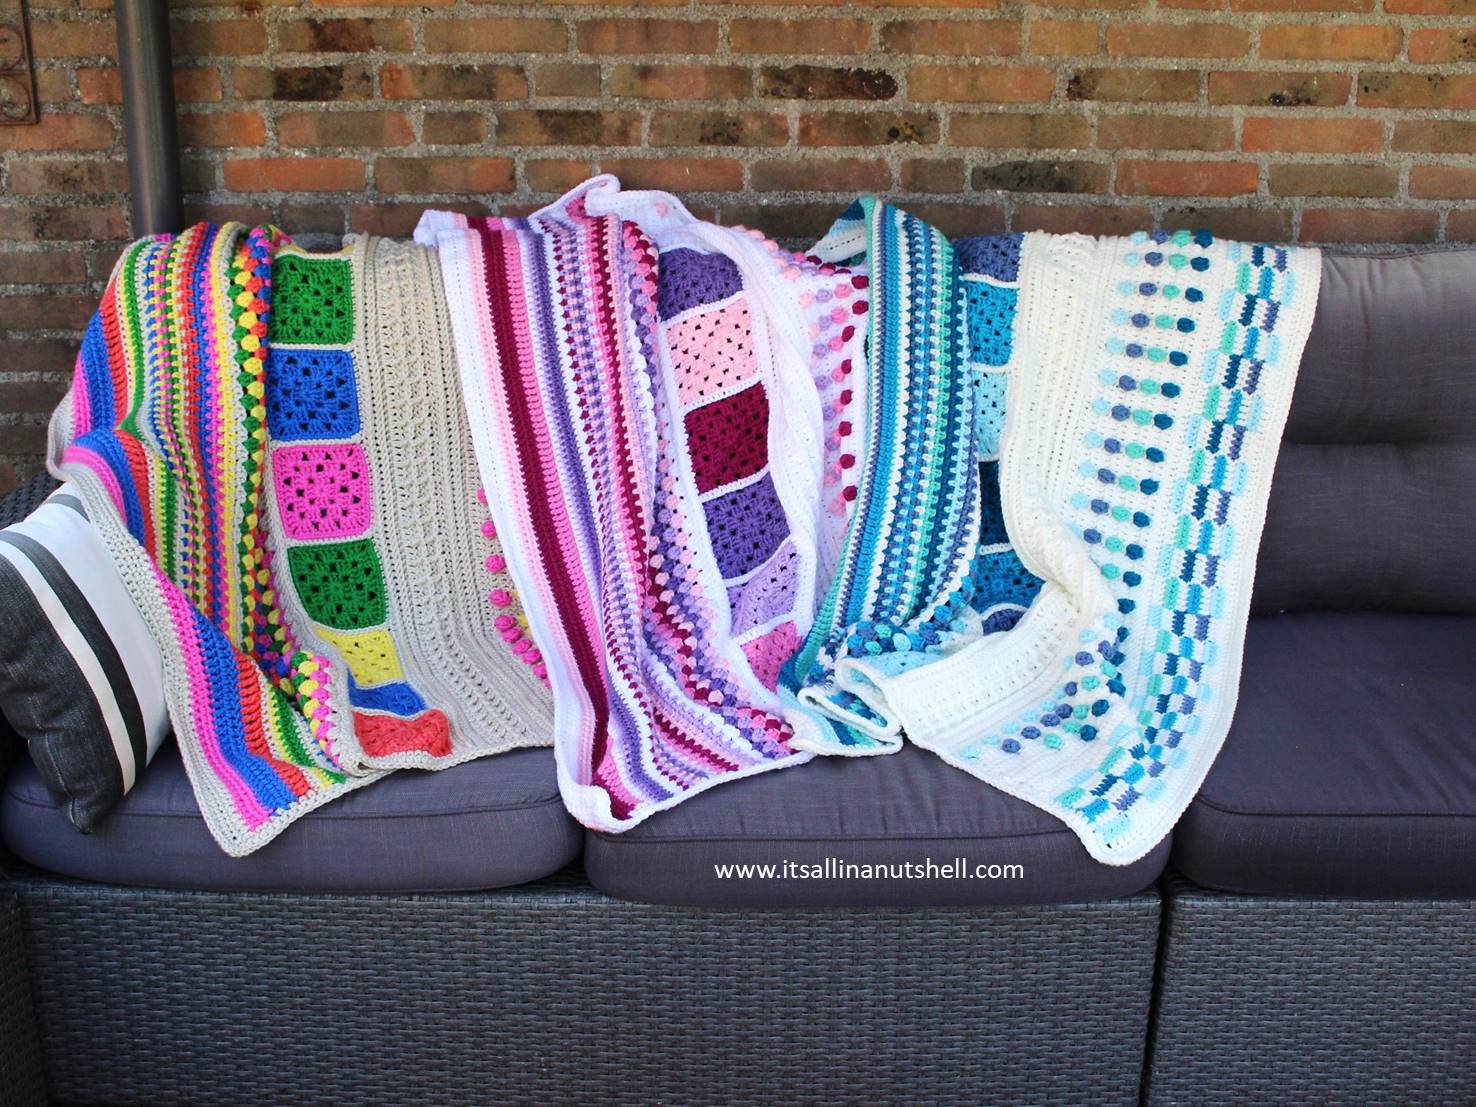
Part 8 is the final part of TLC Blanket, and now we learn to work with two colors and make a border around our blanket. Working with two colors at the same time opens up doors for more detailed color work techniques like tapestry crochet.

Resources
- Add TLC Blanket to your Ravelry library
- Full PDF pattern containing all 8 parts plus links to all the videos
- All pattern parts and tips & tricks
- All RIGHT HANDED Video tutorials in one YouTube playlist
- All LEFT HANDED Video tutorials in one YouTube playlist
- Scheepjes Chunky Monkey yarn (100g/107m)
- 5.0mm (US size H/8) and 6.5mm (US size K/10.5) hook
- Find help in my It’s all in a Nutshell Facebook Group
- Nederlandse vertaling HIER
- Social Media #itsallinanutshell
Materials
TLC Blanket is available in 3 beautiful colorways from the wide range of Scheepjes Chunky Monkey yarn. Each blanket is made using 6 colors, a 5.0mm and a 6.5mm hook. Find all information about yarn amounts and other other supplies HERE.
Scheepjes Chunky Monkey is available from many Scheepjes retailers, including Wool Warehouse (UK/Int), Jimmy Beans Wool (USA), The Knitting Network (UK/Int), and Caro’s Atelier (NL/EU).

Learning Objectives Part 8
In part 8 of the pattern is all about working with two colors and making a border around your blanket. You will learn
- to work with two colors at the same time
- to change colors mid-row
- to carry the yarn you are not using with you and work over it
- work along the side of a fabric
Abbreviations
This pattern uses US terms.
ch chain
dc double crochet
sc single crochet
ss slip stitch
st(s) stitch(es)
RS Right side of work
WS Wrong side of work
Notes and Tips Part 8
- The technique of working with two colors at the same time gives you freedom to do more advanced color work patterns.
- If you added extra stitches to your blanket, add the same amount of stitches to the length of your border when you make the first round of the border.
- When taking the second color with you, work over the carrying yarn without pulling the carrying yarn or giving it too much slack. Pulling it too tight, and giving it too much slack, will both result in your work bobbling.
- When working over a second color, it is almost inevitable that you will see a little bit of the second color from the front of your work.
- Ch3 at the beginning of a row counts a 1dc.
Video Tutorials Part 8
To help you as much as possible, I have made full video tutorials showing as much as possible of every step involved in making your TLC Blanket. The videos are available in a LEFT HANDED version and a RIGHT HANDED version.
TLC Blanket Part 8 – Free Crochet Pattern
Row 65 (RS) Attach Color A in first st, which will be the starting ch3 from the previous row, with ss, ch3 (counts as 1dc), 1dc in next 4 sts, *change color to Color B, 1dc in next 5 sts, change color to Color A, 1dc in next 5 sts; repeat from * to end. Change from Color A to color C in last st. Turn. Fasten off color B.
[145 dc]
Row 66 (WS) Ch3, 1dc in next 4 sts, *change color to Color A, 1dc in next 5 sts, change color to Color C, 1dc in next 5 sts; repeat from * to end. Change from Color C to color A in last st. Turn. Fasten off color C.
[145 dc]
Row 67 (RS) Ch3, 1dc in next 4 sts, *change color to Color F, 1dc in next 5 sts, change color to Color A, 1dc in next 5 sts; repeat from * to end. Change from Color A to color E in last st. Turn. Fasten off color F.
[145 dc]
Row 68 (WS) Ch3, 1dc in next 4 sts, *change color to Color A, 1dc in next 5 sts, change color to Color E, 1dc in next 5 sts; repeat from * to end. Change from Color E to color A in last st. Turn. Fasten off color E.
[145 dc]
Row 69 (RS) Ch3, 1dc in next 4 sts, *change color to Color D, 1dc in next 5 sts, change color to Color A, 1dc in next 5 sts; repeat from * to end. Change from Color A to color B in last st. Turn. Fasten off color D.
[145 dc]
Row 70 (WS) Ch3, 1dc in next 4 sts, *change color to Color A, 1dc in next 5 sts, change color to Color B, 1dc in next 5 sts; repeat from * to end. Change from Color B to color A in last st. Turn. Fasten off color B.
[145 dc]
Row 71 (RS) Ch3, 1dc in next st to end. Do not fasten off. Place a stitch marker in the working loop.
[145 dc]
Work away all yarn tails from the blanket before continuing with the border.
Border
Row 1 (RS) Change to 6.5mm hook and pick up the working loop and remove the stitch marker. Ch1 (does not count as a st), 3sc in same last dc made on Row 71, place a stitch marker in second sc. Rotate work a quarter to work along the short edge. Work 105sc along the edge, evenly distributing the stitches. Rotate work a quarter to work along the side of the blanket. 3sc in the first st, this will be the first chain stitch from the very first row, place a marker in the second sc, 1sc in next 143 sts, this will mean that you work in the bottom base chain, directly below the stitches already made in the chain. Work 3sc in the last st, place a marker in second st. Rotate work a quarter to work along the second short edge. Work 105sc along the edge, evenly distributing the stitches. Rotate work a quarter to work along the side of the blanket. 3sc in the first st, place a marker in the second sc. 1sc in next 143 sts. Close with ss in first st.
[145 sc on long edge, 107 sc on short edge, 4 corner sc]
Row 2 (RS) Change to 5mm hook, ss to next marked st, ch2 (does not count as a st), *5hdc in marked st, remove marker, 1hdc in next st till marked st; repeat from * to end, join with invisible join. Fasten off.
[149 hdc on long edge, 111 hdc on short edge, 4 corner hdc]
Finishing Part 8
Work away all remaining yarn tails. The blanket is now about 100cm wide and 130cm long. For best results, block your blanket.
To block your blanket, soak your blanket in warm water, and spin it in the washing machine using the slowest spin cycle you have available. Then pin the blanket into shape and let it dry naturally.
#itsallinanutshell
If you would like to share your blankets, use the hashtag #itsallinanutshell to help me find it on Facebook or Instagram. If you need any extra help, I am available in my Facebook group It’s all in a Nutshell Crochet Nuts. Also if you would like to show us your blanket, my Facebook group is a great place to do so.

With that we are finished with TLC Blanket. I hope you learned a great deal, and that you are a more confident crocheter than before we started. You will have some yarn left over, next week I will share a bonus pattern to use up your left over yarn.
With love,
Esther

Follow me on
Facebook, YouTube, Ravelry, Instagram
This post contains affiliate links. Please read my disclosure and copyright policy. All opinions are my own and I only link to products I use or would use. Thank you for using the links on my blog and supporting my work.
Copyright (c) 2014-2025 It’s all in a Nutshell Creations. All rights reserved.
Discover more from It's all in a Nutshell Crochet
Subscribe to get the latest posts sent to your email.


Beautiful! I’m saving this post for later ?